Key takeaways
- For a one-weekend game jam, use the simplest tool that can express your core loop and export a playable build. Beginners should favor a visual, scene-based engine or a guided AI-assisted workflow; experienced programmers can choose a familiar 2D engine; teams should choose the tool already understood by the person responsible for integration. Decide by scope, not by the longest feature list.
The short answer: choose for the finish line
The best tool for a small game over one weekend is not automatically the most powerful engine. It is the tool that lets you make one playable path from a clear beginning, through a repeatable gameplay loop, to a deliberate ending. For a student or Game Jam participant, familiarity and a fast test-export cycle usually matter more than advanced rendering, networking, or a large asset library.
A useful decision rule is: choose the least complex tool that supports your target platform, input method, and game type. A first-time creator making a short 2D interaction should prioritize visual scenes, simple events, and easy playtesting. A programmer who already knows a code-first 2D engine may lose time by switching. A small team should pick the tool the integration owner can debug under pressure.
This is a planning recommendation, not a promise that any project will be finished in a weekend. Your theme, experience, assets, and team availability still determine the outcome.
Start with the game shape, not the software
Write the game as three sentences before opening a tool. “The player arrives at a locked greenhouse” is the beginning. “They search, combine two clues, and repeat a risk-reward action to open the next area” is the loop. “The final door opens and the score or story resolves” is the ending. If you cannot describe these parts, changing engines will not solve the design problem.
Then cut the shape to one primary verb: dodge, aim, combine, steer, place, talk, or explore. A weekend prototype becomes fragile when it needs several verbs, many levels, or a custom inventory before the loop is fun. Keep a small content budget: one environment, one enemy or obstacle family, one scoring rule, and one ending state. These are scope choices, not universal limits; a more experienced team may safely expand one dimension while keeping the others fixed.
Match the tool to your skill level
If you are new to game development
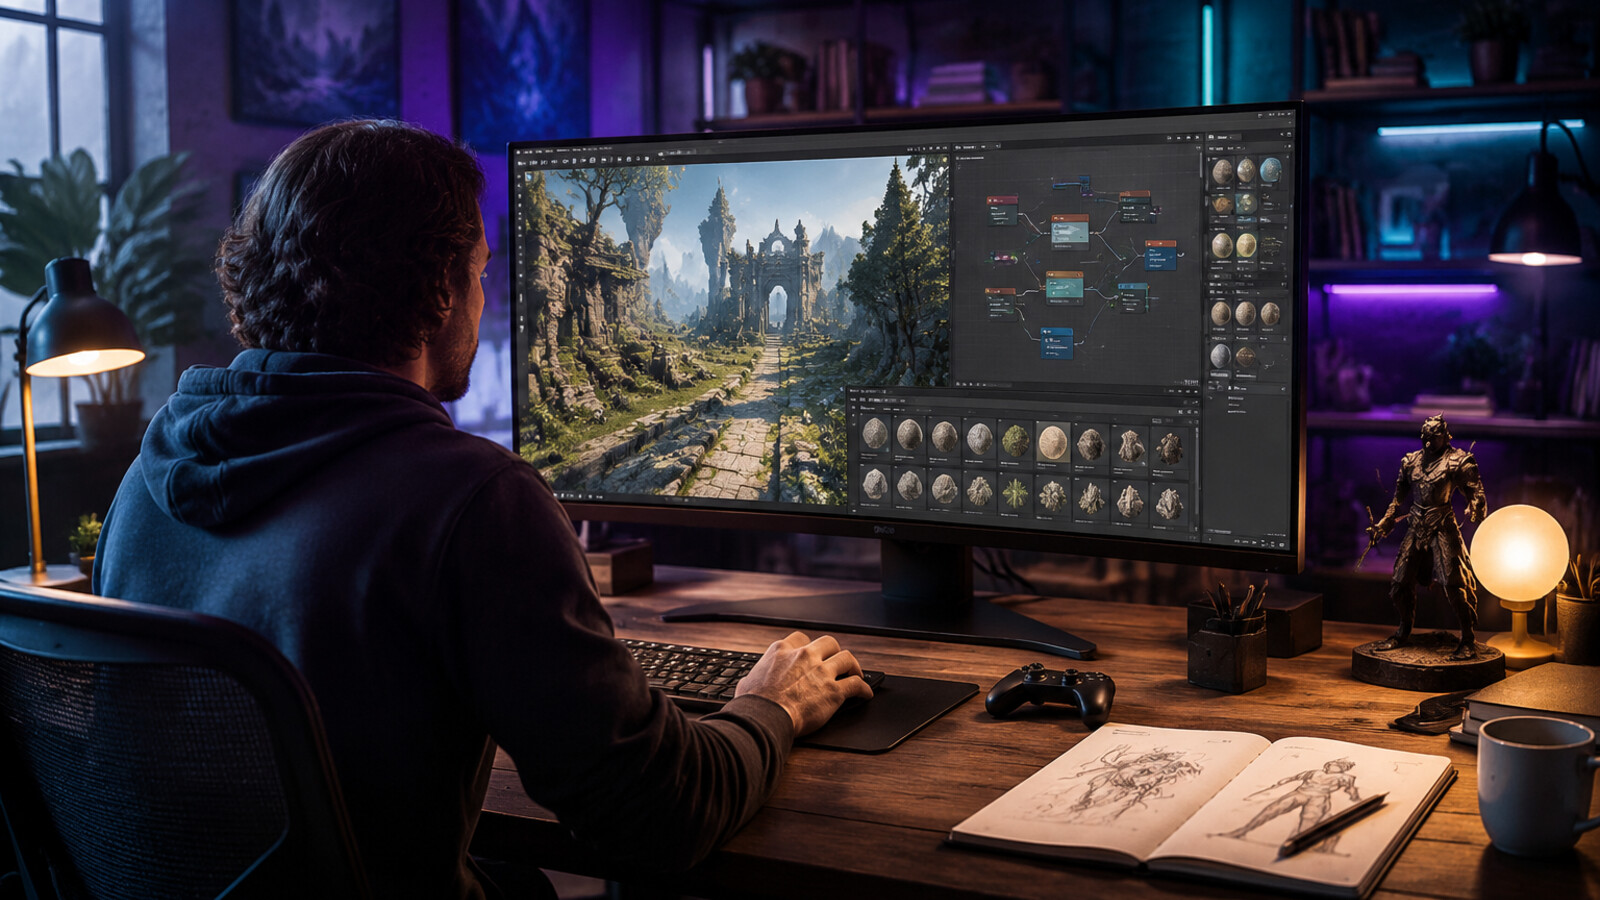
Choose a visual or guided workflow with scene editing, built-in input handling, and a short path to a playable preview. You want to spend your first hours learning the loop, not building boilerplate for a window, camera, collision system, and restart button. An AI-assisted creation workflow can help explain unfamiliar concepts or draft small pieces, but you still need to inspect, test, and simplify every generated result. Treat it as a collaborator, not as a substitute for playtesting.
If you can already code
Use the 2D engine, language, and project structure you already understand. A familiar code-first tool is often the fastest route to a tiny arcade game, puzzle, or simulation because you can implement the loop directly and diagnose a broken state. Avoid adopting a new framework merely because it has more plugins or a fashionable rendering feature. Those benefits only matter if they serve this jam's actual scope.
If you are working in a small team
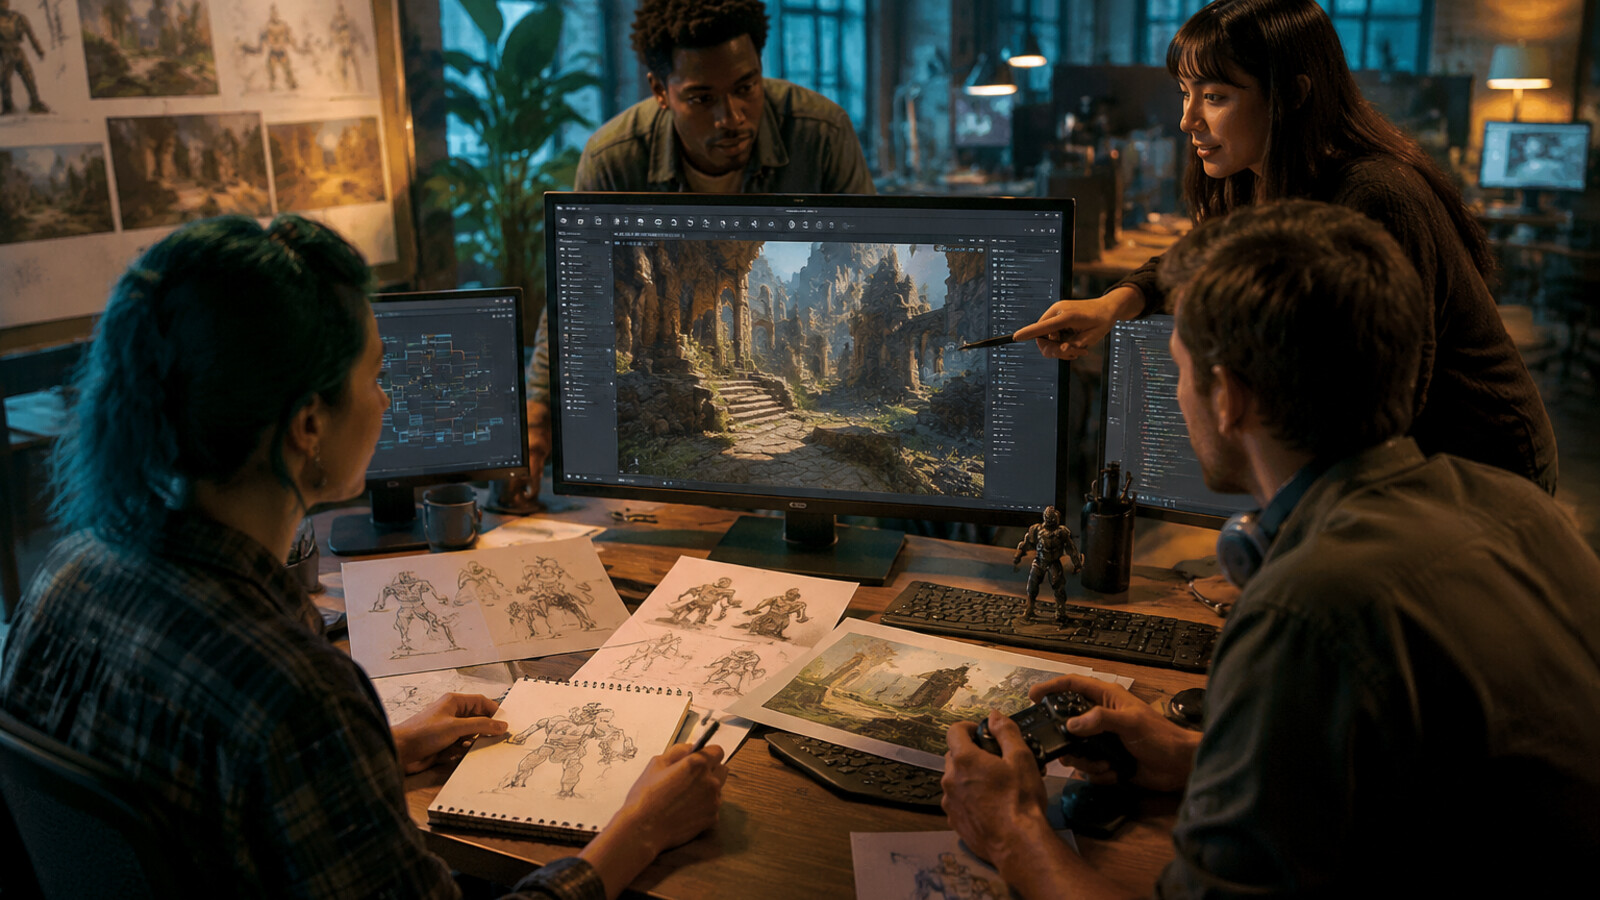
Pick a shared, stable workflow and assign one person ownership of the main scene, build, or export. A tool is a poor fit if two teammates can create features but nobody can merge scenes, resolve asset references, or produce the final build. Agree on naming, folder structure, target resolution, and a “working build” handoff before adding content.
A weekend workflow that protects the ending
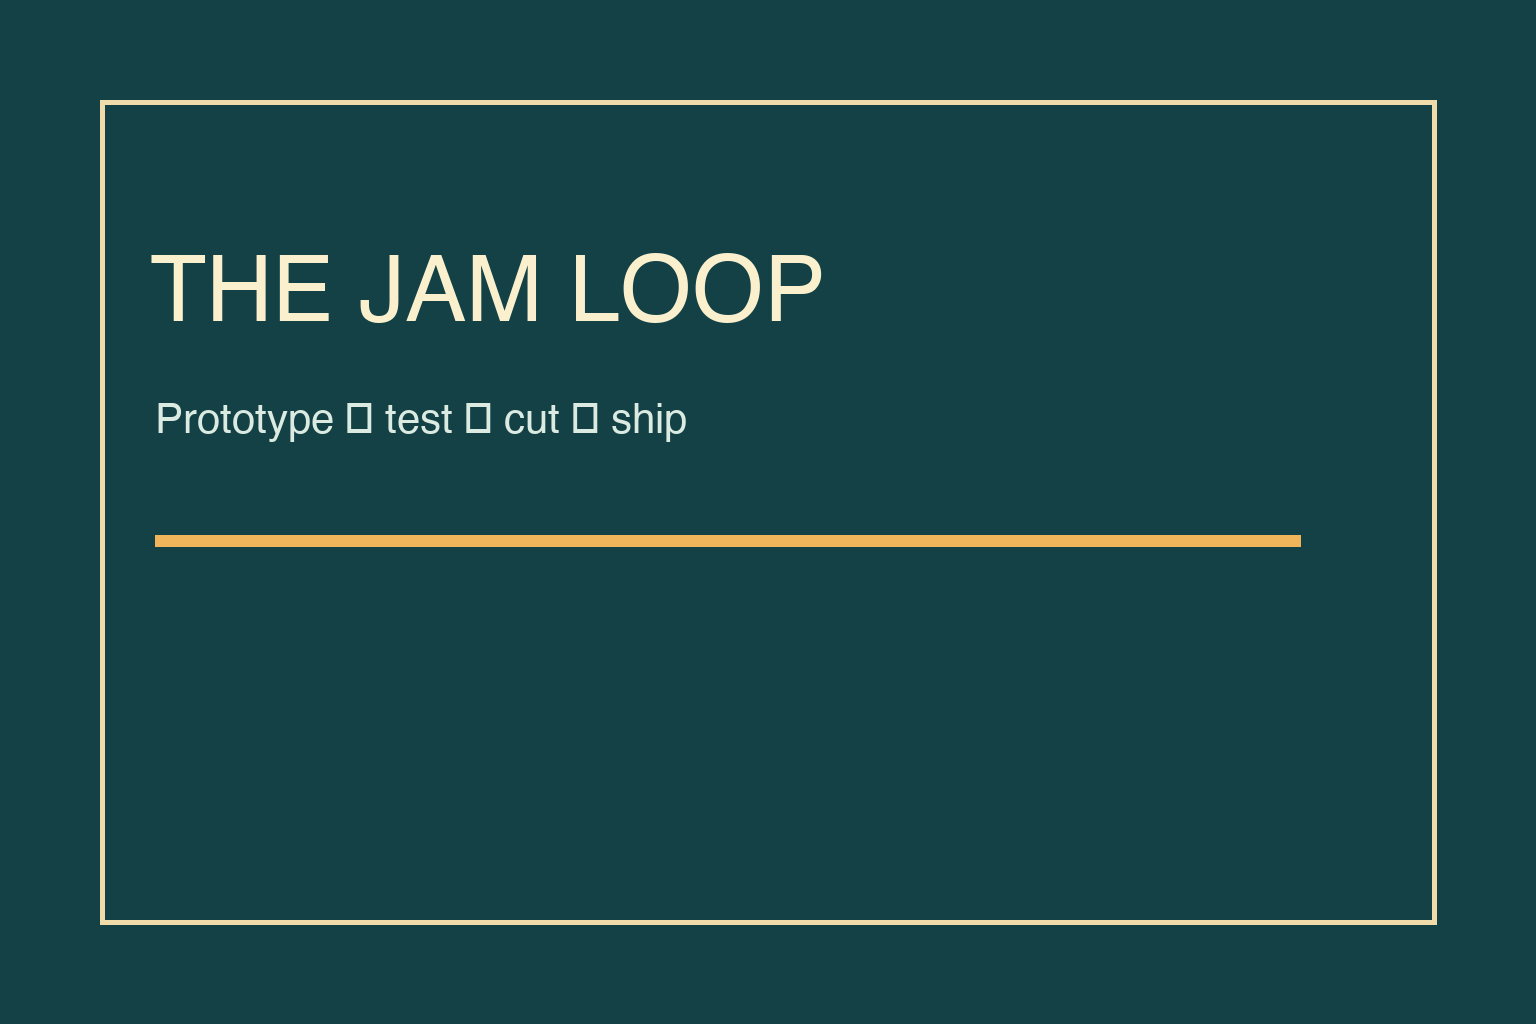
!A weekend game-jam plan moving from prototype to test to cut to ship
1. Define the smallest playable proof
In the first work block, make the player perform the primary verb once. Add a win condition and a restart path immediately. The proof is not a menu or a polished character; it is a player action that changes state and can be judged. If the action is not readable, reduce variables before adding art.
2. Build the loop before the content
Connect input, feedback, challenge, and consequence. For example: aim at a moving target, receive a clear hit response, decide whether to risk a closer shot, and continue until a short round ends. Use temporary shapes if necessary. A loop that is legible with placeholders gives you something to tune; a beautiful but disconnected scene does not.
3. Add the ending earlier than feels comfortable
Create the final state while the project is still small: a goal screen, escape transition, score summary, or story beat. Make it reachable with a test shortcut, then remove or hide the shortcut later. This exposes missing state transitions and prevents the classic jam failure where the game plays but never concludes.
4. Test on the real target
Export or share a build as soon as the smallest loop works. Check controls, resolution, audio levels, loading, restart behavior, and whether another person understands the goal without your explanation. Keep a short bug list and fix blockers before cosmetic issues. A tool that makes this export-and-test cycle simple is usually a better fit than one that only looks capable on paper.
5. Cut by risk, not by attachment
When time tightens, remove optional mechanics, extra rooms, and complicated narrative branches before removing the win condition. Keep the clearest loop and one satisfying ending. A smaller complete game communicates more than a larger unfinished one, even though no workflow can guarantee a finished submission on a fixed schedule.
Compare tools with practical criteria
Score each candidate from 1 to 5 for criteria that matter to your project: familiarity, time to first playable scene, input support, debugging clarity, export path, collaboration fit, and access to suitable assets. Do not add the scores mechanically if one criterion is a hard requirement. For example, a tool that cannot export to the jam's required platform is not rescued by excellent scene editing.
For a first 2D jam, prioritize fast iteration and a forgiving visual model. For a programmer making a compact systems game, prioritize familiar scripting and transparent state. For a team with a strong artist but limited engineering time, prioritize scene and asset integration. For a 3D project, narrow the plan further: one camera language, one interaction pattern, and a deliberately small playable space. The right recommendation changes with skill and scope.
!A visual checklist for protecting a small game's ending
Common mistakes and safer corrections
Choosing by feature count. More systems create more decisions and more failure points. Choose by the next playable milestone.
Generating code without a test. Ask for a small change, run it, and keep the last working version. Generated code can be mismatched to your project or introduce hidden assumptions.
Polishing before proving. Art direction matters, but polish cannot reveal whether the loop is fun or the ending is reachable. Use readable placeholders until the path works.
Leaving export until the deadline. A local preview can hide missing files, input differences, or platform-specific issues. Make a shareable build part of the workflow, not a final ceremony.
Expanding after the loop works. Add content only when the core loop is understandable, restartable, and finishable. If you add a feature, name what you will remove if it causes trouble.
A simple decision checklist
Choose the tool you already know when your scope is code-led and time is tight. Choose a visual or guided workflow when you are learning and the game is a small scene-based interaction. Choose a shared team workflow when integration and export are the main risks. In every case, confirm four things before committing: you can make the first playable interaction quickly, you can express the repeatable loop, you can create a reachable ending, and you can test the target build.
The practical answer to “what tool should I use?” is therefore conditional: use the simplest familiar tool for your skill level and game scope, then reserve the weekend for proving, testing, and finishing—not for learning every feature it offers.
Frequently Asked Questions
What is the best tool for a beginner in a weekend game jam?
A visual or guided game-making workflow is often a sensible starting point for a beginner because it can reduce setup and expose scenes, events, and previews. Pick one that supports your target platform and lets you test the core loop early.
Should I use an AI-assisted tool for a Game Jam?
You can use AI assistance to explain concepts, draft small scripts, suggest scope cuts, or help iterate on an idea. Review and test every output, keep ownership of the project structure, and confirm that the result fits the jam's rules and your intended experience.
Is a code-first engine better than a visual tool?
Neither is universally better. Code-first tools can be efficient for programmers who already know them, while visual tools can lower setup costs for scene-based prototypes. Choose based on familiarity, game type, and the shortest path to a testable build.
How small should my weekend game be?
Make the smallest version that has one clear verb, one repeatable loop, one meaningful challenge, and one reachable ending. Treat extra levels, mechanics, and branches as optional until that version works.
When should I add the ending?
Add a basic ending as soon as the first loop works, and make it reachable with a temporary test shortcut. This reveals missing state transitions early and gives you a finish line to protect when scope changes.
How do I choose a tool for a team?
Choose the workflow the integration owner can maintain. Check scene ownership, asset references, naming, collaboration, and export before adding features. A shared, familiar process is usually safer than a tool nobody can confidently build from.