
Key takeaways
- Flappy Bird-style mechanics form a coupled timing system: a one-button impulse changes vertical velocity, gravity creates a recurring correction cycle, moving gaps turn space into decision time, and collision plus rapid restart close the learning loop. The principles are observable, but implementation values—gravity, impulse, speed, spacing, collider tolerance, feedback timing, and difficulty thresholds—require instrumentation and playtesting in your own original prototype. Do not infer hidden source values or copy branding, assets, audio, or level presentation.
A Flappy Bird-style loop is a compact lesson in game feel: one input changes vertical velocity, gravity continually reverses that gain, obstacles convert motion into timing decisions, and immediate failure makes every correction matter. The visible design principle is simple. The correct implementation values are not. Impulse strength, gravity, gap dimensions, obstacle interval, scroll speed, collision tolerance, and feedback timing must be measured in your own prototype rather than copied from claims about the original game.
This article explains the mechanism as a design system for gameplay prototyping. It does not reproduce the original game's source code or claim to know its internal constants. It also does not authorize copying its name, character, pipes, art, audio, interface, or level presentation. Use abstract lessons to create an original one-input game with its own expressive identity.
The core loop is controlled instability
The player is not directly positioning a character. Each press briefly changes the character's vertical motion, then gravity resumes control. Meanwhile, the environment appears to move horizontally and a safe opening approaches. That produces a repeating loop:
- read the next opening;
- predict the character's future arc;
- press now or wait;
- observe the correction;
- pass or collide;
- score, continue, or restart.
The important observable principle is controlled instability. A press solves the immediate problem but creates a new trajectory that will soon need another correction. If the character simply followed the pointer, the prediction challenge would disappear. If a press barely affected motion, the player would feel powerless. The compelling region lies between those extremes, but its boundaries depend on screen scale, update rate, input latency, and the rest of the tuning model.
Impulse and gravity define the motion envelope

Impulse and gravity should be tuned as a pair, not as independent sliders. The impulse determines the immediate upward response. Gravity determines how quickly that rise slows, reaches its apex, and becomes a fall. Together they define the height, duration, and shape of one uncorrected arc.
Three observable qualities matter:
- Responsiveness: a press should cause an unmistakable change soon enough to feel connected to the input.
- Predictability: repeated presses in similar states should produce similar arcs.
- Recoverability: some early or late presses should remain correctable; otherwise play becomes memorization without control.
The implementation choice between “set velocity” and “add impulse” changes feel. Setting velocity makes each press produce a more consistent response and prevents accumulated downward speed from dominating the next correction. Adding impulse preserves more momentum and can make rescue presses weaker during a fast fall. Neither is universally correct. Prototype both if the desired feel is unclear.
Do not publish a supposed authentic impulse or gravity constant unless it comes from verified source material you are entitled to use. Even a real-looking number is meaningless without units, coordinate scale, timestep, and velocity rules. Instrument your build instead. Log the time from press to apex, vertical displacement per press, maximum fall speed, and input-to-motion latency. Plot a few trajectories at different starting velocities. Select values from player performance and reported control quality, not from resemblance alone.
Obstacle gaps create the error budget
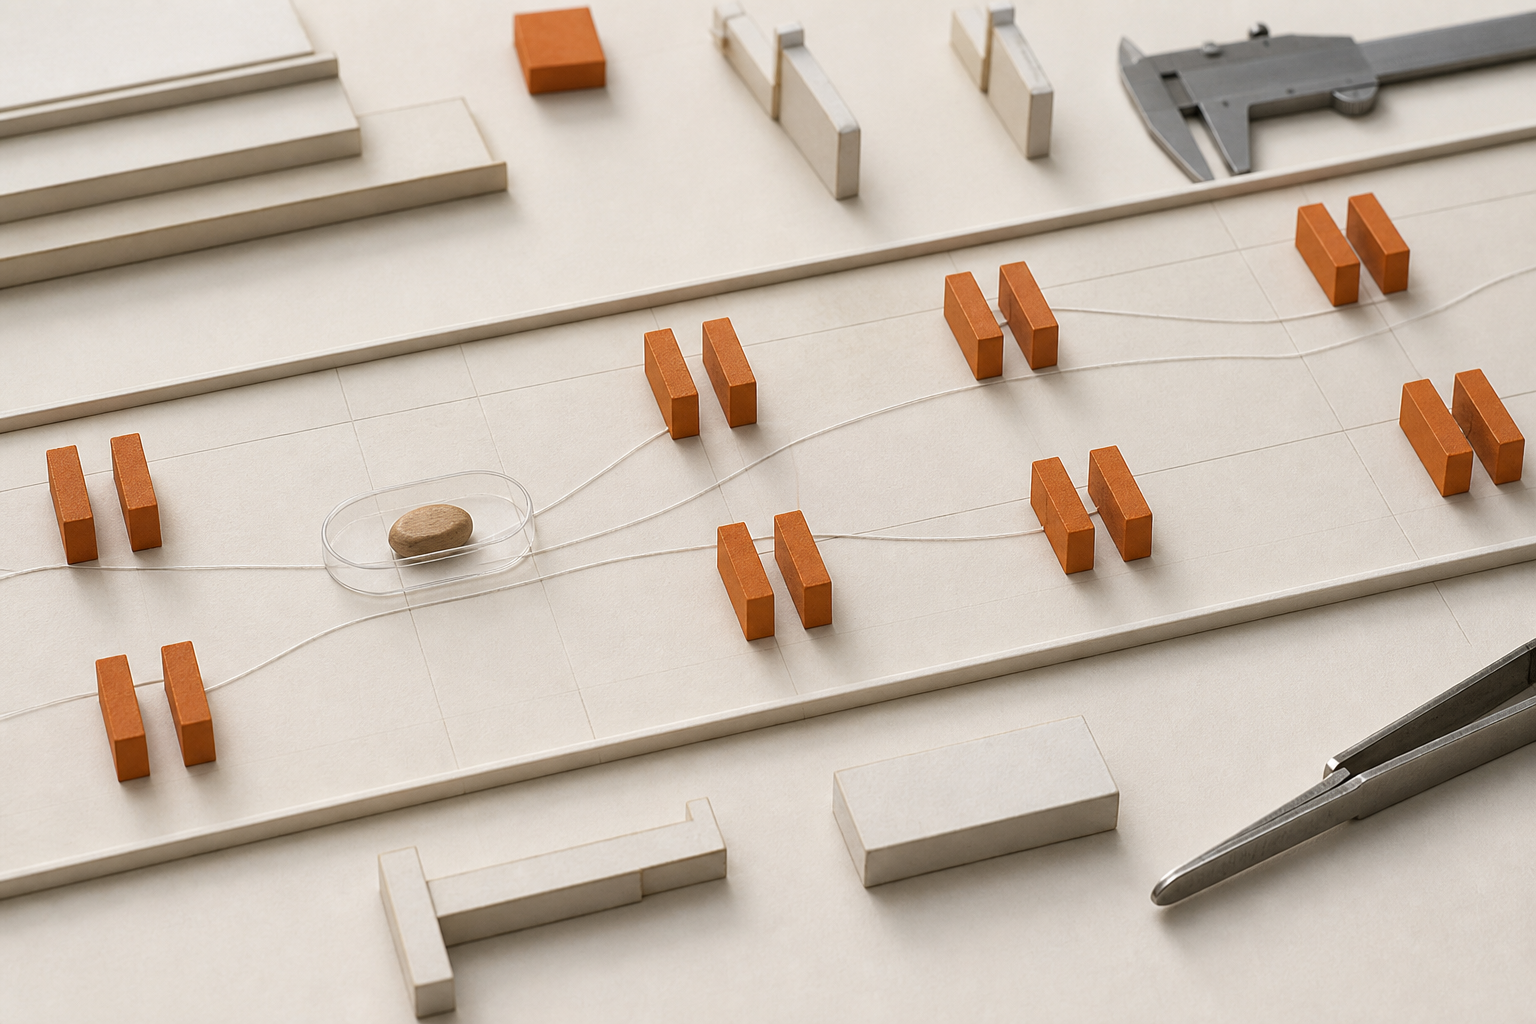
A gap is not only empty space; it is the player's allowable prediction error. Its useful difficulty depends on several dimensions at once:
- the visible height of the opening;
- the player's collision height;
- decorative edges that may imply a different boundary;
- the horizontal time spent inside the obstacle;
- the vertical distance from one gap center to the next;
- the time available to change trajectory before arrival.
This is why “make the gap smaller” is a weak difficulty plan. A narrower gap can be fair when the approach is long and the next center is nearby. The same gap can be impossible after a large vertical shift or with less reaction time.
Observable principle: openings need enough consistency for players to form predictions, and variation should remain telegraphed. Instrumented values: gap size, center range, horizontal spacing, spawn interval, and maximum center-to-center shift. Test those values in the actual build with representative displays and input methods.
Scroll speed converts space into decision time
Horizontal speed determines how quickly an obstacle consumes the distance between its first readable appearance and the collision line. That duration is the real decision window. Two games can display identical spacing yet feel very different if one scrolls faster.
Separate three moments in testing:
- appearance: the next opening enters the visible field;
- recognition: the player can clearly identify its safe region;
- commitment: the player must begin the required correction.
The interval between recognition and commitment is more useful than raw pixels per second. Faster speed reduces that interval, increases the cost of input and display latency, and gives players fewer corrective presses. Speed also changes the cadence of scoring and restarts, so it affects emotional intensity as well as motor demand.
Keep simulation time stable. Frame-dependent movement can make speed and gravity change with device performance. Use your engine's documented fixed-step or delta-time approach, then test under frame drops and high-refresh displays. Record obstacle travel time, frame-time spikes, dropped inputs, and collision outcomes. Do not assume that a value which feels fair on a development monitor will transfer unchanged to a phone.
Hitboxes determine whether failure feels deserved
Players judge collision from visible shapes, not from collider diagrams. When a collision occurs while apparent space remains, the game feels dishonest. When the collider is much smaller than the art, success may feel inconsistent. The goal is perceptual agreement, not mathematical maximalism.
Start with simple collision shapes and expose them in a debug view. Compare slow-motion captures of near misses against both the art silhouette and collision event. Decorative spikes, shadows, feathers, glows, or motion blur usually should not become surprise hazards. A slightly inset player collider can support readable forgiveness, but the amount is a tuning decision—not a universal rule.
Also define boundary behavior explicitly. Does contact with the ceiling fail, clamp, bounce, or allow recovery? Is the floor a collision surface or simply the bottom of the playable area? Whatever the rule, cue it before it matters and make it consistent.
Useful instrumentation includes collision point, player velocity at impact, obstacle identifier, distance from visible edge, and whether the collider overlapped on the preceding simulation step. Review false-positive complaints separately from ordinary mistakes. A low overall collision rate does not prove the hitboxes feel fair.
Scoring turns survival into a legible goal

The cleanest score event is crossing a defined plane after the obstacle without having collided. Each obstacle should award at most once. In pooled-object implementations, reset that scored state when the obstacle is recycled.
The scoring rule should be observable and easy to explain. A visual pulse or short sound can confirm a pass without requiring the player to look away from the next opening. Avoid feedback that obscures hazards or adds enough delay to confuse which action earned the point.
Track pass events, duplicate-score protection, score at failure, and score distribution by session. Median score alone can hide a severe first-obstacle problem or a small expert group. Examine first-pass success, failure location, improvement across attempts, and the fraction of sessions that never score.
Feedback teaches the player without a tutorial wall
A one-input game can explain itself through immediate sensory consequences. A press should have a clear motion response. A successful pass should confirm progress. A collision should distinguish impact from ordinary movement. A restart should visibly reset the state.
Good feedback is layered but restrained:
- motion or animation confirms the press;
- a brief sound confirms the action or pass;
- a small score change confirms progress;
- a distinct impact cue explains failure;
- state transitions prevent input from producing two meanings at once.
Feedback must not mask the information needed for the next decision. Large flashes, camera shake, long freezes, or overlapping sounds can turn clarity into noise. Offer independent audio controls where practical, avoid relying on color alone, and provide reduced-motion alternatives for nonessential shake or screen movement.
Instrument input timestamp, first visible motion frame, audio start, pass confirmation, and failure presentation. These measurements reveal latency and ordering errors. Then pair the logs with observation: a technically fast response can still be unclear if the animation contradicts the physics arc.
Restart speed completes the replay loop
Failure is frequent by design, so restart is part of the core mechanic rather than a menu concern. The player should understand why the run ended, see the result, and return to a predictable ready state with minimal friction.
Use explicit states such as READY, PLAYING, FAILED, and PAUSED. A press in FAILED may restart, but ensure the same press does not also apply an unintended impulse unless that behavior is deliberate and communicated. Reset vertical velocity, obstacle positions, score flags, timers, random state policy, audio loops, and transient effects. A partial reset creates failures that look like control mistakes.
The observable principle is a short, stable loop from failure to agency. The precise delay must be tested. Too little time can hide the cause of failure; too much becomes frustrating over many attempts. Measure time from collision to restart input, time from restart input to controllable motion, repeated restart errors, and abandonment after failure. Consider a replay or practice mode only if it answers a testing or learning need rather than adding ceremony.
Difficulty should change one readable demand at a time
Difficulty can come from smaller error budgets, shorter decision windows, stronger vertical transitions, moving openings, or additional goals. Combining all of them at once makes failure difficult to diagnose. Prefer staged changes with caps:
- introduce the base rhythm with generous openings;
- shorten decision time slightly;
- add bounded vertical variation;
- introduce one clearly cued obstacle behavior;
- combine known behaviors only after each has been learned.
Randomness needs constraints. Validate reachability, avoid sudden combinations that exceed the motion envelope, and keep the next relevant opening visible early enough to read. Dynamic difficulty can adjust demands, but hidden changes may undermine learning if identical-looking situations behave differently.
Accessibility is part of mechanics tuning
One-button control is not automatically accessible. Rapid repetition, precise timing, small touch targets, motion effects, audio-only cues, and low-contrast obstacles can still exclude players.
Support multiple equivalent inputs when the platform allows, such as touch, mouse, keyboard, switch-compatible controls, or controller buttons. Make essential interactive areas large enough to operate reliably. Do not require color perception or sound to identify the safe route. Offer volume controls, high-contrast presentation, reduced motion for nonessential effects, and adjustable game speed or a practice mode when those options fit the design.
Observe players using the intended settings and assistive inputs. Measure missed or duplicate inputs, control remapping success, completion rates by mode, and where instructions fail. Accessibility checklists identify common barriers; direct testing reveals how those barriers appear in your specific game.
Separate what you can observe from what you must measure
A useful analysis keeps two evidence levels distinct.
Observable design principles can be identified from play and presentation: one input alters vertical motion; gravity creates a recurring correction cycle; approaching gaps demand prediction; crossing obstacles advances score; collisions interrupt the run; rapid replay supports repeated learning. These are general design observations, not claims about hidden source code.
Values requiring instrumented testing include impulse magnitude, gravity, terminal velocity, timestep, input latency, scroll speed, obstacle spacing, gap range, collider inset, score-trigger position, feedback delay, restart delay, randomization bounds, and difficulty thresholds. These cannot be responsibly inferred from appearance alone. They also should not be copied blindly because your viewport, art, device latency, and audience differ.
Build a tuning sheet that records the value changed, hypothesis, test build, device, participant context, telemetry result, observation, and decision. Change one dominant variable at a time when possible. Preserve old builds so that “better” can be checked against a real comparison rather than memory.
A practical prototype test plan
Begin with original placeholder geometry and no reference-game assets. Establish one physics baseline, one static opening size, one scroll speed, simple colliders, pass scoring, and a clean restart. Then run this sequence:
- Trajectory test: record arcs from several starting velocities and verify stable results across frame rates.
- Reachability test: generate many obstacle sequences and reject those outside the simulated motion envelope.
- Perceptual collision test: review near misses with visible collider overlays and slow-motion capture.
- First-session test: let new players discover the input without coaching; note first score, failure comprehension, and restart behavior.
- Latency test: compare supported devices and inputs using input, motion, audio, and collision timestamps.
- Accessibility test: test alternative controls, contrast, audio-independent cues, and reduced-motion or speed options.
- Difficulty test: introduce one bounded change, compare outcomes, and inspect whether players understand the new demand.
Do not optimize only for higher scores. A strong prototype produces failures that players can explain, corrections they can predict, and enough variation to sustain learning. Once that foundation works, develop an original character, obstacle language, world, sound, UI, and progression system rather than copying recognizable branding, assets, or level presentation.
Key takeaway
Flappy Bird game mechanics are best understood as a tightly coupled timing system, not a list of magic constants. Impulse and gravity shape the arc; gap geometry defines allowable error; scroll speed sets decision time; hitboxes establish trust; score and feedback teach the rule; restart controls repetition; and difficulty plus accessibility determine who can keep learning. Observe the principles, measure the values in your own build, and use the result to create a game with its own identity.
Frequently Asked Questions
What are the core mechanics of a Flappy Bird-style game?
A single input changes vertical velocity, gravity continually pulls the character downward, horizontal motion brings gaps toward a collision line, passing an obstacle scores, collision ends the run, and a fast restart enables repeated learning. These are observable design principles, not evidence of the original game's hidden implementation values.
What gravity and flap impulse values should I use?
There is no universal pair. Units, viewport scale, timestep, input handling, and maximum fall speed all change the result. Instrument press-to-apex time, arc height, fall speed, and input latency in your own prototype, then playtest several paired settings.
How do obstacle spacing and scroll speed work together?
Spacing provides physical distance, while scroll speed converts that distance into reading and reaction time. Evaluate the interval from recognizing a safe opening to the moment a correction must begin, and validate that adjacent gaps remain reachable.
Should the hitbox be smaller than the visible character?
A modest inset can make decorative edges feel fair, but there is no standard amount. Use simple colliders, visible debug overlays, slow-motion near-miss review, and player feedback to align collision with the silhouette players actually perceive.
How should scoring be implemented?
Award once when the player fully crosses a defined plane beyond an obstacle. Store a scored flag per obstacle and reset it when pooled obstacles are recycled. Confirm the event with brief feedback that does not hide the next hazard.
Why is restart timing part of the core design?
Frequent failure makes the collision-to-replay interval part of every session. A restart must preserve enough time to understand the failure while returning control quickly and resetting velocity, score state, obstacles, timers, effects, and input state consistently.