A strong AI game tutorial video teaches a viewer how a project moved from idea to evidence. It should show what you asked the tool to do, what kind of playable was generated, what needed testing or debugging, and how you prepared the work for publication. It should not imply a complete public-release story when you do not have the proof for that claim.
For this kind of tutorial, the safe promise is narrower: from prompt to generated playable, testing, debugging and publish preparation. If you do not have a public URL, release receipt, storefront approval, or final publish capture, say so clearly.
What a tutorial video must prove
Before recording, decide the single lesson of the video. Good lessons include:
- How to turn a prompt into a first playable direction.
- How to compare two generated directions and choose one.
- How to test a generated build and identify blockers.
- How to debug a broken interaction or unclear objective.
- How to prepare assets, notes, and disclosures for publication.
A tutorial fails when it mixes too many lessons. A short, focused video usually teaches more than a broad “watch me make a whole game” claim.
Start with a production brief
Write a one-page brief before opening the recorder.
- Audience: who is this for?
- Lesson: what will they learn by the end?
- Evidence target: what must be visible on screen to support the lesson?
- Scope boundary: what will the video not claim?
- Output format: short walkthrough, narrated breakdown, chaptered tutorial, or silent annotated demo.
For example: “Show how a racing prompt became a generated playable, what was tested, what was debugged, and what publish-preparation notes were collected.” That is concrete and does not overclaim a finished release.
Choose evidence before polishing
The most useful tutorial videos are built around evidence, not mood. Collect the artifacts first:
- Prompt or brief excerpts that define the task.
- Workspace moments that show generation, iteration, or debugging.
- A real playable segment that demonstrates the result.
- Notes about what failed, changed, or stayed unresolved.
- Publish-preparation items such as title, description, controls, disclosure, credits, or asset checks.
If you only have cinematic footage, you do not yet have a tutorial. If you only have a workspace UI and no playable evidence, you do not yet have a gameplay tutorial. The two halves need to connect.
Record the workflow in four chapters
1. Brief
Open with the problem and the boundary. State what kind of game or mechanic you are trying to produce, who the viewer is, and what evidence the video will show. Keep this part short.
2. Build
Show the prompt, generation direction, and first working result. Focus on what the viewer can reuse: constraints, prompt structure, mechanic definition, camera choice, interface requirements, and any important iteration decision.
3. Test and debug
This is the part many creators skip, but it is where the tutorial becomes trustworthy. Show where the first result broke, confused the test, or needed revision. Name the issue and the fix attempt. If the issue remained unresolved, say that too.
4. Publish preparation
End with what is ready for publication and what is not. Publish preparation can include metadata, instructions, asset-rights checks, disclosure text, thumbnails, version notes, or packaging. It does not automatically mean that the project was publicly released.
Use truthful media boundaries
Your recorded media should match the proof you have.
- If you have a gameplay segment, label it gameplay.
- If you have workspace generation and debugging, label it product workflow.
- If you only prepared publish metadata, call it publish preparation.
- If a step was not recorded, do not imply that it happened on camera.
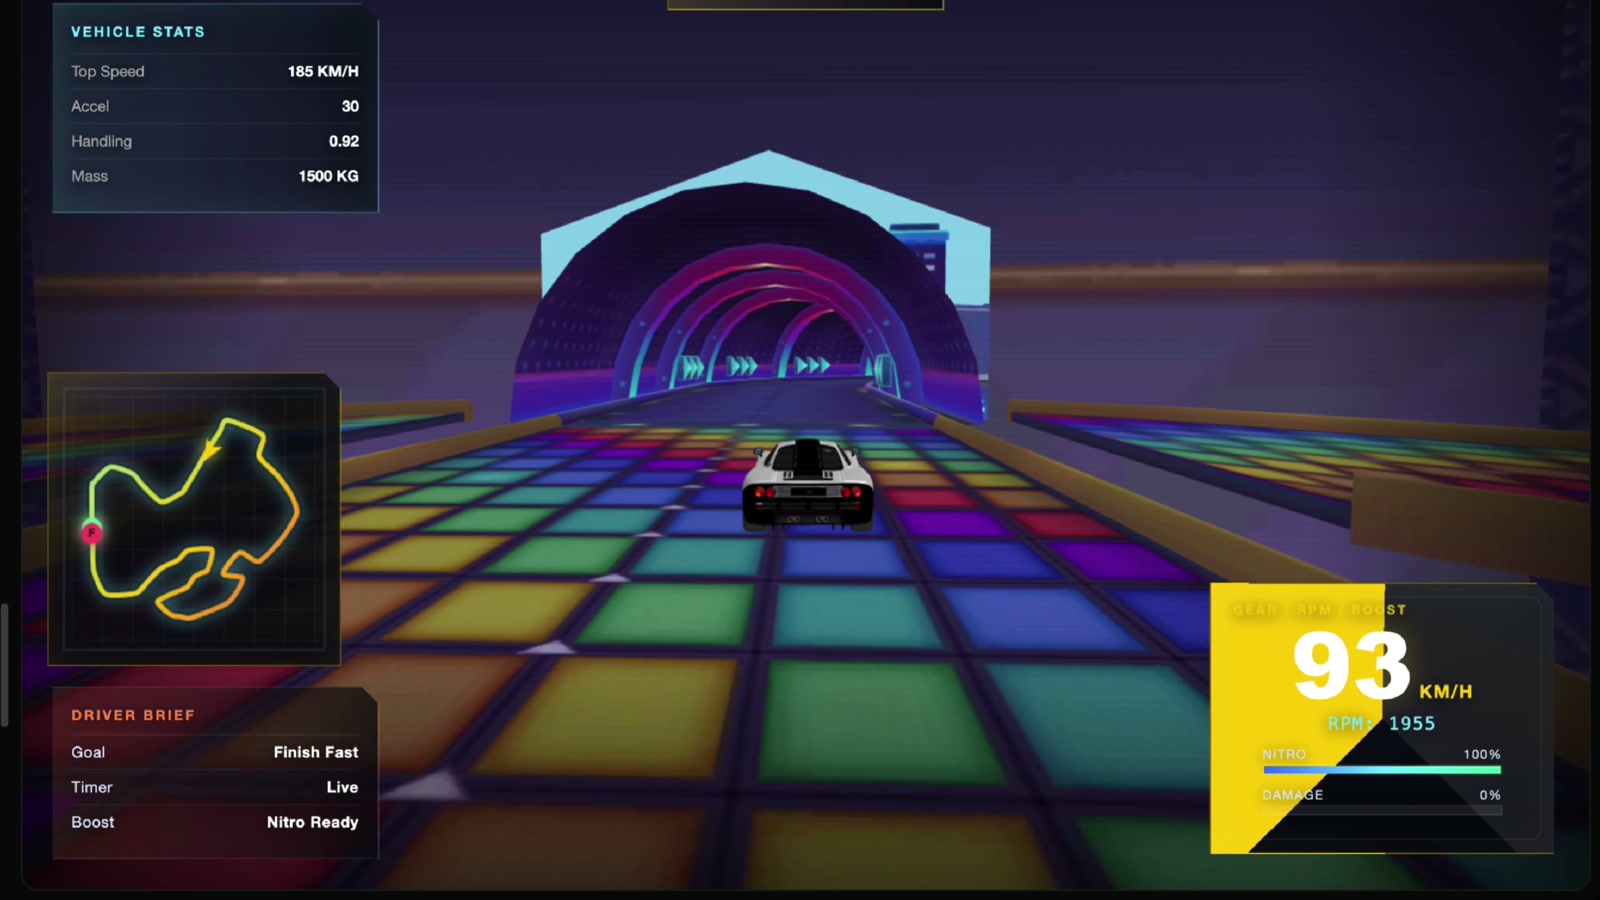
A sanitized reference clip can still be useful. For this article, the sample clip is a cropped gameplay-only segment from an official product screen recording so it avoids old internal UI and logs. Use it as gameplay evidence, not as proof of final publishing success.
Reference media: 12-second gameplay sample MP4
Build the edit around questions, not chronology
A tutorial is easier to follow when each chapter answers a question:
- What was the target experience?
- What prompt or instruction defined it?
- What did the first playable prove?
- What broke in testing?
- What changed after debugging?
- What is ready for publication, and what still needs confirmation?
This structure is better than showing every click in order. Chronology is useful only when it helps the viewer reproduce a decision.
Narration rules that protect credibility
Use careful language:
- Say “generated playable” instead of implying a shipped game.
- Say “testing and debugging” when the build was revised after review.
- Say “publish preparation” when metadata, packaging, or disclosure was prepared without a confirmed public release.
- Say “reference clip” or “sample gameplay segment” for a cropped excerpt.
Avoid unsupported phrases such as “went viral,” “fully shipped,” “players loved it,” or “complete release workflow” unless you can show the corresponding proof.
Tutorial video outline template
Title:
Audience:
Lesson:
Scope boundary:

Chapter 1 — Brief
- What game or mechanic is the tutorial about?
- What constraints shaped the prompt?

Chapter 2 — Build
- What prompt or instruction was used?
- What first generated playable appeared?
- What was immediately promising?

Chapter 3 — Test and debug
- What failed or felt unclear?
- What was changed?
- What evidence shows the change?

Chapter 4 — Publish preparation
- What metadata, instructions, disclosures, or assets are ready?
- What is still unconfirmed?

Closing
- What should the viewer try next?
- Which evidence links or resources can they inspect?
Recording checklist
Before export, verify:
- The tutorial has one clear lesson.
- The opening promise matches the recorded evidence.
- Prompt, generated playable, testing, debugging, and publish-preparation sections are distinguishable.
- Crops remove old internal product names, domains, logs, or unrelated UI.
- Gameplay footage is real gameplay rather than a mockup.
- Any missing release proof is named honestly.
- Thumbnail and title do not overclaim what the viewer will see.
- Third-party assets, music, fonts, and footage are licensed.
- AI-assisted parts are disclosed where relevant.
- Links and credits work outside your signed-in session.
Turn a tutorial into a creator contribution
A useful tutorial video can support a Creator Program application when it teaches a real SEELE AI workflow and uses honest evidence. Review the SEELE Creator Program guide, then check the official Creator Program page for current terms.
If the tutorial also documents iteration over time, pair it with the game development devlog guide. If the tutorial becomes a broader case study, use the game creator portfolio guide. If the footage comes from a community challenge or jam, the AI game jam guide helps define disclosure and submission evidence without implying a SEELE-hosted event.
FAQ
Does a tutorial video need to show a full public release?
No. If you only have evidence up to publish preparation, say that clearly and avoid claiming a complete public-release workflow.
What is the minimum evidence for an AI game tutorial video?
At minimum, show the brief or prompt, a generated playable or concrete build result, and some form of testing or debugging evidence. Without that chain, the video is closer to a promo than a tutorial.
Can I use a cropped gameplay segment as tutorial evidence?
Yes, if the crop removes unrelated or internal UI, the segment is accurately labeled, and you do not imply steps that the clip does not show.
What should “publish preparation” include?
It can include title, description, controls, disclosure text, credits, packaging notes, asset-rights checks, and other materials needed before publication. It does not by itself prove that publication succeeded.
Can a tutorial video support a SEELE Creator Program application?
Yes. A focused tutorial can be a strong proposal when it clearly teaches a SEELE AI workflow, names its audience, and describes the evidence it will publish. Review the official Creator Program page before applying.