
Quick answer
A useful Blender model is not defined by appearance alone. It needs a clear license, predictable scale, readable topology, complete materials, and an import path that preserves the information your scene needs.
The decision should be based on the destination, evidence from a representative test, and a documented handoff. Generated or downloaded assets still require human review for rights, geometry, materials, scale, performance, and compatibility.
Decide what the model must do
Start with the destination: still render, real-time game, animation, simulation, or 3D printing. The same object can require very different topology, material, scale, and rigging decisions. A hero prop for a close camera can carry more geometry than background clutter, while an animated character needs deformation-friendly edge flow that a static marketplace model may not provide.
Write an acceptance brief before downloading or generating anything. Record camera distance, target engine, expected motion, collision needs, texture budget, and whether the asset will be edited. This turns “find a Blender model” into a testable production request.
Stage checkpoint
- Write the intended outcome and owner.
- Record what was inspected and what remains unverified.
- Test one representative asset in the destination before scaling the workflow.
Check provenance and license first
Free does not mean unrestricted. Confirm commercial use, redistribution, attribution, derivative-work, and machine-learning clauses from the original source. Save the license URL and date with the asset. If the source cannot establish ownership or usage rights, treat the model as reference only.
Generated models need the same discipline. Review prompts and outputs for protected characters, logos, signature product shapes, and copied design language. Provenance belongs in the handoff manifest, not in a forgotten browser tab.
Stage checkpoint
- Write the intended outcome and owner.
- Record what was inspected and what remains unverified.
- Test one representative asset in the destination before scaling the workflow.
Inspect geometry before scene work
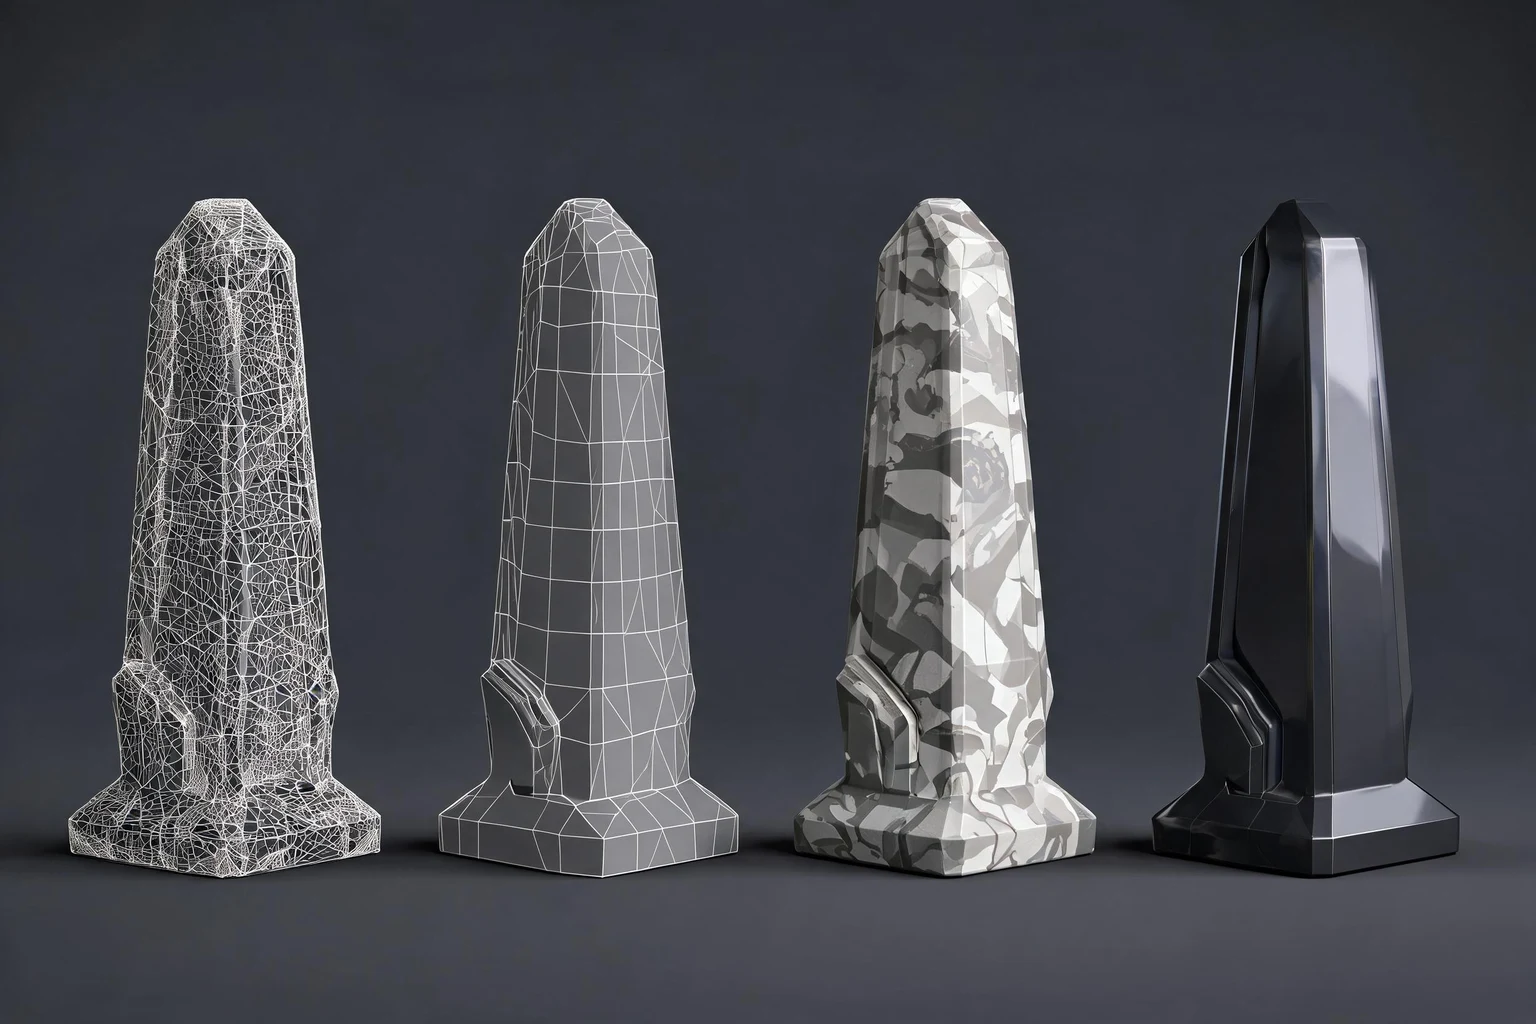
Open the model in an isolated Blender file. Check object count, modifiers, hidden geometry, duplicate vertices, non-manifold edges, inverted normals, unapplied transforms, and extremely dense areas. Wireframe and face-orientation views reveal problems that a beauty render hides.
Topology quality is task-specific. Triangles can be fine for static real-time assets, while deformation zones usually need controlled loops. Automated cleanup can reduce obvious waste, but silhouette, articulation, and shading still need human judgment.
Stage checkpoint
- Write the intended outcome and owner.
- Record what was inspected and what remains unverified.
- Test one representative asset in the destination before scaling the workflow.
Normalize scale, axes, and naming
Set units intentionally and measure a known dimension. Apply transforms only when doing so will not break rigs, constraints, or linked data. Rename objects, materials, armatures, and collections so another teammate can understand the file without opening every node tree.
Axis conventions differ between tools and engines. Test one export-import loop early instead of discovering orientation or scale errors after animation and material work. Keep the test file beside the source so the decision is reproducible.
Stage checkpoint
- Write the intended outcome and owner.
- Record what was inspected and what remains unverified.
- Test one representative asset in the destination before scaling the workflow.
Audit materials, UVs, and textures
Look for missing image paths, unsupported procedural nodes, overlapping UVs, inconsistent texel density, and oversized maps. Pack or relink textures deliberately. A model that looks correct on the author’s machine may open pink or flat when absolute paths and proprietary shaders disappear.
For games, decide which shader information must be baked into portable PBR maps. Keep source materials for editing, but provide a simplified delivery set with documented color-space and channel-packing rules.
Stage checkpoint
- Write the intended outcome and owner.
- Record what was inspected and what remains unverified.
- Test one representative asset in the destination before scaling the workflow.
Choose download, generation, or custom modeling
Download when a licensed asset already matches the design and cleanup cost is low. Generate when exploration speed matters and the team can review topology, style, and rights. Model from scratch when precise deformation, manufacturing, brand, or art-direction requirements dominate.
The cheapest acquisition route is not always the cheapest production route. Compare total cleanup, rework, documentation, and integration time before committing.
Stage checkpoint
- Write the intended outcome and owner.
- Record what was inspected and what remains unverified.
- Test one representative asset in the destination before scaling the workflow.
Prepare a durable Blender handoff
Deliver the source file, portable textures, preview renders, license record, unit convention, known limitations, and a tested export sample. Remove unused data blocks only after confirming nothing depends on them.
A strong handoff states what was verified and what was not. That evidence lets the next artist or developer make decisions without repeating the entire investigation.
Stage checkpoint
- Write the intended outcome and owner.
- Record what was inspected and what remains unverified.
- Test one representative asset in the destination before scaling the workflow.
How to make the workflow repeatable
Separate source, working, and delivery files
Keep the untouched source beside an editable working file and a clean delivery package. The source preserves provenance, the working file preserves modifiers and construction history, and the delivery package contains only the dependencies the next tool or teammate needs. Version these layers deliberately. Replacing all three with one overwritten file makes defects difficult to trace and rollback nearly impossible.
Use named checks instead of subjective approval
“Looks good” is not a durable gate. Define checks such as correct real-world scale, no unexpected non-manifold geometry, required UV coverage, resolved texture paths, verified material channels, expected animation range, target triangle budget, and successful import into a clean project. Record pass, revise, or blocked beside each check, along with the reviewer and date.
Test the risky assumption first
Every asset has one or two assumptions that can invalidate later work: a character may fail deformation, a prop may lose shading during export, a material may not translate, or a scene may exceed memory. Build a small test around the highest-risk assumption before polishing. Early evidence is cheaper than late confidence.
Preserve measurable evidence
Save wireframe views, face-orientation captures, material previews, profiler numbers, import logs, and before-and-after comparisons when they support a decision. Evidence does not need to be elaborate; it needs to be tied to the asset version and acceptance criterion. This makes optimization and troubleshooting reproducible instead of anecdotal.
Document limitations in the handoff
State missing maps, unsupported shader nodes, untested platforms, excluded animations, known intersections, license constraints, and any manual setup the receiver must perform. A limitation that is written down can be planned around. A limitation discovered after integration becomes schedule risk.
Scale only after one complete vertical slice
Run one representative asset through the entire path before batching dozens of files. The vertical slice should exercise naming, folders, export settings, textures, engine import, review, and rollback. Update the checklist with what the test reveals, then automate only the stable and well-understood steps.
Assign ownership at every transition
Each transition should name the person responsible for accepting the next state. The modeler can verify editable geometry, the technical artist can verify rigs and material translation, and the engine owner can verify runtime behavior. Clear ownership prevents a file from moving forward merely because nobody stopped it. It also makes revision requests specific: the receiving owner can cite a failed criterion, return the correct version, and preserve the rest of the approved work.
Review change impact before regenerating
Regeneration is useful when the concept or large forms are wrong, but it can destroy approved details and invalidate downstream evidence. Before replacing an asset, identify which decisions should remain stable, which stage owns the change, and which checks must be repeated. For a small defect, a targeted edit may be safer than a complete restart. For a wrong silhouette or incompatible structure, returning to an earlier stage is often cheaper than patching every later artifact.
Practical review checklist
- State the asset’s job, camera distance, target runtime, and owner.
- Save provenance, license, source version, and editable originals.
- Inspect geometry, transforms, normals, UVs, materials, and naming.
- Test scale, axes, textures, motion, and dependencies in a clean destination project.
- Measure performance in context instead of relying on file size alone.
- Record known limitations and the next human decision.
Frequently Asked Questions
Do I need coding experience to start?
No coding is required to begin with a structured prompt. Technical review is still needed before treating any generated asset or workflow as production-ready.
Is the first result ready to ship?
No. Treat the first result as a reviewable draft, then check geometry, materials, scale, rights, performance, and destination-specific requirements.
How does this page connect to SEELE AI?
The page carries a concrete brief into SEELE Workspace, where you can continue prompting and iteration. It does not claim a separate one-click browser utility.
What should I include in the first prompt?
Name the intended asset, visual direction, target use, scale, topology or motion needs, material constraints, and the decision you want to review first.
What should I verify before exporting or sharing?
Check rights, geometry, transforms, UVs, materials, scale, naming, performance, and compatibility in the actual destination tool or runtime.
Can this workflow replace a 3D artist or technical review?
No. It can structure a starting brief and iteration plan, while artistic judgment, technical validation, cleanup, and final delivery remain human responsibilities.