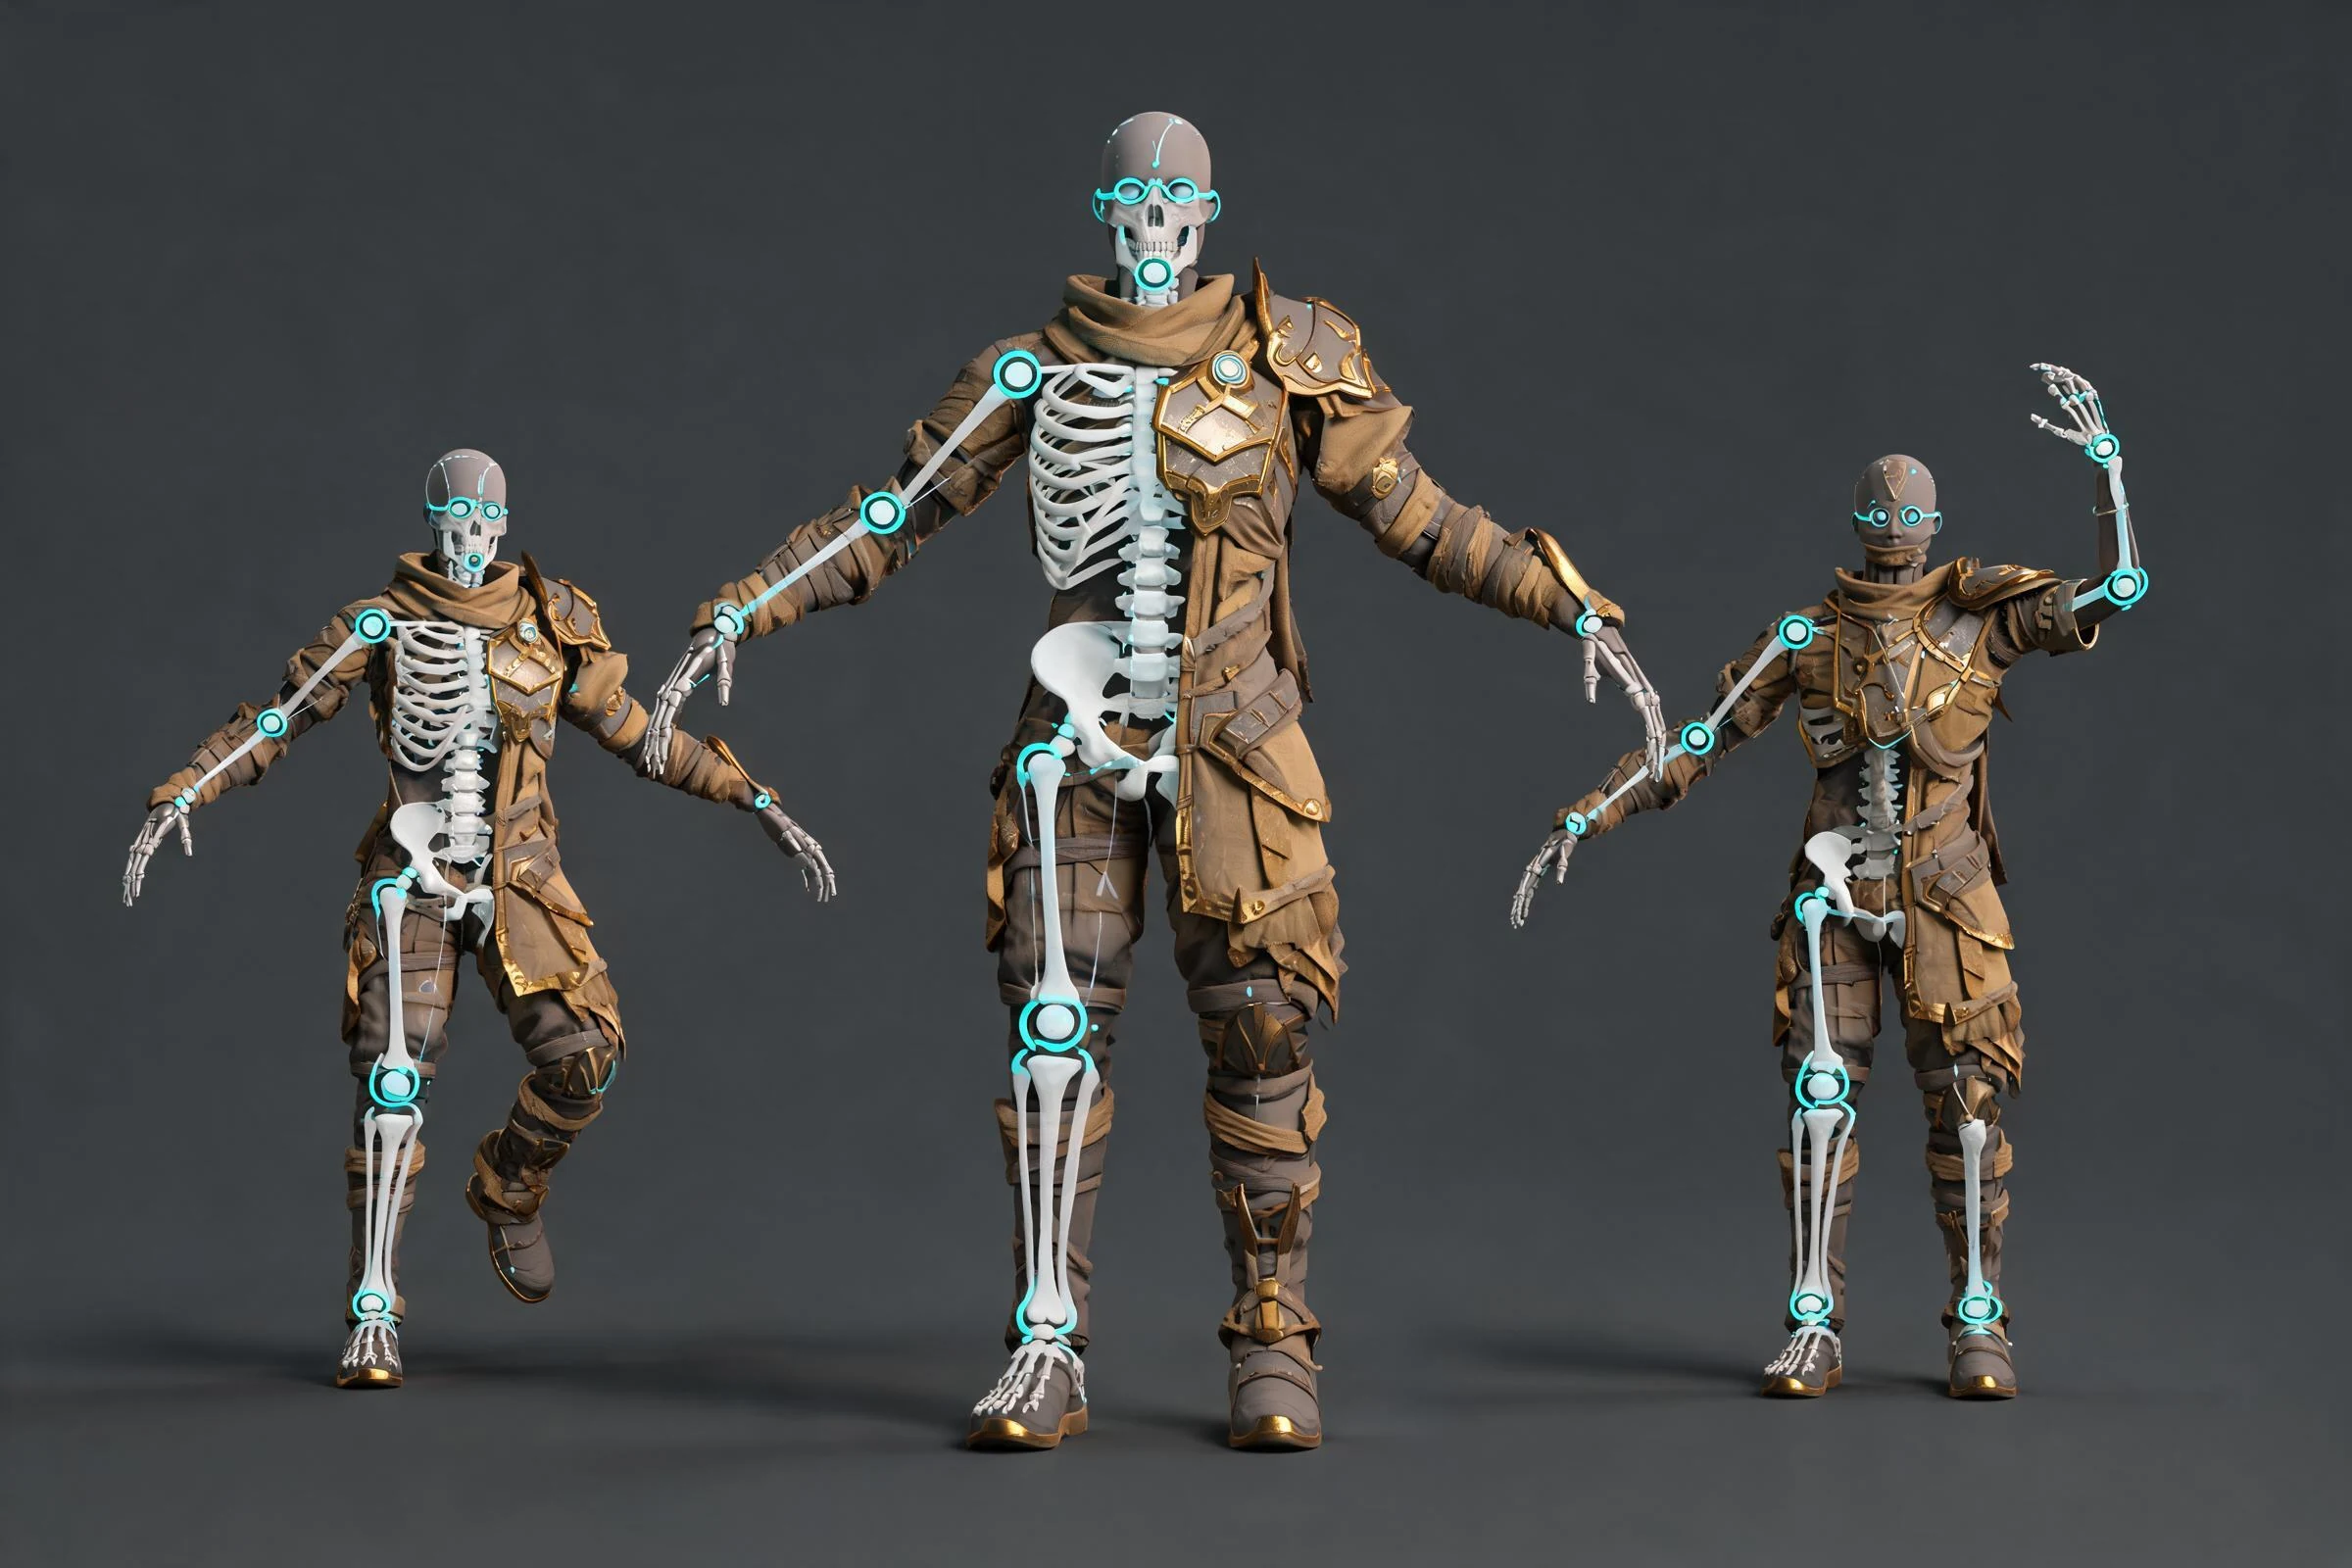
Key Takeaways: Game-Ready 3D Assets Guide
- A game-ready 3D asset is not simply a low-poly model or an export in a familiar format. It is an asset that meets a written contract for one destination: correct rights, scale, transforms, geometry, UVs, materials, textures, rig behavior, collisions, levels of detail where needed, naming, packaging, engine import, and measured runtime performance. Make the asset ready by defining that contract first, preparing only the data the game needs, importing it into the real target version, and validating it in a representative scene on target hardware.
Direct answer: A game-ready 3D asset is not simply a low-poly model or an export in a familiar format. It is an asset that meets a written contract for one destination: correct rights, scale, transforms, geometry, UVs, materials, textures, rig behavior, collisions, levels of detail where needed, naming, packaging, engine import, and measured runtime performance. Make the asset ready by defining that contract first, preparing only the data the game needs, importing it into the real target version, and validating it in a representative scene on target hardware.
“Looks good in the source viewport” is a milestone. “Passes the destination acceptance test” is game-ready.
What game-ready means
Game readiness is the intersection of four outcomes:
- Visual: the asset reads correctly from the game camera under representative lighting and materials.
- Technical: geometry, transforms, UVs, skeletons, animation, collisions, and metadata import predictably.
- Runtime: the asset fits measured budgets in a representative scene and target device.
- Operational: rights, source files, versions, naming, ownership, and revision paths are documented.
An asset can pass one area and fail another. A beautiful hero model may be too expensive when instanced across a level. A very light mesh may silhouette poorly. A correctly rigged character may lose clip names during handoff. A technically clean model may have uncertain rights. The acceptance contract keeps these failures visible.
Write the asset contract before editing
Use a compact specification:
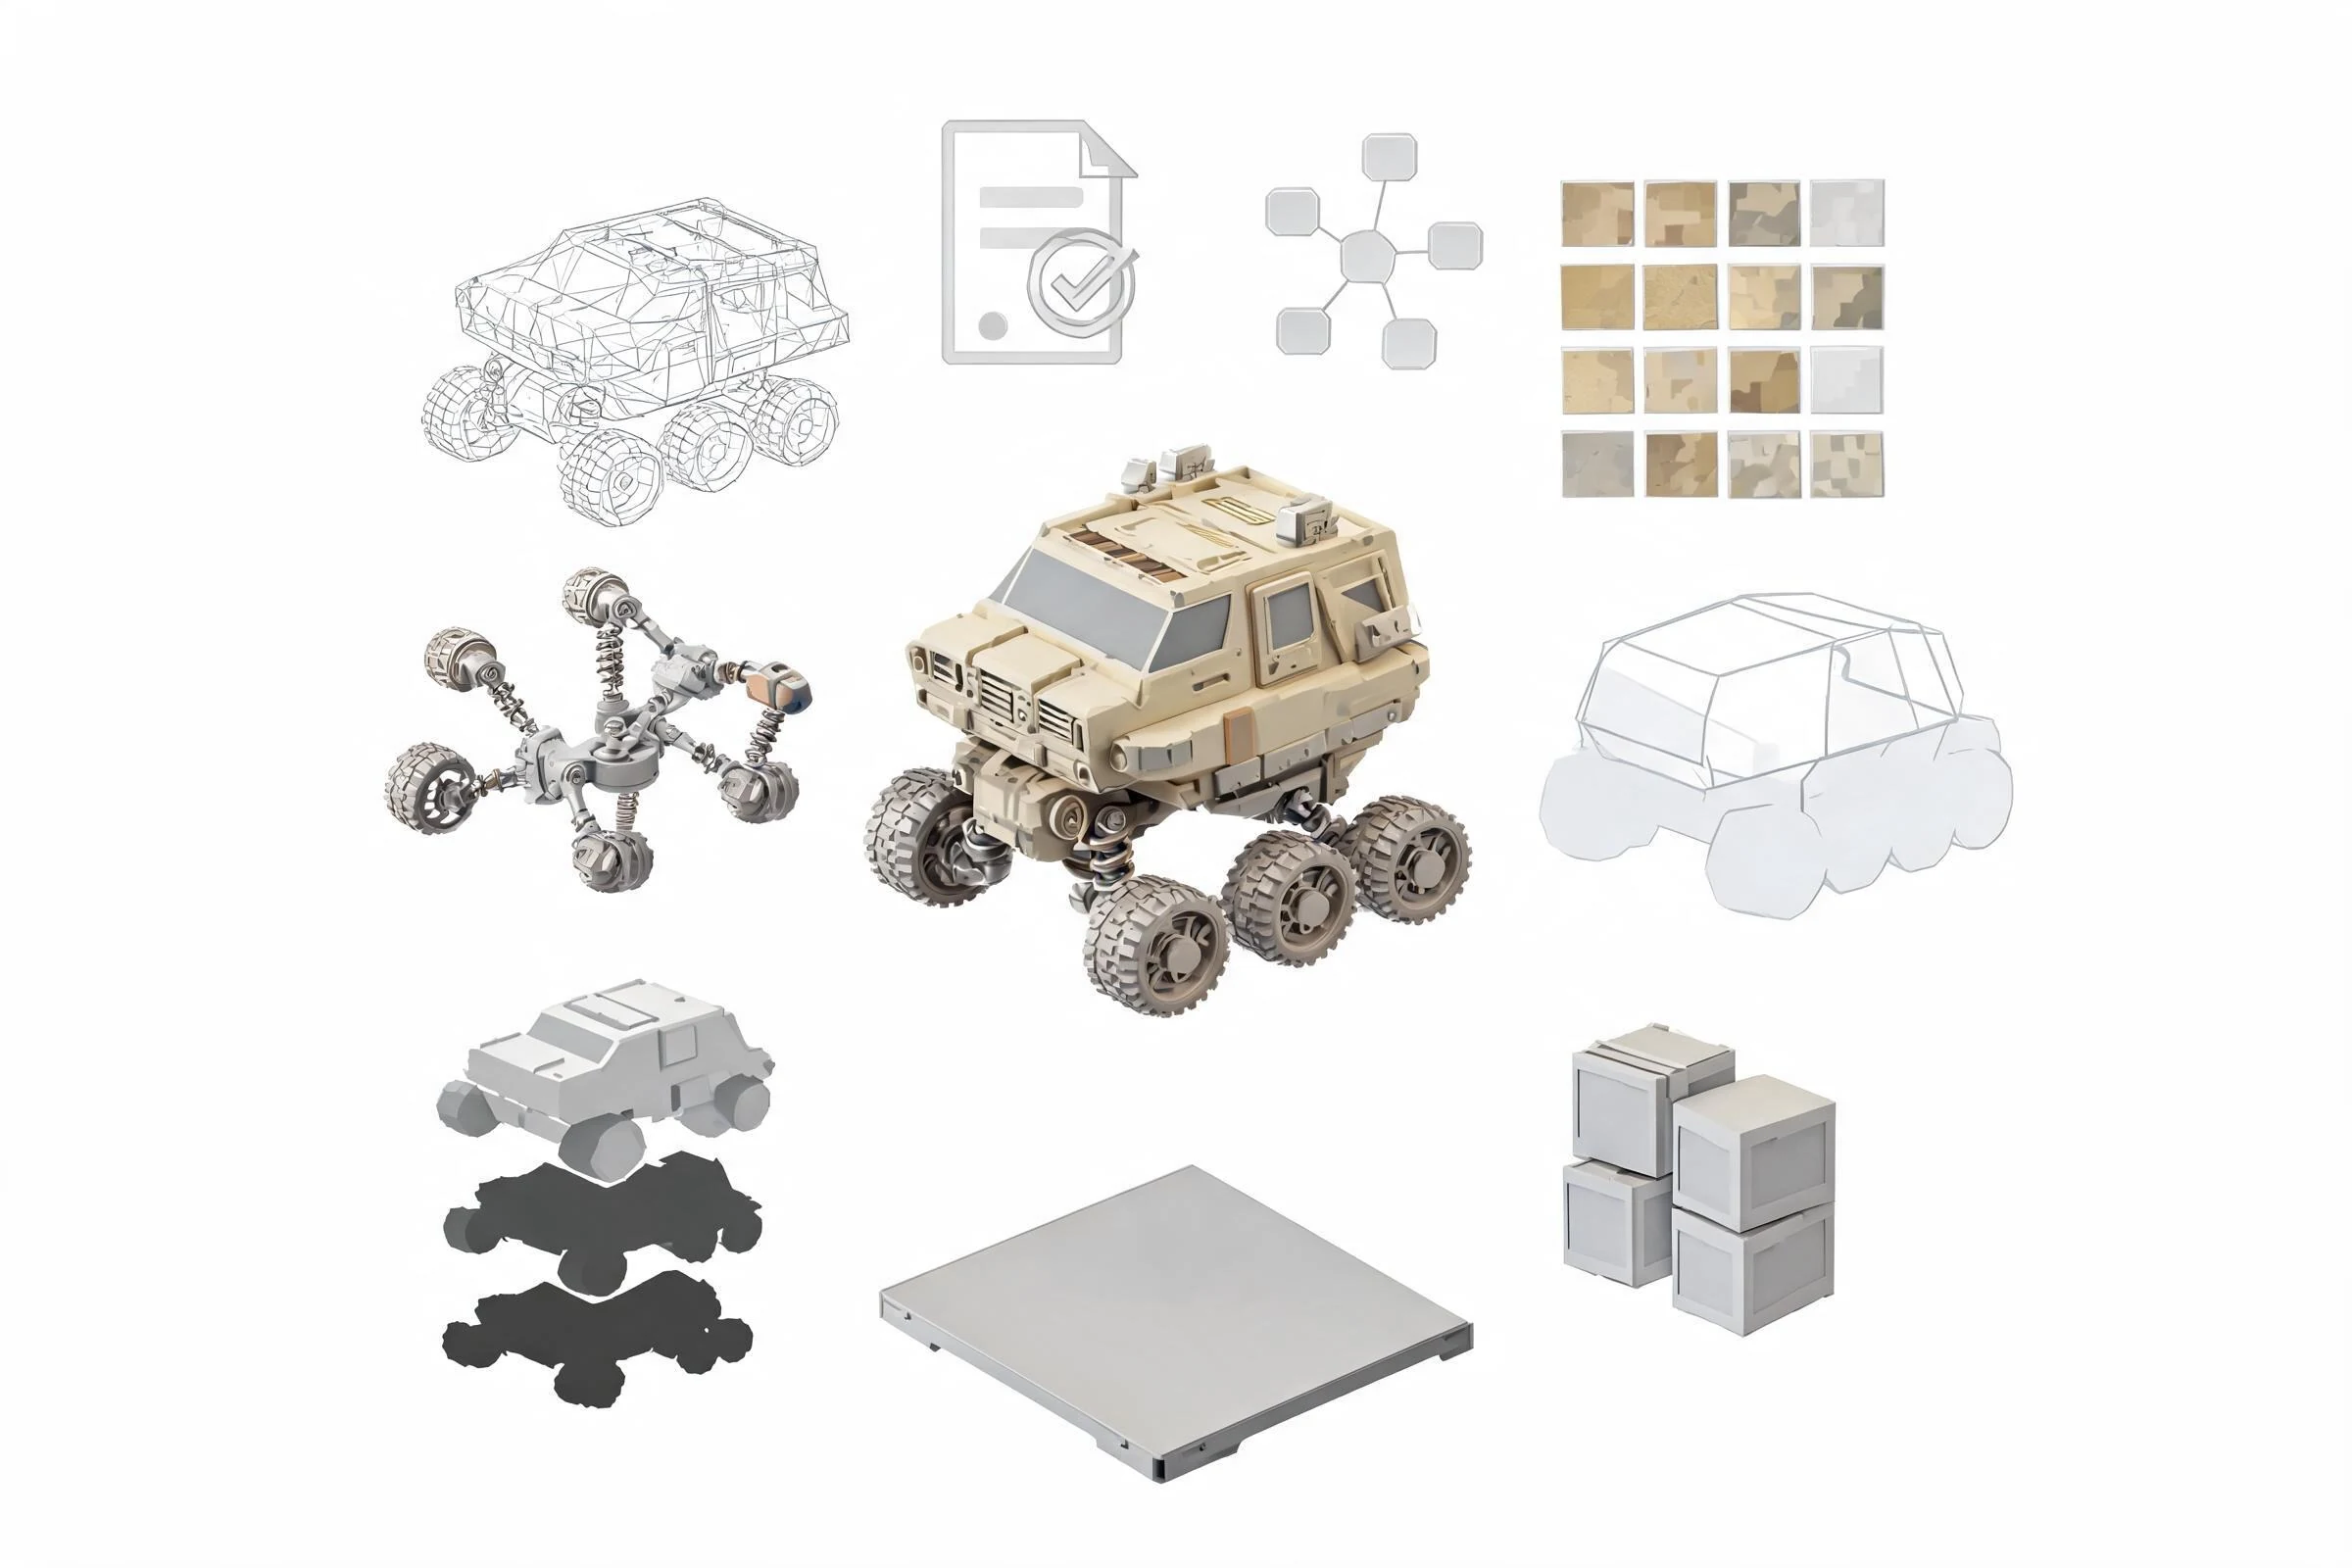
- asset ID and owner;
- gameplay role and expected count on screen;
- target engine, project, and version;
- target platforms and representative hardware;
- camera distance, field of view, and silhouette importance;
- movement, deformation, and animation requirements;
- material model and channel conventions;
- collision behavior;
- LOD or streaming strategy, if required;
- source and delivery formats, verified separately;
- naming and folder rules;
- rights, license, attribution, and provenance;
- validation scene and pass/fail evidence;
- known exceptions and approver.
Do not copy budgets from another project without checking the same renderer, platform, scene density, and quality target. A contract should contain measurable local requirements, not folklore.
Geometry and topology
Preserve the silhouette that the camera can see
Spend geometry where it changes the outline, deformation, shading, or gameplay interaction. Remove detail that never affects those outcomes only after checking the game camera. A perfectly smooth source mesh can waste budget; an aggressively reduced silhouette can look broken even if the topology is “clean.”
Use a before-and-after turntable or camera-distance test. Compare not only triangle count but also shading, animation, shadow, and collision consequences. The correct reduction is the one that meets the scene budget while preserving the intended read.
Build topology for deformation and shading
Static props need stable surfaces, deliberate hard/soft edges, and predictable triangulation. Deforming characters need edge flow around joints, enough geometry for bends, and test poses that expose collapse or volume loss. Avoid invisible interior geometry unless the asset can open, break, or be seen from inside.
Triangulation may change across tools. If exact deformation or shading depends on diagonal direction, make the final triangulation decision deliberately and validate it after import. Do not assume the destination reproduces the source viewport.
Keep parts meaningful
Separate parts when gameplay, material, animation, damage, visibility, or reuse requires it. Combine parts when separation creates unnecessary complexity. The decision should serve runtime and authoring needs; “one mesh” and “many meshes” are not universal goals.
UVs, materials, and textures
UVs are a destination contract
Confirm whether the asset needs one or more UV sets, unique baking space, tileable materials, mirrored regions, lightmap UVs, decals, or another project-specific convention. Check overlap rules and padding at the intended texture resolution and mip behavior.
A UV layout that is acceptable for one material system may fail another. Record channel purpose and do not silently repurpose UV sets during export.
Reduce material complexity deliberately
Material count, shader complexity, transparency, texture sampling, and state changes can all affect performance. The right approach depends on the renderer and scene. Consolidating materials may help one bottleneck but reduce variation or increase texture memory. Profile the real result rather than assuming that fewer material slots always wins.
Export explicit texture semantics
Name maps by role and document channel packing. Base color, normal, roughness, metallic, ambient occlusion, emissive, opacity, and masks have different color-space and import expectations. Packing conventions vary across engines and projects, so never describe one packing scheme as universal.
Inspect compression, mipmaps, alpha, normal orientation, and material response in the destination. The source painter’s preview is not the final authority.
Scale, pivots, transforms, and naming
Scale errors create problems in cameras, physics, animation, lighting, and interaction. Establish units in the source, compare the asset with a known reference object, apply or preserve transforms according to the pipeline, and verify imported dimensions numerically.
Place pivots for the asset’s actual behavior: doors at hinges, wheels at axles, props at stable placement points, modular pieces on a documented grid, and characters on the project’s ground convention. Record axis conventions and do not rely on repeated manual rotation after every import.
Use stable names for meshes, materials, bones, animation clips, collisions, and LODs according to project rules. Names should communicate role and survive automation. Avoid source-tool defaults that become ambiguous when many assets are assembled.
Rigs and animation readiness
A game-ready character requires more than a skeleton. Validate:
- hierarchy and required joints;
- bind or reference pose;
- skin weights under extreme and representative poses;
- root placement and root-motion policy;
- scale and transforms;
- clip boundaries, names, loops, and events where applicable;
- constraints or control rigs that must be baked or reconstructed;
- facial, cloth, hair, or accessory behavior;
- destination retargeting only if supported and tested;
- platform-specific character requirements.
Keep animator controls in editable source. Deliver only the runtime data the destination needs, while preserving the source needed for future revision. Test idle, locomotion, an extreme pose, and any gameplay-critical action after import.
Collision and interaction
Collision geometry serves gameplay and physics, not visual fidelity. A render mesh may be too complex, unstable, or semantically wrong as a collider. Define whether the asset needs simple primitives, compound collision, a reduced custom shape, per-part hit regions, navigation support, or no collision.
Test placement, movement, projectiles, player traversal, physics response, and edge cases in the game. Keep collision names and ownership explicit. A collision mesh that imports successfully can still create incorrect gameplay.
LODs, culling, and streaming
Levels of detail can reduce work for distant assets, but they add authoring, memory, transition, and maintenance costs. Use them when measured scene behavior justifies them. Preserve silhouette and shading across transitions, check material compatibility, and test animation if the asset deforms.
Culling, impostors, instancing, streaming, mesh clustering, or engine-specific geometry systems may be better levers for some scenes. Their availability and requirements depend on the engine, version, platform, and asset type. Verify current documentation and profile on target hardware.
Do not label an asset “optimized” because LOD files exist. Confirm that the intended LODs are selected, transitions are acceptable, and the runtime bottleneck improves.
Packaging, versions, and provenance
A reliable delivery package should include:
- editable source file or documented source location;
- delivery files with versions and export settings;
- textures with semantic names and rights records;
- preview images from the real destination;
- scale, axis, pivot, material, rig, collision, and LOD notes;
- validation logs or checklist;
- known issues and exceptions;
- creator, reviewer, date, and destination version;
- license, attribution, and source provenance.
Do not include unnecessary caches, temporary files, hidden dependencies, or unlicensed references. A teammate should be able to identify the source of truth and repeat the handoff.
Engine import and acceptance workflow
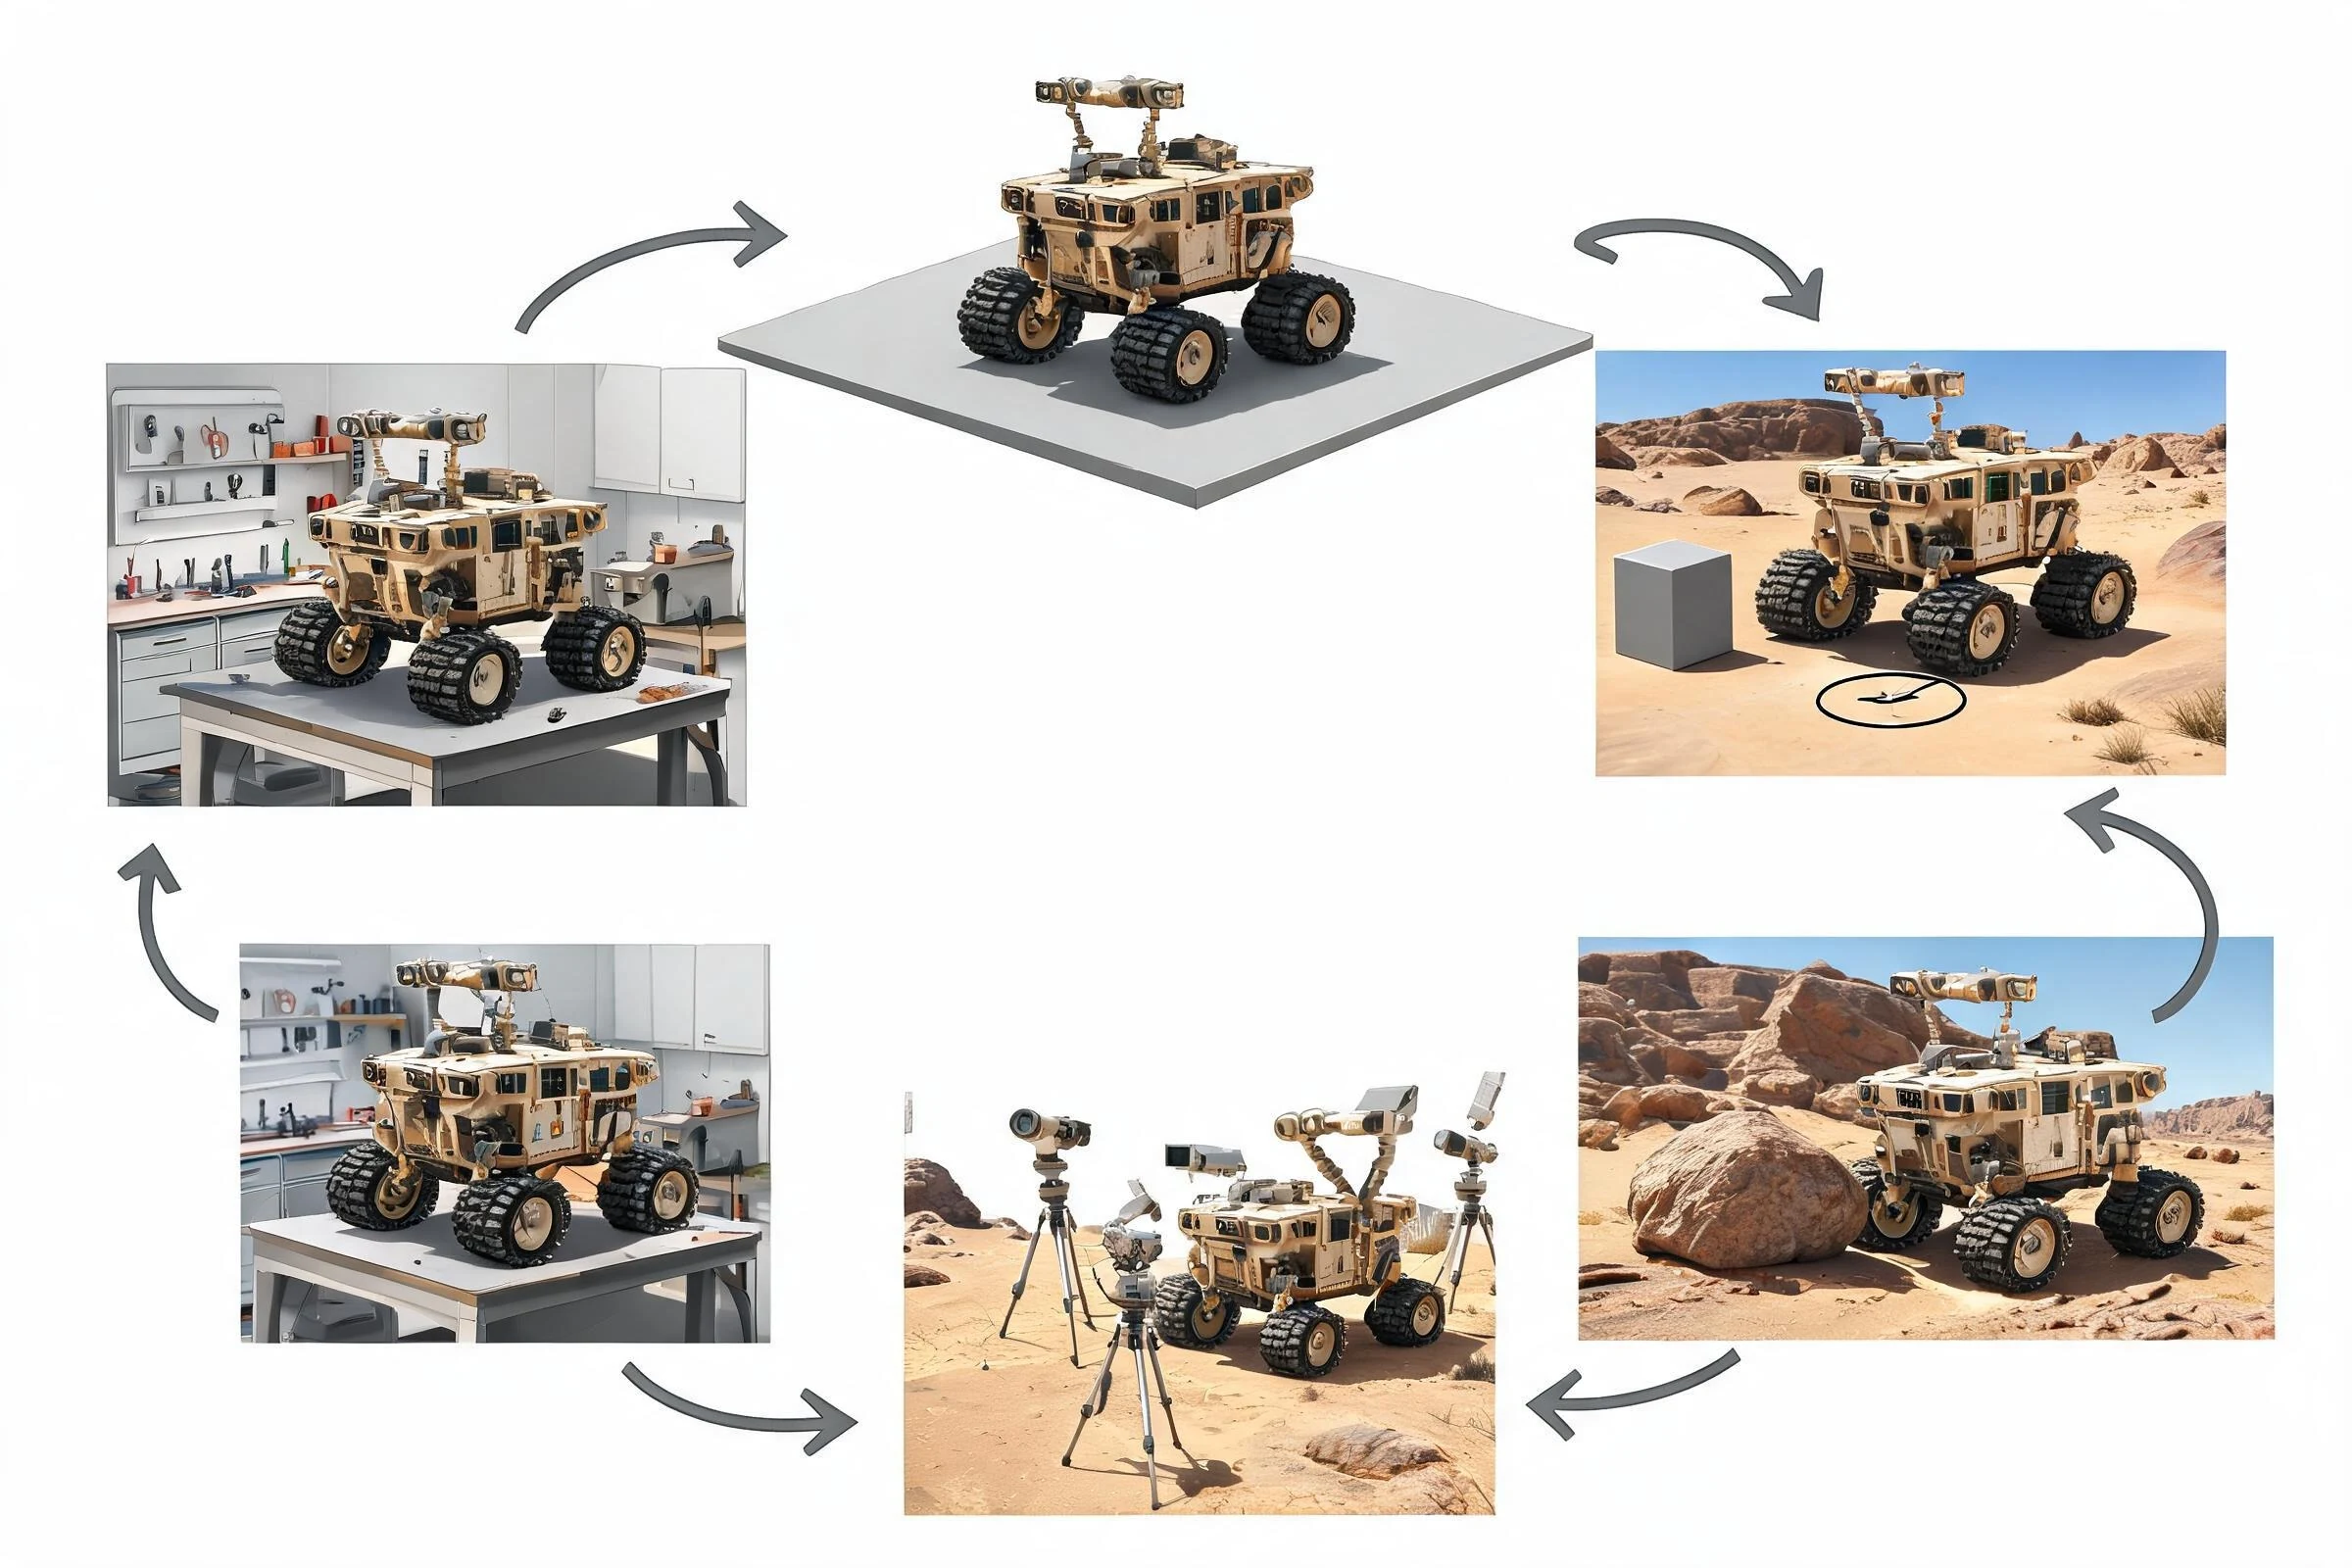
1. Import into a clean test location
Use the real target engine and project version. Capture importer warnings rather than clearing them without review.
2. Validate identity
Confirm dimensions, orientation, pivot, mesh count, material assignments, textures, skeleton, clips, collision, and LOD recognition. Compare against the contract.
3. Place in a representative scene
Use the actual camera range, lighting, nearby assets, animation states, and expected instance count. A blank viewer can hide the problem the asset creates in context.
4. Profile the bottleneck
Measure the metrics relevant to the project—render, CPU, GPU, memory, streaming, animation, physics, or load behavior—using the engine’s current profiling tools. Record device, build, scene, camera, and method. Do not estimate missing results.
5. Revise the source and repeat
Fix the highest-impact failure in the editable source, re-export through the documented path, and confirm that updates do not require manual reconstruction. Version the accepted result and record the approver.
Three acceptance examples
Reusable environment prop
The contract includes modular scale, pivot, material variants, collision, instance density, and camera range. The test scene places many copies under representative lighting. Acceptance depends on silhouette, seams, collision, and measured scene impact—not an isolated turntable.
Animated character
The contract includes skeleton, bind pose, deformation, clip naming, root policy, materials, and target platform. The test covers locomotion, an extreme pose, equipment attachment, camera distance, and runtime animation behavior.
Large background structure
The contract includes streaming or culling assumptions, collision boundaries, material strategy, and distant representation. The test includes approach from gameplay paths, shadow behavior, loading, and destination-specific geometry systems only where verified.
Frequently Asked Questions
What makes a 3D asset game-ready?
It is game-ready when it has clear rights, meets a destination-specific contract, imports predictably, looks correct in context, behaves as required, fits measured runtime constraints, and retains an editable revision path.
How do I make game ready assets?
Define the target first; prepare geometry, UVs, materials, textures, transforms, naming, rigs, collisions, and LODs as needed; package provenance; import into the real engine version; test in a representative scene; profile; revise; and record acceptance.
Does game-ready mean low poly?
No. Geometry is only one factor. The asset must meet visual, deformation, material, collision, memory, rendering, animation, packaging, rights, and maintainability requirements for its destination.
How many polygons should a game-ready model have?
There is no universal count. Set a local budget from camera distance, silhouette, platform, scene density, shading, deformation, and profiler evidence. Validate the asset in the representative scene.
Does a familiar file format make an asset game-ready?
No. A file can import while losing scale, materials, hierarchy, rig behavior, animation, or custom data. Import fidelity, runtime behavior, rights, and revision workflow must be checked separately.
Do all game assets need LODs?
No. LODs help when measured distance and scene behavior justify their cost. Small, rare, hidden, or otherwise inexpensive assets may not benefit. Use destination profiling and visual transition tests.