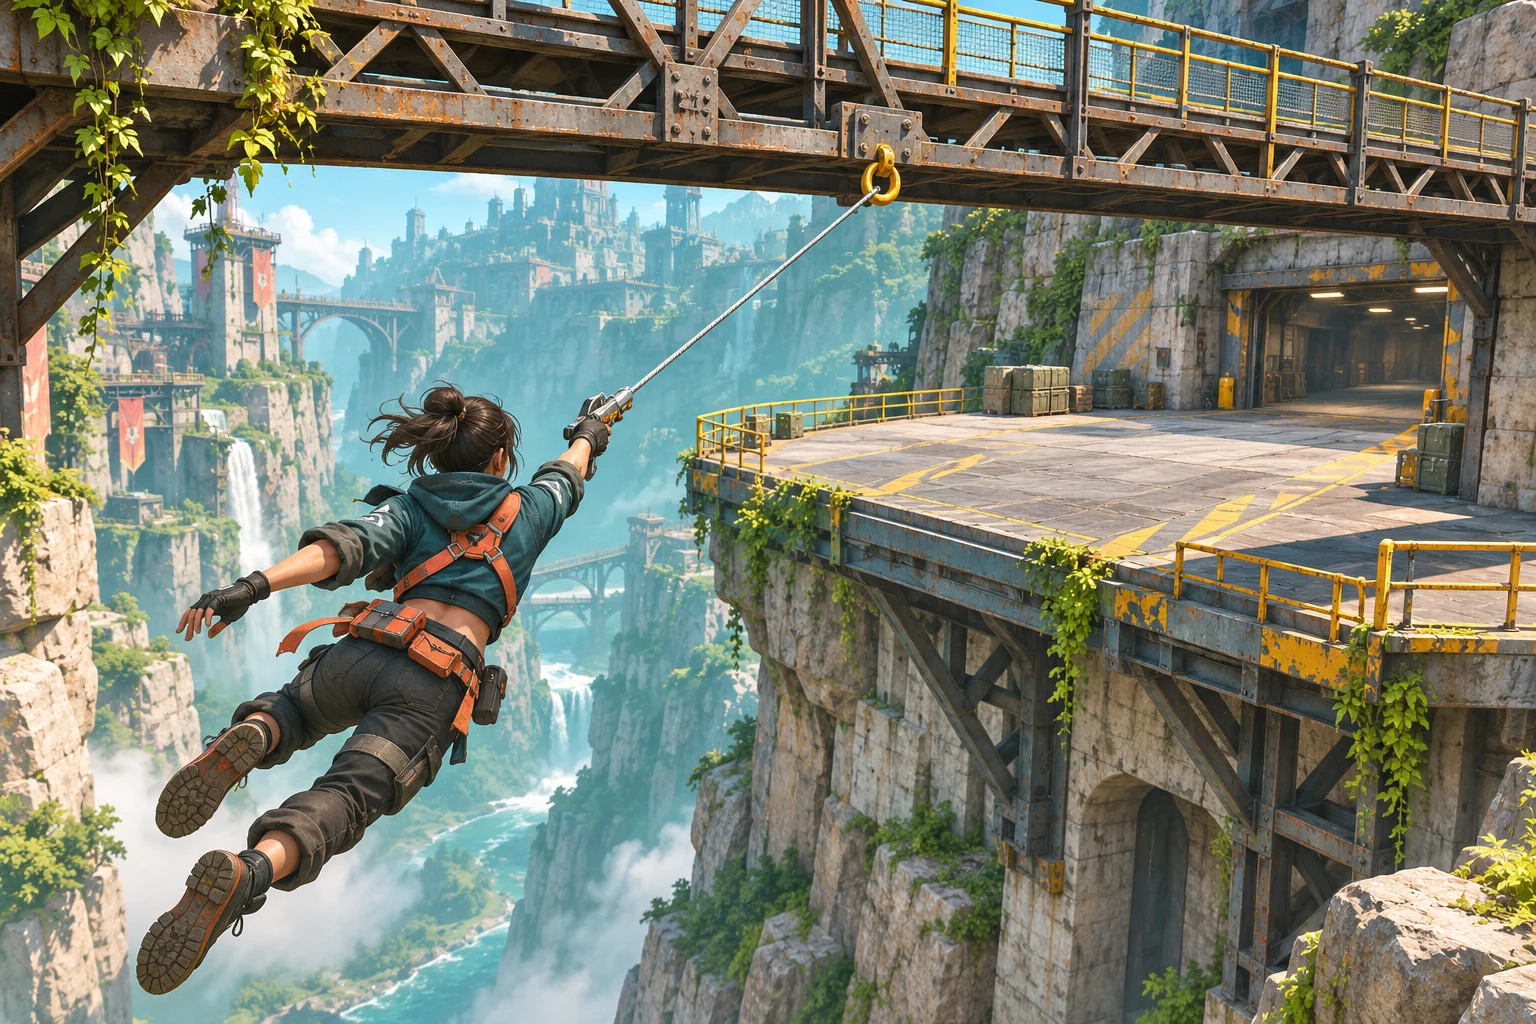
Start a gravity-flipping platformer with one action the player can predict: tap once, reverse the direction of gravity, and land on a clearly marked opposite surface. Build one compact room around a lower walkway, a ceiling rail, and an exit. Keep the camera fixed so the player reads the flip through character orientation and a destination cue. The maintenance-runner room in this guide is a fictional design exercise; its proposed revision is hand-described, not a playtest or generated result.
Make the flip the first level
The first room should answer four questions in order: what input flips gravity, where the player will land, how contact looks, and what they can do next. If the player must learn several hazards or chain multiple reversals before they understand that loop, the room is testing too many things at once.
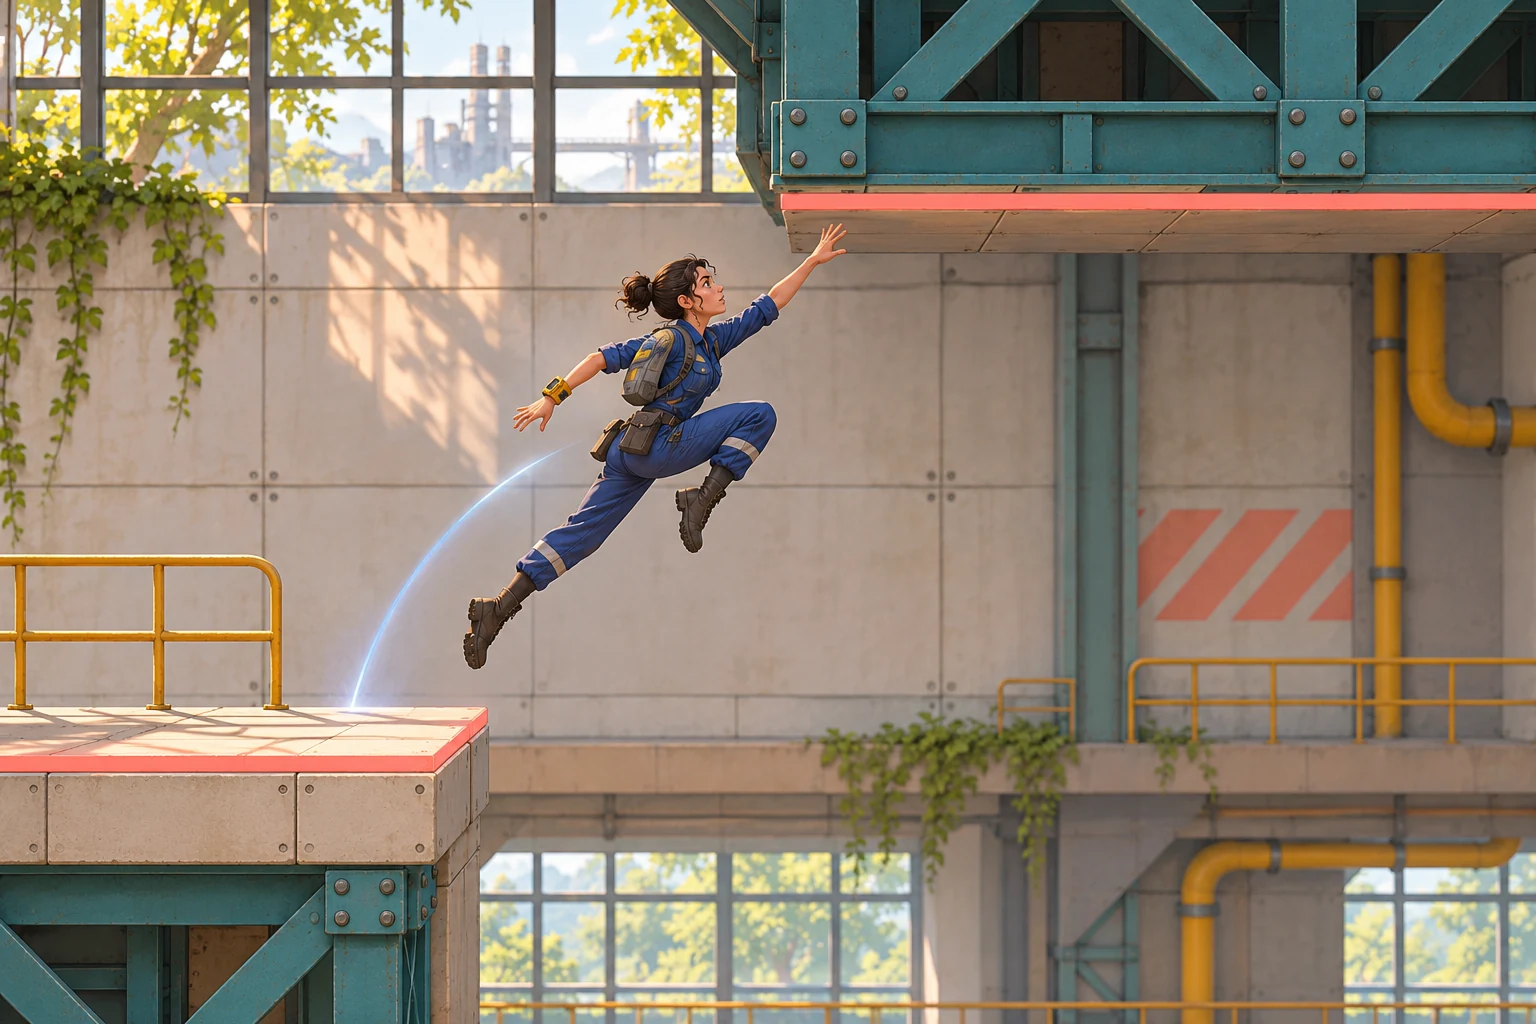
For the proposed slice, the lower walkway is the safe start, the teal ceiling rail is the destination, and a broad exit deck is the goal. The player performs one required flip to cross the gap, walks along the rail, then flips back to reach the exit. This gives you a complete short loop without requiring enemies, collectibles, or a second movement ability.
Choose the gravity rule and camera rule together
Write the input as a state change, not as a vague command to “defy gravity.” In this design, one tap of a dedicated flip action switches the down direction to its opposite. A held button does not repeat the flip. Horizontal movement stays available while the character travels toward the new surface. Contact with a valid surface ends the transition and lets the player continue walking along it.
Keep valid surfaces simple in the first room: the lower walkway supports normal gravity, and the marked underside of the ceiling rail supports reversed gravity. Do not let every ceiling or decorative beam catch the player. A coral edge on the destination rail tells the player which surface accepts the landing; neutral edges remain scenery. If the player misses the rail, the room resets to the start rather than silently attaching them to an unmarked object.
Use a fixed side-view camera for this example. Rotating the camera at the same moment as gravity would change both the player's orientation and their view of the room, making it harder to tell which change caused confusion. Instead, keep the world level, let the character turn with the new down direction, and briefly emphasize the chosen surface. This is a design choice for the tutorial, not a universal camera rule.
Before adding a second flip, decide what the player sees at each state: a normal stance on the lower walkway, the input response, travel toward the ceiling rail, contact with its underside, and movement along the rail. Those states form the review checklist later in the article. If one of them is missing, polish that feedback before adding more routes.
Plan a two-surface room
Draw the room as one route with two traversable surfaces. Start the player on a wide lower walkway, place a gap between that walkway and a reachable ceiling rail, and extend the rail far enough to make movement after landing obvious. Put the exit deck ahead on the route where the player can see it before committing. Then mark the point where the player flips back down to the exit.
| Room beat | Player action | Visible feedback | What to check |
|---|---|---|---|
| Start | Walk along the lower surface toward the gap. | The ceiling rail and exit deck are visible in the fixed side view. | Can the player see the route before the flip? |
| Flip | Tap the dedicated gravity action once. | The character turns toward the new down direction; the destination rail gains a restrained coral edge. | Does one input create one clear state change? |
| Travel and land | Keep moving toward the marked ceiling rail. | The open gap stays readable, then the character's feet meet the rail underside. | Is the contact point visible, with no hidden collision surface? |
| Continue | Walk along the ceiling rail, then flip back toward the exit. | The character moves along the rail; a lit checkpoint lamp confirms arrival. | Can the player tell that the first landing is complete? |
Keep enough room around each contact point for the character's full silhouette. The ceiling rail should not be so thin that it is hard to distinguish from trim, and the lower walkway should remain visible long enough to orient the player after the flip. You do not need precise world-unit measurements before choosing an engine; the first pass is about legible relationships: gap, target, contact, and next move.
For the return, avoid asking the player to flip while hidden behind a wall or moving platform. Put the return point on a clear stretch of rail and keep the exit deck in view. A visible landing is more useful than a surprising drop. The room can become more difficult later, but its first version should let the player learn the flip without guessing what the level will accept.
Write a focused prototype prompt
A useful prompt describes the player's first action, the route, the accepted landing surfaces, the feedback, and how you will judge the result. It should also say what to leave out. Here is a starting brief for a small fictional prototype:
Create a short side-view platformer room about one readable gravity flip. The player begins on a wide lower walkway, sees a gap and a reachable teal ceiling rail, and reaches an exit deck beyond it.

Controls: move left and right; tap one dedicated action once to reverse gravity. Holding the action must not repeat the flip. Keep horizontal movement available during travel. The lower walkway accepts normal gravity; only the coral-marked underside of the ceiling rail accepts reversed-gravity contact. A missed landing resets the room at the start.

After the first landing, let the player walk along the ceiling rail, then show a clear place to flip back to the exit. Keep a fixed side-view camera. Use character orientation and a restrained destination marker to communicate the new down direction. Show visible contact when the character reaches a surface, and light one small checkpoint lamp after the first successful landing.

Do not add enemies, upgrades, collectibles, extra rooms, multiple simultaneous gravity directions, or a moving camera. Return a short control list, the room layout, the state changes for flip/travel/contact, and a checklist for confirming the landing and reset. If a rule is ambiguous, list the question instead of inventing behavior.
Treat the control mapping as an example choice, not a verified SEELE convention. If a prototype uses a different input, preserve the state contract and update the prompt. The key is that a tap causes one flip, the target is visible, and a missed contact has a known outcome.
Review the flip, landing, and next move
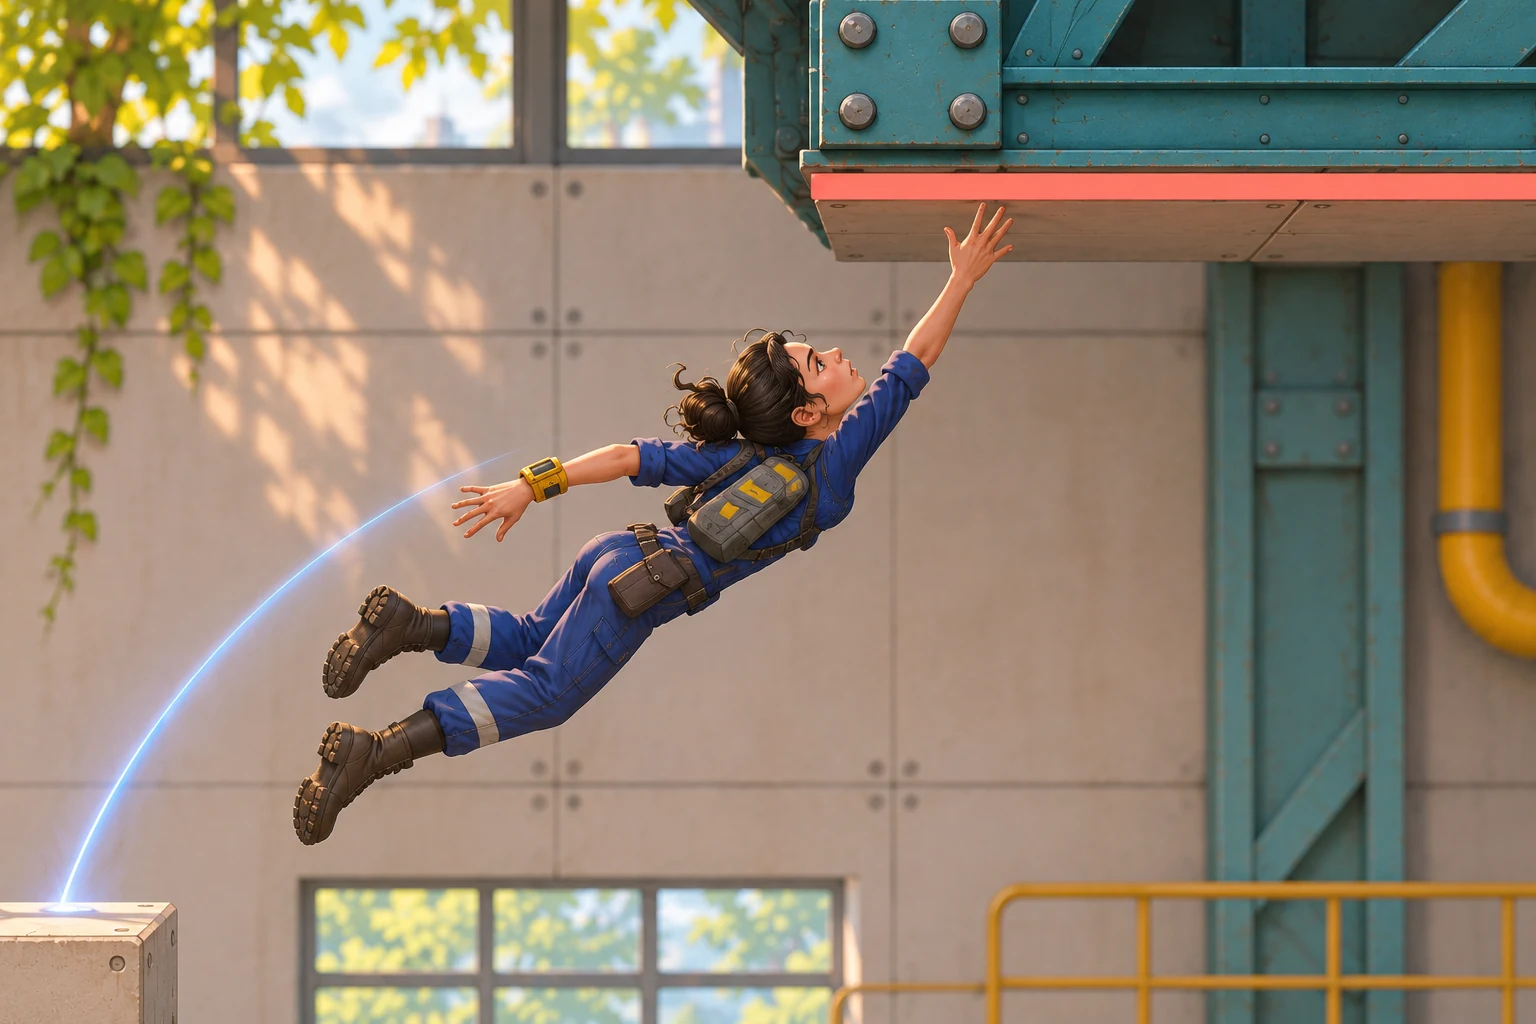
Inspect the mechanic one state at a time. A dramatic upward arc is not enough: the player should know which surface is valid and recognize the moment the new gravity has taken hold. Keep the view fixed while you check the character, target marker, and landing contact.
| State | Expected response | Review question |
|---|---|---|
| Normal gravity | The runner stands and moves on the lower walkway. | Is the start state unmistakable? |
| Flip input | One tap changes the down direction once. | Does a held or repeated input create an unintended second flip? |
| Travel | The runner moves toward the coral-marked ceiling rail. | Can the player see the target and the open path to it? |
| Contact | The feet meet the underside of the rail and the character turns with it. | Is there a visible contact cue, rather than a sudden stop in midair? |
| Next move | The runner can walk along the rail and see where to flip back. | Does the level show what the player can do after landing? |
If the direction feels unclear, strengthen the character turn or destination edge marker before changing the camera. If the player appears to float, show the feet meeting the rail and add a short contact response. If the rail is visible but the landing still reads as a miss, widen the valid surface or simplify nearby trim. Change one design variable per revision so you can tell what the next version is meant to improve.
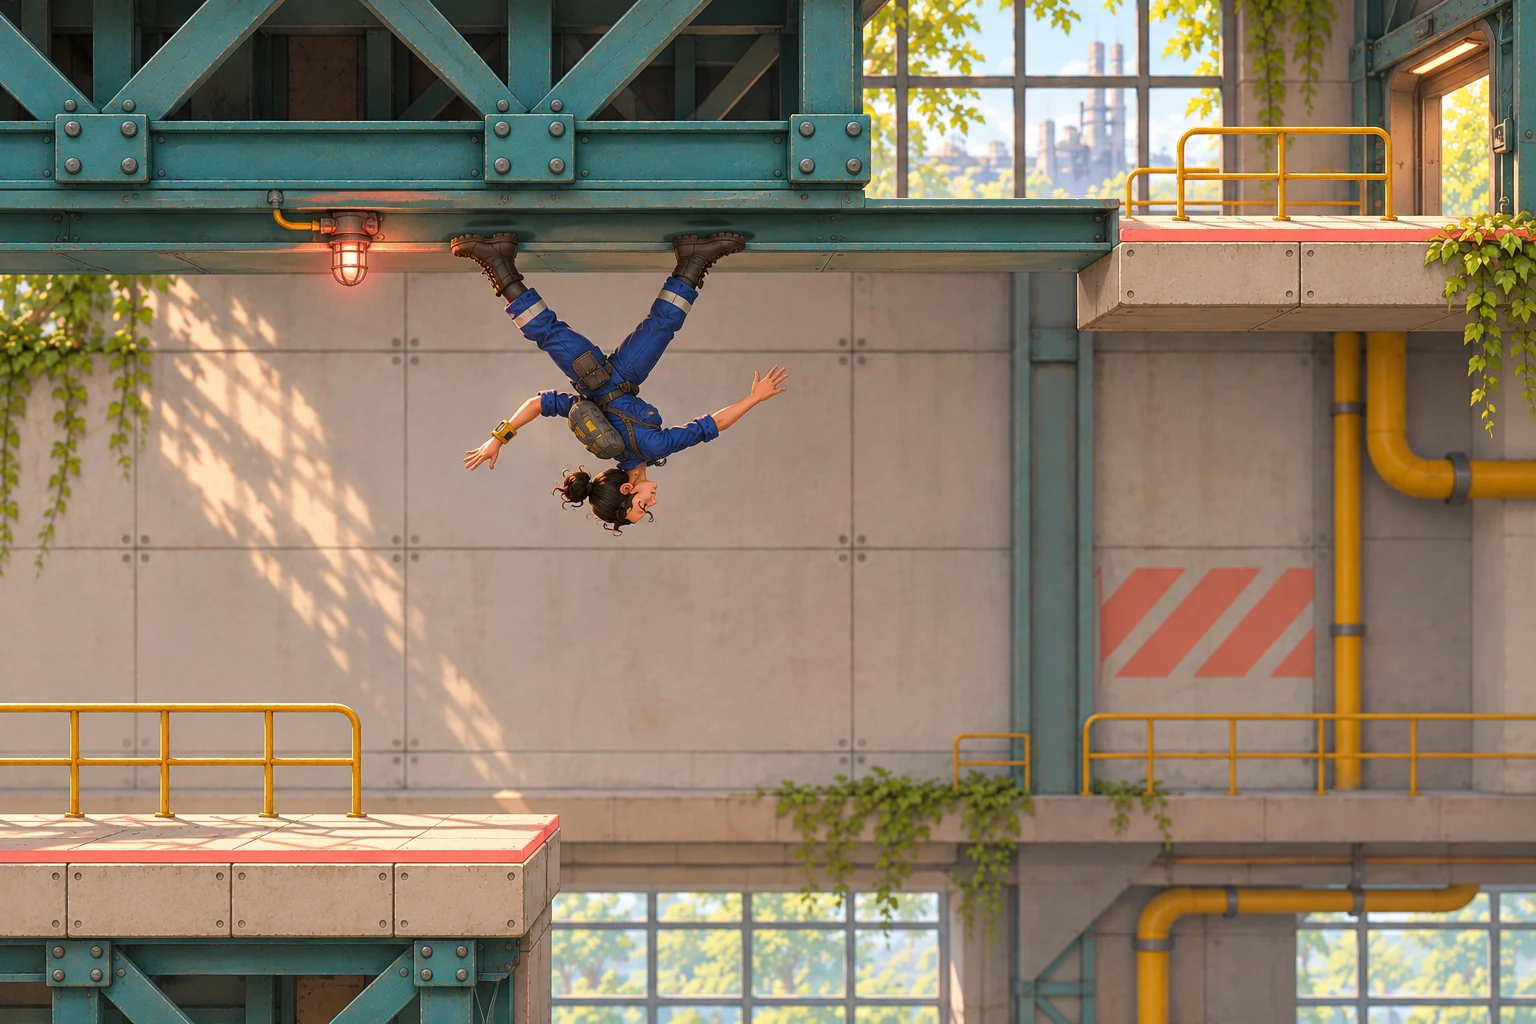
The outcome above is a proposed target state: both boots contact the rail, the checkpoint lamp is lit, and the exit route remains visible. It is a concept image of the design, not a screenshot of a built game. In a real prototype, verify that the collision, orientation, and next flip work under player input.
Simulated iteration: make the destination surface legible
Consider a paper-only first pass in which the player taps the flip action but the room's floor and ceiling trim look equally active. A proposed revision changes one visual rule: the intended rail receives a coral edge, while inactive surfaces keep their neutral material. It also adds a brief character-orientation cue at the input. Keep the same room, camera, controls, and gap so the design change has one clear purpose.
This comparison is a fictional design exercise, not a generated result, playtest, or measured improvement. Its acceptance checks are observable: the character changes orientation after one tap; the destination stands out before landing; the feet visibly contact the rail; and movement continues along it. A later test should record those observations from a real build. Until then, the checks describe what to inspect, not what a player has already experienced.
Where an AI game maker fits
The official SEELE AI Game Maker page describes entering an idea in plain English, testing a playable first version in a browser, and refining it with follow-up prompts. Before submitting, review the selected AI model, available Koin balance, and displayed generation cost in Workspace. These are general workflow details, not a promise that gravity reversal or ceiling contact will work in a generated game.
For this example, keep the one-room brief and inspect the actual route, landing, orientation, and reset against the checklist. If a mechanic differs, request one focused change and check it again.
Start with one clear flip
Keep the first level small enough to explain in one sentence: tap once, reach the marked opposite surface, confirm contact, and continue. Add more rooms only after that state change is easy to see and review. Open the Free AI game maker to draft a focused version of your own platformer and inspect the playable result.
Frequently asked questions
Should the camera rotate when gravity flips?
It can, but the first room is easier to diagnose if you change only one source of direction at a time. This example keeps the side-view camera fixed and communicates the reversal through the character's orientation and a marked destination rail. If you choose a rotating camera, keep the target visible and check whether the player can still identify the next landing.
How many flips belong in the first room?
Use one required flip to teach the state change. The proposed room adds a return flip only after the player has landed and walked along the ceiling rail, so the first transition remains the main lesson. Add chained flips, hazards, or alternate routes after you can explain where each flip begins and which surface accepts the landing.
How do I keep the player from missing the ceiling?
Show the rail before the input, distinguish it from inactive trim, and leave enough playable width for the character to make contact. Make the feet-to-rail contact visible and define what happens after a miss, such as resetting to the room start. Those are design checks; the correct dimensions depend on the movement rules in your build.
Can the same surface act as both floor and ceiling?
It can in a game with explicit rules for both gravity states, but the first prototype does not need that extra case. This example uses one lower walkway for normal gravity and one marked rail for reversed gravity. If a surface changes roles, label the state clearly and test contact from each direction before adding it to the route.
Can an AI game maker guarantee the gravity mechanic?
No. The official product page describes general game-creation, review, and iteration steps; it does not promise this specific mechanic. Treat the prompt as a precise request, then inspect the actual controls, collision surfaces, character orientation, and reset behavior. If one part fails, revise that rule and check the next result instead of assuming the intended behavior was implemented.