How to Install and Set Up Kimi Code CLI
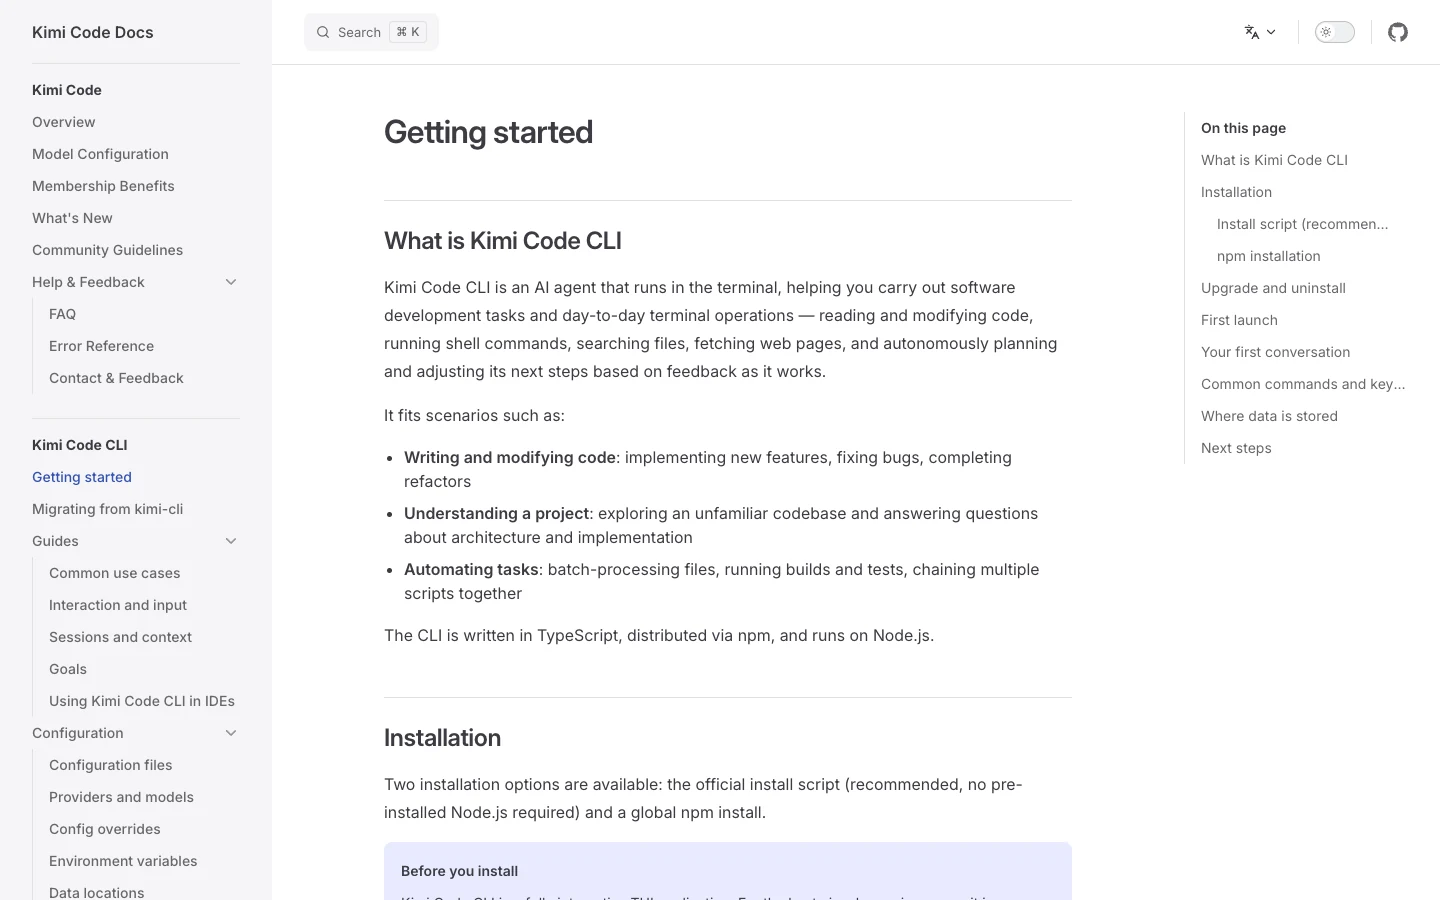
Kimi Code CLI is Moonshot AI’s terminal coding agent. The official documentation offers an install script for macOS and Linux, PowerShell for Windows, or a global npm package, followed by an interactive login. This guide records a safe, dated validation of those commands without using a real credential or modifying a production repository.
Before installation
Use a terminal with modern color support for the intended interactive experience. Decide where the CLI may operate and begin in a disposable test repository, not a production checkout. Record git status and ensure important changes are committed or backed up.
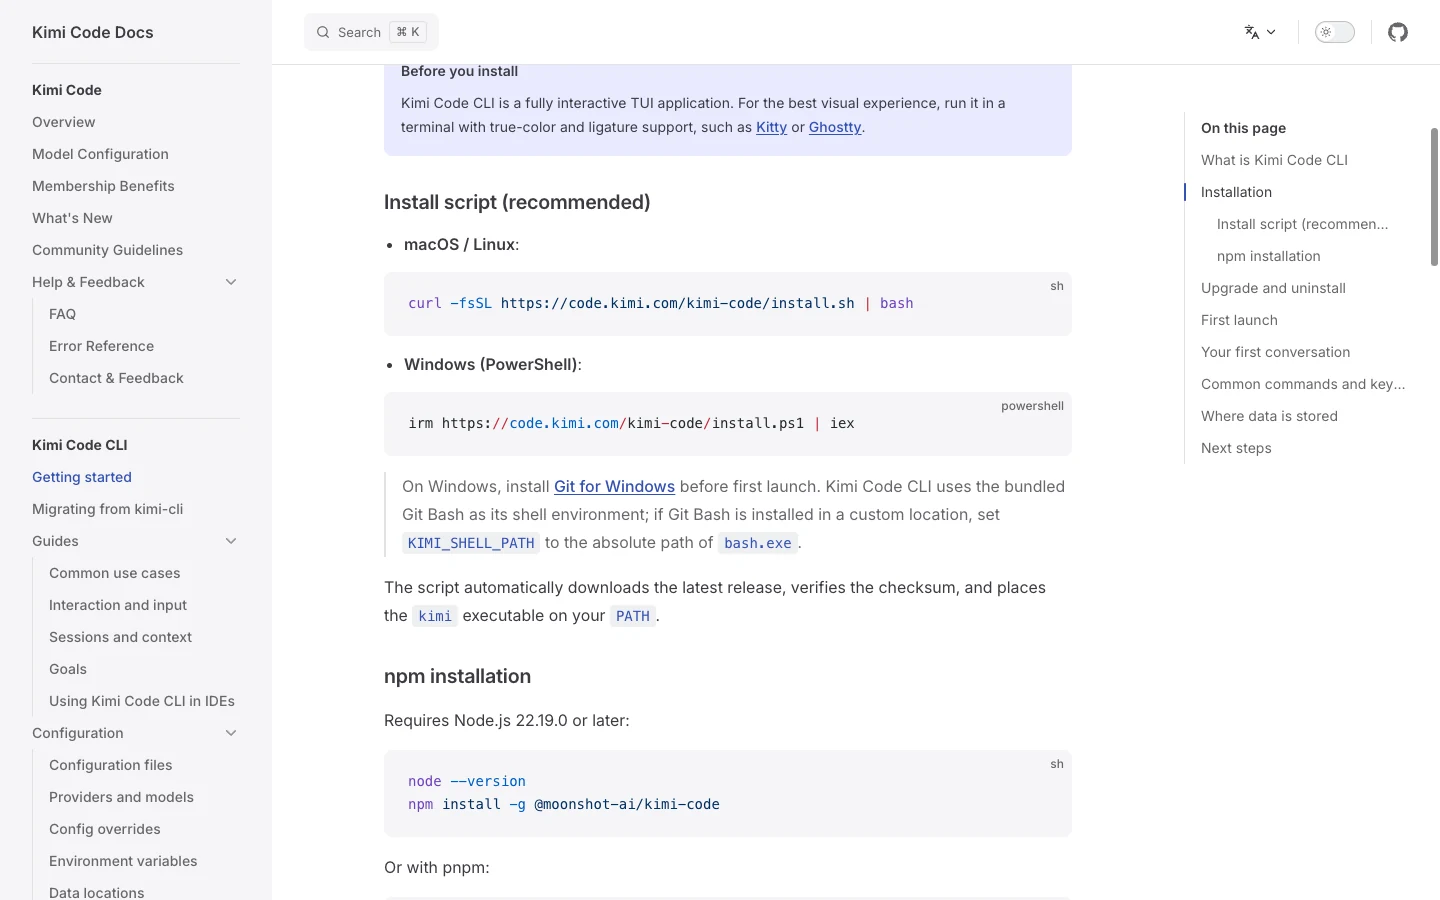
The official install script does not require a preinstalled Node.js. The npm route requires Node.js 22.19.0 or later, as documented on the official getting-started page observed July 22, 2026. Windows users need Git for Windows because the CLI uses bundled Git Bash; a custom location may require KIMI_SHELL_PATH. Check the local Node.js version with node --version.
Review remote scripts before execution when policy requires it. Download the official script, inspect its origin and contents, and validate shell syntax. The audit for this page downloaded the script to a temporary directory and ran bash -n; it did not pipe the script into a privileged production shell.
Installation options
The official recommended commands are:
# macOS or Linux
curl -fsSL https://code.kimi.com/kimi-code/install.sh | bash

# Windows PowerShell
irm https://code.kimi.com/kimi-code/install.ps1 | iex
The documentation says the script downloads a current release, verifies its checksum, and places the kimi executable on PATH. In a managed organization, use the approved software-distribution method instead of bypassing endpoint controls.
For npm, first confirm Node.js 22.19.0 or later, then run:
npm install -g @moonshot-ai/kimi-code
# or
pnpm add -g @moonshot-ai/kimi-code
Global installation changes the user environment. A clean temporary npm prefix was used in validation so package resolution and the executable could be checked without replacing an existing user installation.
Verify the executable and working directory
Open a new shell if PATH changed, then run:
command -v kimi
kimi --version
A version string confirms that the command can start, not that authentication or remote model access works. Record the resolved path because old installations in another package prefix can shadow the new binary.
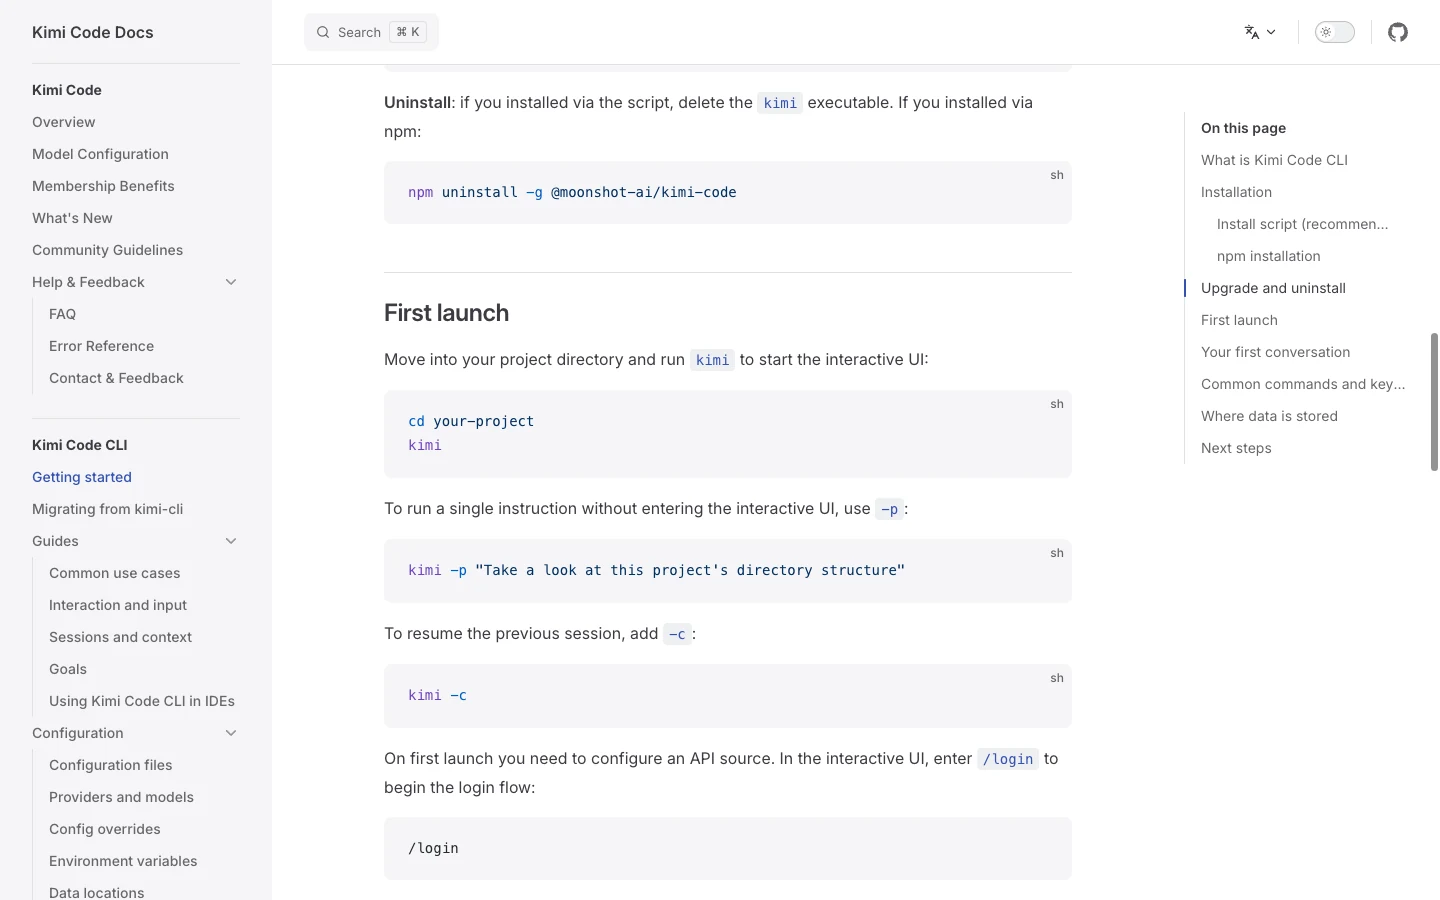
Move into a disposable repository and run git status --short. Do not launch the agent from a home directory containing unrelated files. The official docs show cd your-project followed by kimi for interactive use and kimi -p "..." for a one-shot instruction.
For the first prompt, ask for a read-only directory summary. Confirm the tool stays inside the intended root. Only then test a tiny edit on a dedicated branch and inspect the diff.
Choose the correct login path
On first launch, enter /login. Official documentation lists two platform selectors: Kimi Code OAuth, which uses a device-code flow, and Kimi Platform API key, which accepts a key from the official platform domains. Choose based on the entitlement your organization intends to use.
Never paste a key into shell history, source code, screenshots, or issue trackers. If using the API-key path, follow organizational secret handling. If using OAuth, verify the device URL and account before approving. Enter /logout to clear current CLI credentials.
The docs also describe configuring other providers through ~/.kimi-code/config.toml. That is an advanced path: use provider-specific keys, restrictive file permissions, and the official provider/model reference. Kimi Code subscription benefits should not be assumed to cover third-party providers.
A safe first session
Start interactively with kimi or send a read-only one-shot prompt:
kimi -p "Describe this repository structure. Do not modify files or run network commands."The official getting-started page says read-only operations execute automatically by default, while file modifications and shell commands ask for confirmation. Treat that as a workflow aid, not a guarantee against every risk. Read each command and proposed path before approval.
For an edit test, specify one file, one acceptance check, and non-goals. Afterward run git diff --check, inspect git diff, and execute the smallest relevant test. Roll back the branch if scope expands unexpectedly.
Upgrade, uninstall, and migrate
The official command kimi upgrade checks for a newer version and presents update choices. For npm installations, use npm install -g @moonshot-ai/kimi-code@latest. Record the previous version and review release notes before upgrading shared development environments.
If installed by npm, uninstall with npm uninstall -g @moonshot-ai/kimi-code. For a script installation, the docs direct users to delete the kimi executable. Resolve its path first; do not delete a similarly named binary blindly. Configuration and credentials may remain, so review documented data locations separately.
The current docs include a migration guide from the older kimi-cli. Do not mix legacy instructions with Kimi Code CLI. Back up relevant configuration, identify the active executable, and test migration in a clean shell.
Common setup failures
If kimi is not found, open a new terminal, inspect PATH, and compare it with the install destination. If the wrong version starts, use command -v kimi or the PowerShell equivalent to find path shadowing.
If login fails, verify time, network, account choice, and the official device-code URL or platform key. Revoke any credential pasted into an unsafe place. If Windows cannot find its shell, confirm Git for Windows and set KIMI_SHELL_PATH only to the trusted bash.exe path.
If npm rejects the engine, upgrade to the documented Node.js minimum instead of forcing an incompatible package. Capture version output and the exact sanitized error. Avoid repeatedly reinstalling without identifying which executable and configuration are active.
What this guide validated
Validation was performed in temporary directories on July 22, 2026. The macOS/Linux installer URL returned successfully and its shell source passed bash -n. The npm package metadata resolved, installation into a clean temporary prefix completed, and the packaged kimi --version command started.
No OAuth approval, API key, paid request, repository modification, or Windows execution was performed. The Windows command is reproduced from official documentation but remains platform-unverified in this audit. These limits are recorded so a syntax or package check is not misrepresented as end-to-end service validation.
Re-run the official instructions and checks when the version, operating system, or documentation date changes.
Frequently asked questions
Does Kimi Code CLI require Node.js?
The official install script does not require preinstalled Node.js. The npm route requires Node.js 22.19.0 or later as of July 22, 2026.
What is the npm package name?
The official documentation uses @moonshot-ai/kimi-code.
How do I log in?
Launch kimi, enter /login, and choose Kimi Code OAuth or Kimi Platform API key according to your entitlement.
How do I verify installation?
Resolve the command path and run kimi --version, then test a read-only prompt in a disposable repository.
How do I update or uninstall?
Use kimi upgrade, or update/uninstall through npm if that was the install source. Resolve the binary path before deleting a script-installed executable.
Was this setup tested with a real account?
No. Package and command checks used temporary paths without OAuth, a real API key, or a paid request.
Official sources and evidence date
Product details were checked against these first-party pages on 2026-07-22. Features, eligibility, models, and commercial terms can change; re-check before acting.
Editorial review: SEELE AI Editorial Review re-checked the linked first-party sources, query boundary, visible media, and disclosure language on 2026-07-23. Media receipts bind each local verification image to its command, output, timestamp, and SHA-256; they do not expand the proof beyond the stated limits.
- Official getting started guide — accessed 2026-07-22
- Kimi Code docs overview — accessed 2026-07-22