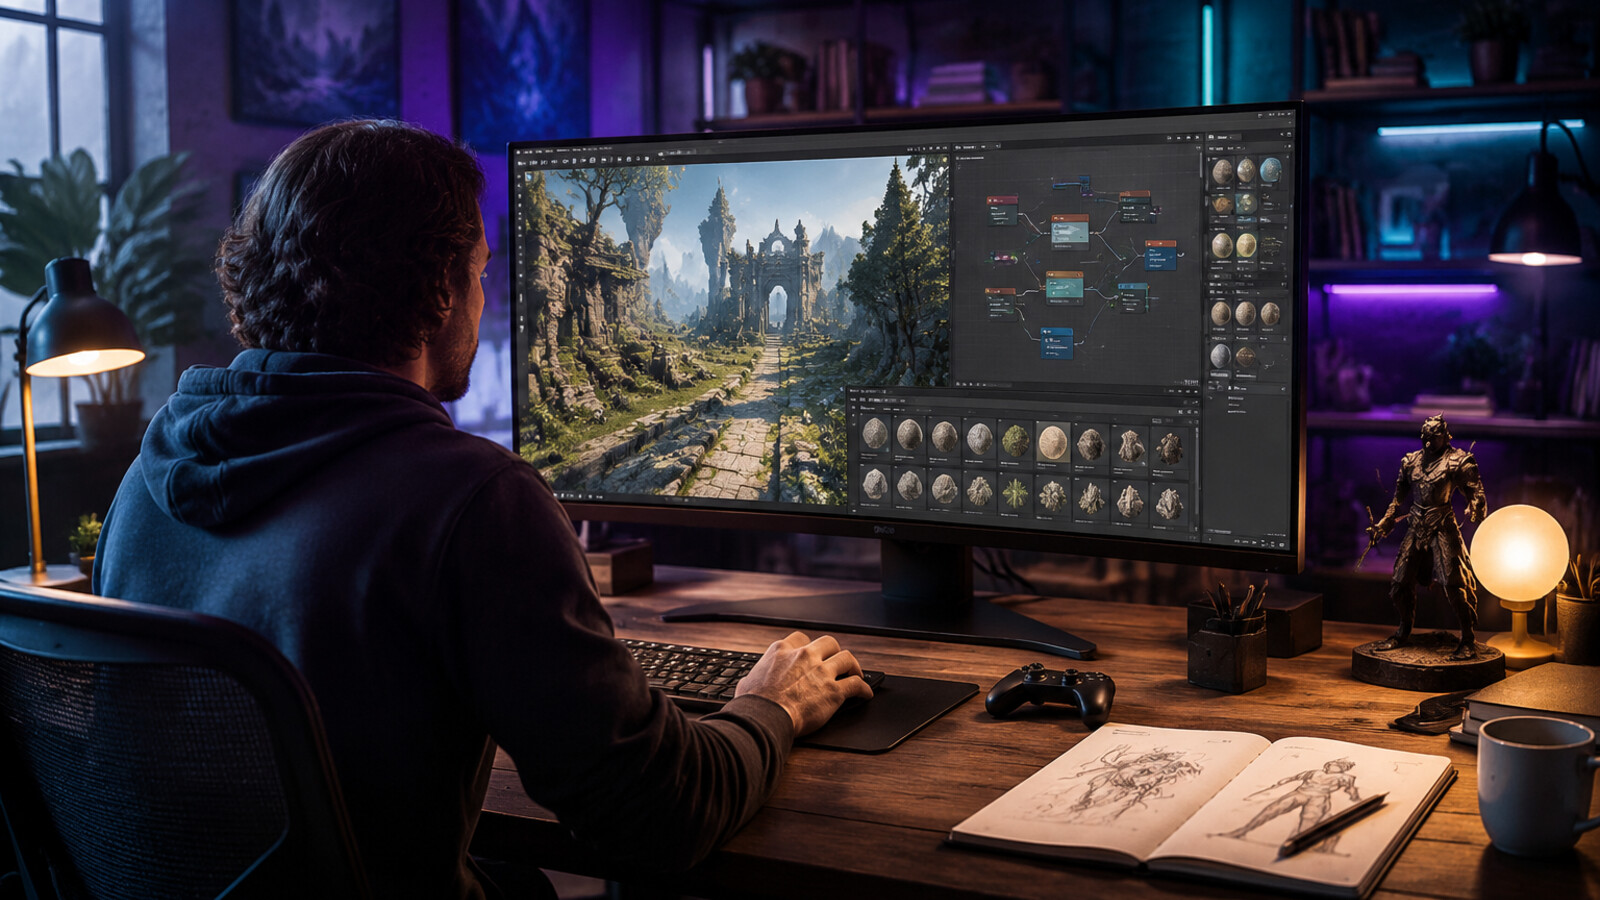
Key Takeaways: How to Make Hyper3D Rodin Models Game-Ready
- ## Direct answer
- For make Rodin AI models game ready, start from the files actually available in the current Rodin download, preserve the original, and validate the package in a controlled inspection and destination workflow. Do not assume that a format, addon, engine integration, texture layout, performance level, or price exists without a current verified source. Readiness requires explicit checks for geometry, transforms, UVs, materials, collision or interaction behavior, LOD or geometry policy, representative-scene performance, and a reproducible clean reimport. If a required semantic is missing or ambiguous, stop, document the blocker, and use a versioned repair or conversion stage rather than hiding the problem in one scene.
# How to Make Hyper3D Rodin Models Game-Ready
The safest way to approach make Rodin AI models game ready is to work from the files actually available in the current download, preserve the original, and validate every handoff in a controlled tool or engine project. This guide defines a platform-neutral production gate for turning a downloaded Rodin model package into a verified runtime asset without assuming the source is already game-ready. The workflow below uses general 3D-production principles and conditional language wherever a Rodin-specific capability would otherwise be implied.
Evidence boundary: No verified current Hyper3D Rodin official product documentation, account-level interface/export inventory, pricing source, or benchmark was supplied for this batch. The separate SHA-256-bound SEELE captures are visual observations, not product documentation: they support only what is directly visible and captioned. They do not establish Rodin provenance, a Rodin-to-SEELE workflow, interoperability, equivalent capabilities, topology, polycount, format or engine compatibility, performance, or pricing. Verify every Rodin-specific control, output, and term against current official Rodin sources and the reader’s own account.
Use the guide as an acceptance framework, not as proof that a named export, addon, integration, material layout, or automation exists. When current official documentation and the observed interface disagree with this article, the current verified source should control the workflow.
1. Define game-ready for one concrete use case
Game-ready is not a property that can be inferred from a thumbnail or file extension. Define the asset's role, platform, camera distance, maximum on-screen instances, lighting model, interaction, animation needs, collision behavior, memory budget, and visual target. A hero character, mobile background prop, and VR interactable require different geometry and materials. This article does not claim that Rodin output is or is not game-ready. It provides a gate for evaluating the specific downloaded asset. Write pass/fail criteria before cleanup so the team does not spend time optimizing details that the game will never show.
Checkpoint. Define explicit target budgets for scale, deformation, materials, collision, memory, and frame time. Pass only when the intended runtime use and measurable limits are written down.
2. Preserve and inventory the source package
Store the untouched download in a read-only source directory. Record the model extension, archive contents, texture files, metadata, license information, date, and any verified official instructions available to the team. Create separate directories for conversion, DCC repair, and engine-ready output. Never overwrite the original with a cleaned mesh. If the current interface offers multiple formats, test them as candidates rather than assuming one is best. Provenance is part of readiness: when a visual or runtime defect appears later, the team must know whether it existed in the download, conversion, cleanup, import, or engine configuration stage.
Checkpoint. Hash the untouched archive and inventory meshes, textures, material names, units, axes, and missing dependencies. Do not edit until this baseline is complete.
3. Inspect geometry before optimizing it
Open the model in a compatible DCC or viewer and inspect scale, orientation, origin, object hierarchy, face orientation, normals, UVs, non-manifold boundaries, duplicate surfaces, disconnected fragments, and density distribution. Compare the silhouette against the intended visual use. Avoid one-click cleanup until defects are categorized. A tool may remove legitimate thin parts or merge intentional gaps. Create screenshots and notes tied to the source version. The objective is a repair plan: which problems affect rendering, collision, deformation, baking, authoring, or performance, and which imperfections are invisible at gameplay distance and can be accepted.
Checkpoint. Record silhouette breaks, normals, non-manifold regions, UV overlap, material slots, and density outliers in a neutral inspection scene before optimization.
4. Repair topology according to deformation and silhouette needs
Static props may tolerate topology that would be unsuitable for a deforming character. Decide whether the asset needs manual retopology, local patching, decimation, remeshing, or no change. Preserve silhouette and shading at the target distance, and test UV and normal behavior after every destructive operation. If rigging is planned, verify edge flow around joints with the intended motion. If baking detail to a lower-resolution mesh, keep the high-detail source and document cage and tangent assumptions. There is no trustworthy universal triangle count; use the scene budget, expected instance count, platform, and profile data as decision inputs.
Checkpoint. Test deformation and silhouette at the target camera distance. Change only topology required by those observed failures, then compare against the preserved baseline.
5. Reconstruct materials from known texture semantics
Inventory every supplied image and determine its role from metadata, confirmed naming, or channel inspection. Distinguish color data from data maps when setting color space. Verify UV coverage, seams, texel density, alpha usage, and packed channels. Rebuild materials in the target render pipeline rather than expecting a DCC graph to transfer exactly. Where a map is absent or ambiguous, use an explicit fallback and record the visual limitation. Reduce texture resolution or change compression only after testing at representative distance and lighting. Material readiness means the shader inputs are explainable, portable, and within memory and sampling budgets.
Checkpoint. Bind textures only from verified channel semantics, test under neutral lighting, and flag unknown maps instead of guessing their purpose.
6. Create collision, pivots, bounds, and LODs
Set the pivot for placement and interaction, verify bounds for culling, and choose collision complexity based on gameplay. Test player movement, raycasts, physics, navigation, and pickup behavior where relevant. Build LODs or another geometry strategy from projected screen size and measured scene cost, then inspect transitions during actual camera motion. Consider repeated instances, not only a single asset in an empty scene. Collision and LOD generation can be automated as a starting point, but the result needs visual and gameplay review. An asset that renders correctly yet blocks the player incorrectly or disappears too early is not ready.
Checkpoint. Validate collision behavior, pivot/origin, bounds, and every LOD transition in motion at representative distances; reject popping, tunneling, or incorrect culling.
7. Profile the asset in a representative scene
Place the asset under target lighting, post-processing, camera, and scene density. Measure frame timing, draw calls, triangle processing, material cost, texture memory, streaming behavior, and loading impact using the destination engine's tools. Compare against the budget defined at the start. Test likely worst cases such as many instances, close camera views, transparent materials, or shadow casting. Change one major variable at a time so the effect is attributable. A synthetic empty scene is useful for diagnosis but insufficient for acceptance. The decision to simplify geometry or materials should follow a measured bottleneck, not a generic belief that AI-generated assets are always heavy.
Checkpoint. Capture frame time, memory, draw calls, shader cost, and load behavior in a representative scene on the target device class. A viewport screenshot is not a performance receipt.
8. Build a reproducible release and review gate
Keep the source download, conversion recipe, DCC working file, baked textures, engine asset, and acceptance notes as distinct versioned stages. Verify a clean import on another machine or clean project. Check missing dependencies, material references, scale, collision, LOD transitions, lighting, licensing notes, naming, and runtime metrics. Record any accepted defect and the context in which it is acceptable. If the asset requires undocumented manual steps, it is not reproducible yet. The final release gate should name an owner, target build, tested platform, and rollback source, turning ‘looks good’ into a production decision that can survive later changes.
Checkpoint. Rebuild from a clean checkout, run the acceptance scene, and archive source/derivative hashes, tool versions, settings, logs, and reviewer sign-off.
Evidence package: Keep the untouched source hash, derivative hash, inspection scene, target budgets, measured runtime results, conversion logs, and reviewer decision together. If a later revision changes topology, textures, collision, LODs, or engine settings, rerun only the affected checks plus the clean-build gate. This keeps the review reproducible without pretending that one screenshot proves portability, performance, or production readiness.
Final acceptance checklist
Before promoting the asset, confirm that the untouched source is archived; the actual download contents are inventoried; all conversions are versioned; geometry, UVs, normals, transforms, and materials have been inspected; ambiguous texture channels remain documented; collision and LOD behavior match the use case; the asset has been tested in a representative scene; and a clean reimport reproduces the result. Record failures as blockers or accepted limitations with an owner. Do not describe the pipeline as complete when it depends on an unverified product feature or a local file that another team member cannot access.
The practical standard is traceability. Every output should point back to a known source and a recorded transformation. Every performance or compatibility conclusion should come from the team's own target environment. That discipline makes the workflow useful even when product interfaces, account entitlements, file options, or engine versions change.
Independent SEELE proof: visible workflow state
This authentic, receipt-bound SEELE capture shows a stylized island scene with brown buildings, palm trees, surrounding water, a pier, and a boat. Its only job in this article is to document that visible SEELE state. It does not show or verify Rodin, a DCC application, a game engine, an export format, topology, retopology, rigging, animation authoring, or a transfer between tools.

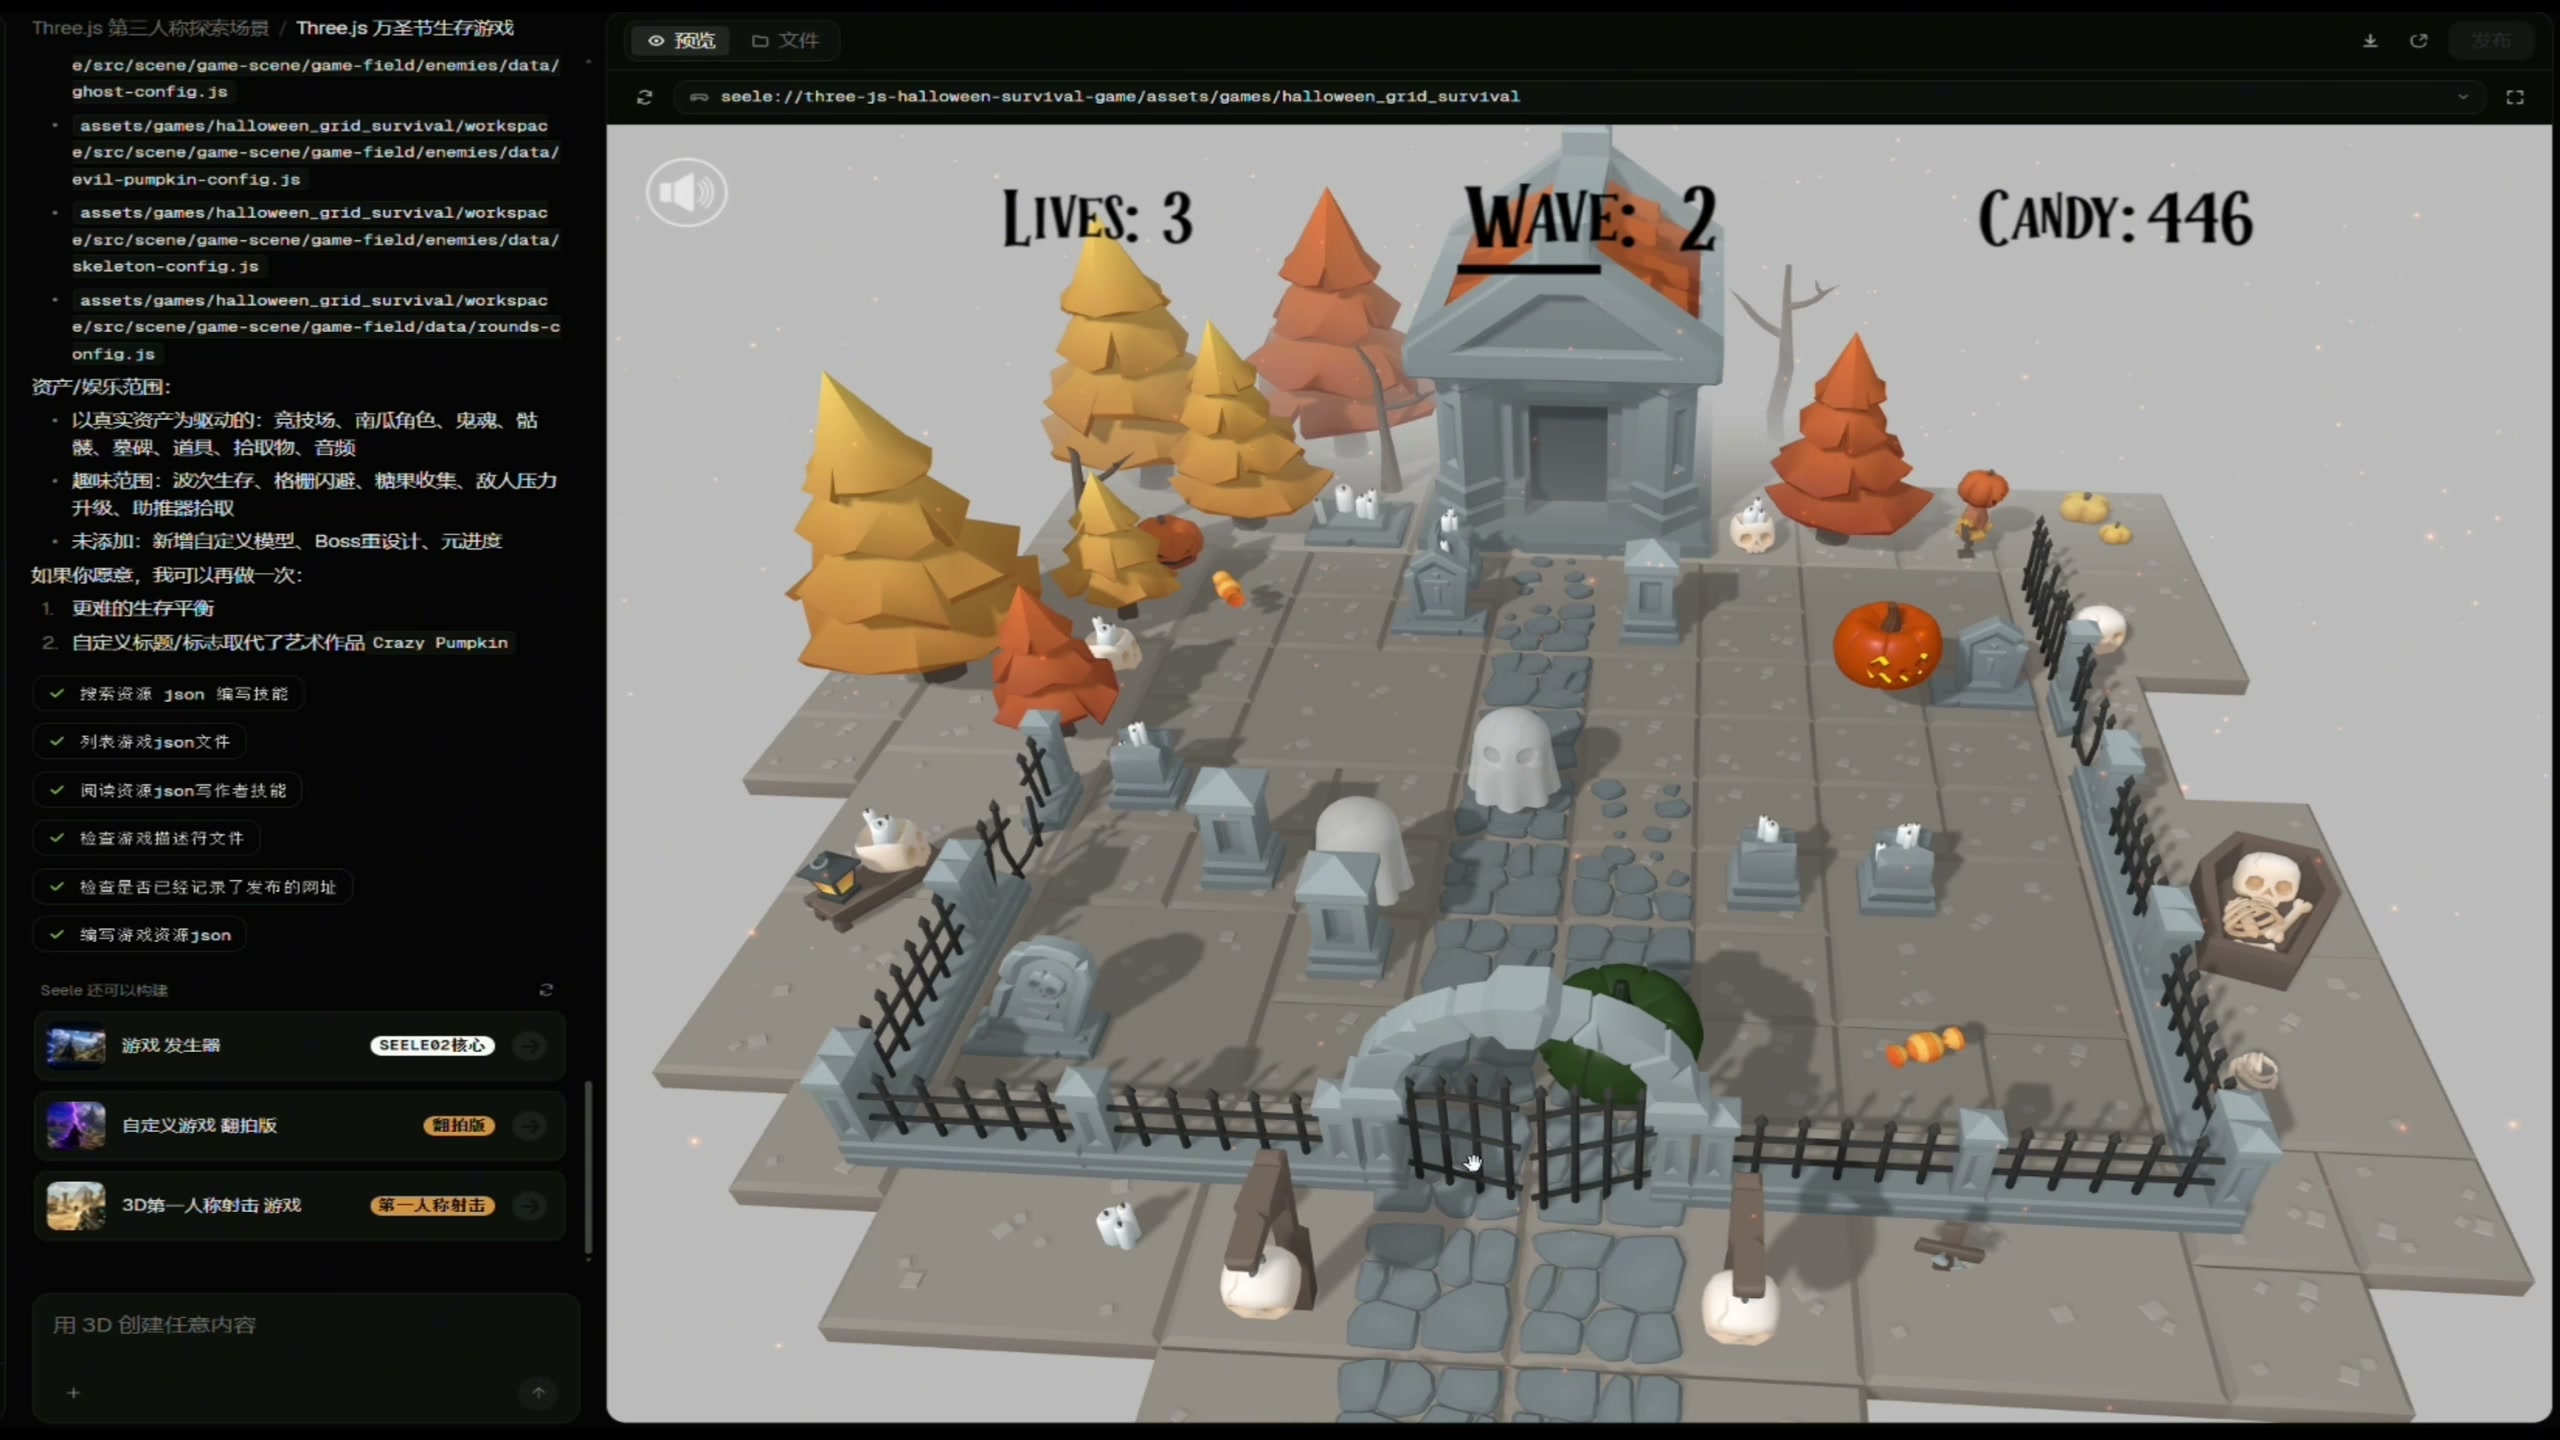
Independent SEELE proof: visible output state
This second authentic SEELE capture shows the SEELE Workspace interface beside a running arena preview with visible Lives, Wave, and Candy counters. It is a separate SEELE output example, not evidence for any Rodin operation or for a Blender, Unity, Unreal Engine, format, mesh, material, rigging, or interoperability claim. The article's technical workflow decisions must be validated with the reader's own source files and target tools.
Frequently Asked Questions
Which Rodin file format should I use for this workflow?
Use only a format that is actually available in the current download and supported by the destination importer. Choose by required semantics—geometry, hierarchy, materials, textures, animation, and transforms—then validate with a representative round-trip test.
Can I assume textures and materials will import automatically?
No. A mesh importing successfully does not prove material intent survived. Inventory images, inspect channels and color spaces, trace each material input to evidence, and rebuild the destination shader when automatic conversion is incomplete or ambiguous.
What should I do if scale or orientation is wrong?
Compare against a known-size reference, identify the source and destination unit/axis conventions, and change one import or DCC setting at a time. Prefer a documented, portable source correction over an unexplained transform on one scene instance.
How many polygons should a game-ready model have?
There is no universal target. Decide from platform, camera distance, silhouette requirements, expected instance count, deformation, materials, and profiling in a representative scene. Optimize the measured bottleneck rather than chasing a generic number.
Does this guide confirm current Hyper3D Rodin features or pricing?
No. The batch had no verified product documentation or commercial data. Product-specific formats, controls, integrations, performance, and pricing are unavailable here and must be checked against current official sources and the user's own interface.
When should I use Blender or another DCC in the pipeline?
Use a DCC when the problem belongs to source geometry, UVs, normals, materials, transforms, or conversion—not merely to an engine scene setting. Preserve the original, version the derived file, and round-trip the export before handoff.