Key Takeaways: How to Rig and Animate a Hyper3D Rodin Model for Games
- ## Direct answer
- To rig a Rodin-derived character safely, first qualify the observed mesh for deformation, establish scale and a neutral pose, build or assign a documented skeleton in a DCC, paint and test weights with stress poses, then validate animation and export in the destination engine. Current Rodin and SEELE official product documentation was unavailable for this batch. Receipt-bound SEELE visuals support only their captioned outputs; treat available formats, controls, integrations, compatibility, performance, and pricing as unverified. Preserve the original package, record each transformation, test the derived asset against destination-specific acceptance criteria, and block promotion when required evidence is missing.
# How to Rig and Animate a Hyper3D Rodin Model for Games
To rig a Rodin-derived character safely, first qualify the observed mesh for deformation, establish scale and a neutral pose, build or assign a documented skeleton in a DCC, paint and test weights with stress poses, then validate animation and export in the destination engine. This is an acceptance workflow, not evidence that a named Rodin feature, export option, material preset, rigging service, integration, performance level, or commercial entitlement exists. Work only from files visible in the current download and from behavior reproduced in the team’s own tools.
Evidence boundary: No verified current Hyper3D Rodin official product documentation, account-level interface/export inventory, pricing source, or benchmark was supplied for this batch. The separate SHA-256-bound SEELE captures are visual observations, not product documentation: they support only what is directly visible and captioned. They do not establish Rodin provenance, a Rodin-to-SEELE workflow, interoperability, equivalent capabilities, topology, polycount, format or engine compatibility, performance, or pricing. Verify every Rodin-specific control, output, and term against current official Rodin sources and the reader’s own account.
Preserve an untouched source package, create versioned derivatives, change one variable at a time, and record pass/fail evidence at each handoff. A plausible viewport image is not enough: the asset must survive the checks that matter for its intended destination.
1. Qualify the observed mesh for deformation
Archive the untouched package and open a versioned copy in a DCC. Inspect object count, transforms, scale, symmetry, disconnected parts, normals, non-manifold regions, overlapping surfaces, interior geometry, and material boundaries. Examine edge flow around shoulders, hips, elbows, knees, fingers, mouth, and eyes according to the intended animation range. A character-shaped silhouette is not enough; deformation needs usable geometry and clear ownership of accessories. Record whether clothing, hair, equipment, and eyes should deform with the body, follow separate bones, or remain rigid.
Example. A background creature that only breathes and turns its head may tolerate simpler joint regions than a close-up hero that kneels, twists, and speaks. Test the required poses on a duplicate with rough lattice or proportional edits before investing in a final skeleton. The result turns “looks riggable” into a task-specific observation.
Limitation. Static inspection cannot reveal every weighting or collision problem. The article also cannot verify any topology, pose, segmentation, or skeleton characteristic of Rodin output in general.
Decision criterion. Begin rigging only when the observed mesh can support the named motion set or when approved cleanup can make it do so. If required joints lack usable geometry, route the asset to retopology or redesign and keep rigging status blocked.
2. Establish scale, orientation, and a neutral source pose
Choose project units, forward/up orientation, floor contact, character height, and origin placement from the destination project—not from an assumed generator convention. Preserve a snapshot of the imported pose and transforms. Create a rigging derivative where transforms are normalized only after checking their effect on child objects, modifiers, normals, and shape data. Evaluate symmetry without forcing it; intentional asymmetry in clothing or anatomy may need separate treatment. Place the character in a neutral pose that provides enough separation for joint placement and weight painting, while documenting any edits from the source.
Example. If the wrists touch the hips, move the arms outward on a duplicate before binding so torso and hand weights can be inspected independently. Keep the original coordinates and a change note, because the pose edit may stretch textures or reveal hidden intersections that require cleanup.
Limitation. There is no universal neutral pose for all rigs, and applying transforms or pose edits can break existing relationships. A visually centered character can still have unsuitable local axes or an origin that conflicts with root motion.
Decision criterion. Freeze the rigging source when units, axes, floor, origin, pose, and transform policy are explicit and reproducible. Do not proceed while those conventions remain implicit or differ from the destination pipeline.
3. Design the skeleton for the required motion
Start from the required animation list and destination skeleton contract. Define root and motion ownership, pelvis behavior, spine segments, limb chains, twist distribution, hands, face, accessories, and any rigid attachments. Place joints from anatomical and mechanical pivots observed in the mesh, then inspect them in front, side, and perspective views. Separate the deformation skeleton from animator-facing controls when the DCC workflow benefits from that distinction. Use consistent names and local-axis rules documented by the project. The skeleton should serve the motion and export contract, not merely fill the silhouette with bones.
Example. A sword character may need a stable weapon socket and a hand chain capable of two-handed poses, while a distant non-interactive NPC may not need finger controls. Add only the structures justified by the clip set, camera distance, and engine requirements, then test a few manually rotated joints before binding.
Limitation. More bones can improve control but increase authoring, validation, and runtime complexity. Joint placement inferred from surface geometry is uncertain when anatomy is stylized or concealed by clothing.
Decision criterion. Approve the skeleton when every deformation or attachment bone has a named purpose, expected range, parent, axis convention, and destination mapping. Remove unjustified complexity; block if root motion or hierarchy semantics are unresolved.
4. Bind the mesh and paint weights deliberately
Duplicate the qualified rigging source, bind it to the approved deformation skeleton using a method available in the team’s DCC, and treat any automatic result as a starting point. Inspect vertex-group membership and total influence behavior according to the destination contract. Lock or isolate rigid accessories where appropriate. Paint weights in joint-local passes: shoulder and clavicle, elbow and forearm twist, wrist, hip, knee, ankle, neck, and any face or cloth regions. Compare smooth gradients with the intended volume; smoothness alone is not correctness. Save checkpoints before broad normalization or mirroring operations.
Example. Raise one arm, bend the elbow past the expected gameplay angle, and rotate the forearm. If chest vertices follow the upper arm or the wrist collapses, inspect the responsible groups and adjust a small region, then replay the same pose. Record the before/after result rather than continuing with untracked brush edits.
Limitation. Weight painting cannot compensate indefinitely for unsuitable topology, missing volume, or an incorrectly placed joint. Mirroring can copy errors onto intentionally asymmetric geometry, and a clean bind pose can hide failures at motion extremes.
Decision criterion. Complete weighting only when all required joint regions pass the agreed stress poses, rigid parts remain rigid, influences satisfy the destination constraints, and no unexplained vertices follow unrelated bones.
5. Stress-test deformation before animation production
Build a compact deformation test action containing the extremes the character is expected to reach: deep limb bends, shoulder elevation, torso twist, hip flexion, head rotation, hand closure, foot roll, and any creature-specific motion. Include transition frames so popping and sliding are visible, not only endpoint poses. Review silhouette, volume, texture stretch, intersections, normals, and accessory behavior from gameplay cameras as well as close inspection. Keep this test action separate from showcase animation so it remains a stable regression tool after weight or skeleton changes.
Example. A knee may look acceptable at ninety degrees but collapse during a fast crouch-to-run transition. Compare the same frame and camera before and after a weight correction, and check whether the fix causes new thigh or calf artifacts. This exposes tradeoffs that isolated screenshots miss.
Limitation. A finite stress suite cannot cover every procedural, physics-driven, or future animation. Corrective shapes or helper bones may solve one range while adding export and maintenance requirements.
Decision criterion. Release the rig to animation when all required motions pass the documented suite at relevant camera distances, known exceptions have owners, and fixes do not create worse failures elsewhere.
6. Author and verify animation on the approved rig
Animate only after the deformation rig and export skeleton are approved. Define clip purpose, frame range, sample rate, looping behavior, root-motion policy, contact events, and additive or absolute interpretation before polishing. Block broad body mechanics first, then refine arcs, spacing, overlap, and contacts. Keep control-rig logic separate from the exported deformation data. For any motion transferred from another source, compare skeleton hierarchy, rest pose, proportions, axes, and root semantics through an explicit mapping and test; do not infer compatibility from a humanoid appearance. Bake a versioned copy and inspect curves or sampled transforms for unintended offsets.
Example. For a walk loop, verify left and right foot contacts, loop continuity, pelvis displacement, and whether translation belongs on the root or remains in place. Import the baked clip into a clean scene and compare the first and last frames plus one full cycle.
Limitation. A clip that plays in the DCC may still fail after baking, resampling, compression, or destination retargeting. Visual similarity between skeletons does not establish interchangeability.
Decision criterion. Approve a clip when timing, contacts, loop or endpoint behavior, root policy, and baked transforms reproduce in a clean test. Block transfer when hierarchy or rest-pose differences lack a verified mapping.
7. Validate the rig and clips in the destination engine
Export a selected, versioned deformation skeleton, skinned mesh, and approved clips using settings documented by the project. Import them into a clean destination test project before integrating with gameplay code. Verify bone hierarchy and names, bind pose, scale, orientation, material assignment, clip ranges, root motion, looping, event timing, skin deformation, sockets, attachments, and any engine avatar or skeleton mapping actually used. Test representative transitions, camera distances, and quality settings. Measure animation or skinning cost only in the project’s own profiling setup and report the scene conditions with the result.
Example. Transition from idle to run, trigger a weapon attachment, rotate the character through a turn, and replay the deformation stress motion. If the feet slide or the weapon offsets, determine whether the cause is clip data, root policy, socket transform, import settings, or gameplay movement by changing one variable at a time.
Limitation. One engine version, platform, and controller setup cannot prove universal behavior. Compression and retarget settings can change results after a source rig has passed DCC review.
Decision criterion. Promote the character only when a clean destination import reproduces required clips, transitions, root behavior, attachments, and deformation within project-defined limits. Package unresolved cases as blockers, not undocumented scene fixes.
Final acceptance checklist
Keep the untouched source; qualify the actual mesh for its named motion set; document units, axes, origin, neutral pose, and transform policy; approve a purpose-driven skeleton; bind on a versioned derivative; pass a repeatable deformation stress suite; define clip and root-motion semantics; bake and reimport approved animations; and validate the skinned character in a clean destination project. The handoff should include source and derivative versions, skeleton contract, weighting exceptions, clip manifest, export settings, engine test conditions, and known limitations. Do not equate automatic binding, humanoid appearance, successful playback, or one attractive animation with verified production compatibility.
Independent SEELE proof: visible workflow state
This authentic, receipt-bound SEELE capture shows a stylized island scene with brown buildings, palm trees, surrounding water, a pier, and a boat. Its only job in this article is to document that visible SEELE state. It does not show or verify Rodin, a DCC application, a game engine, an export format, topology, retopology, rigging, animation authoring, or a transfer between tools.

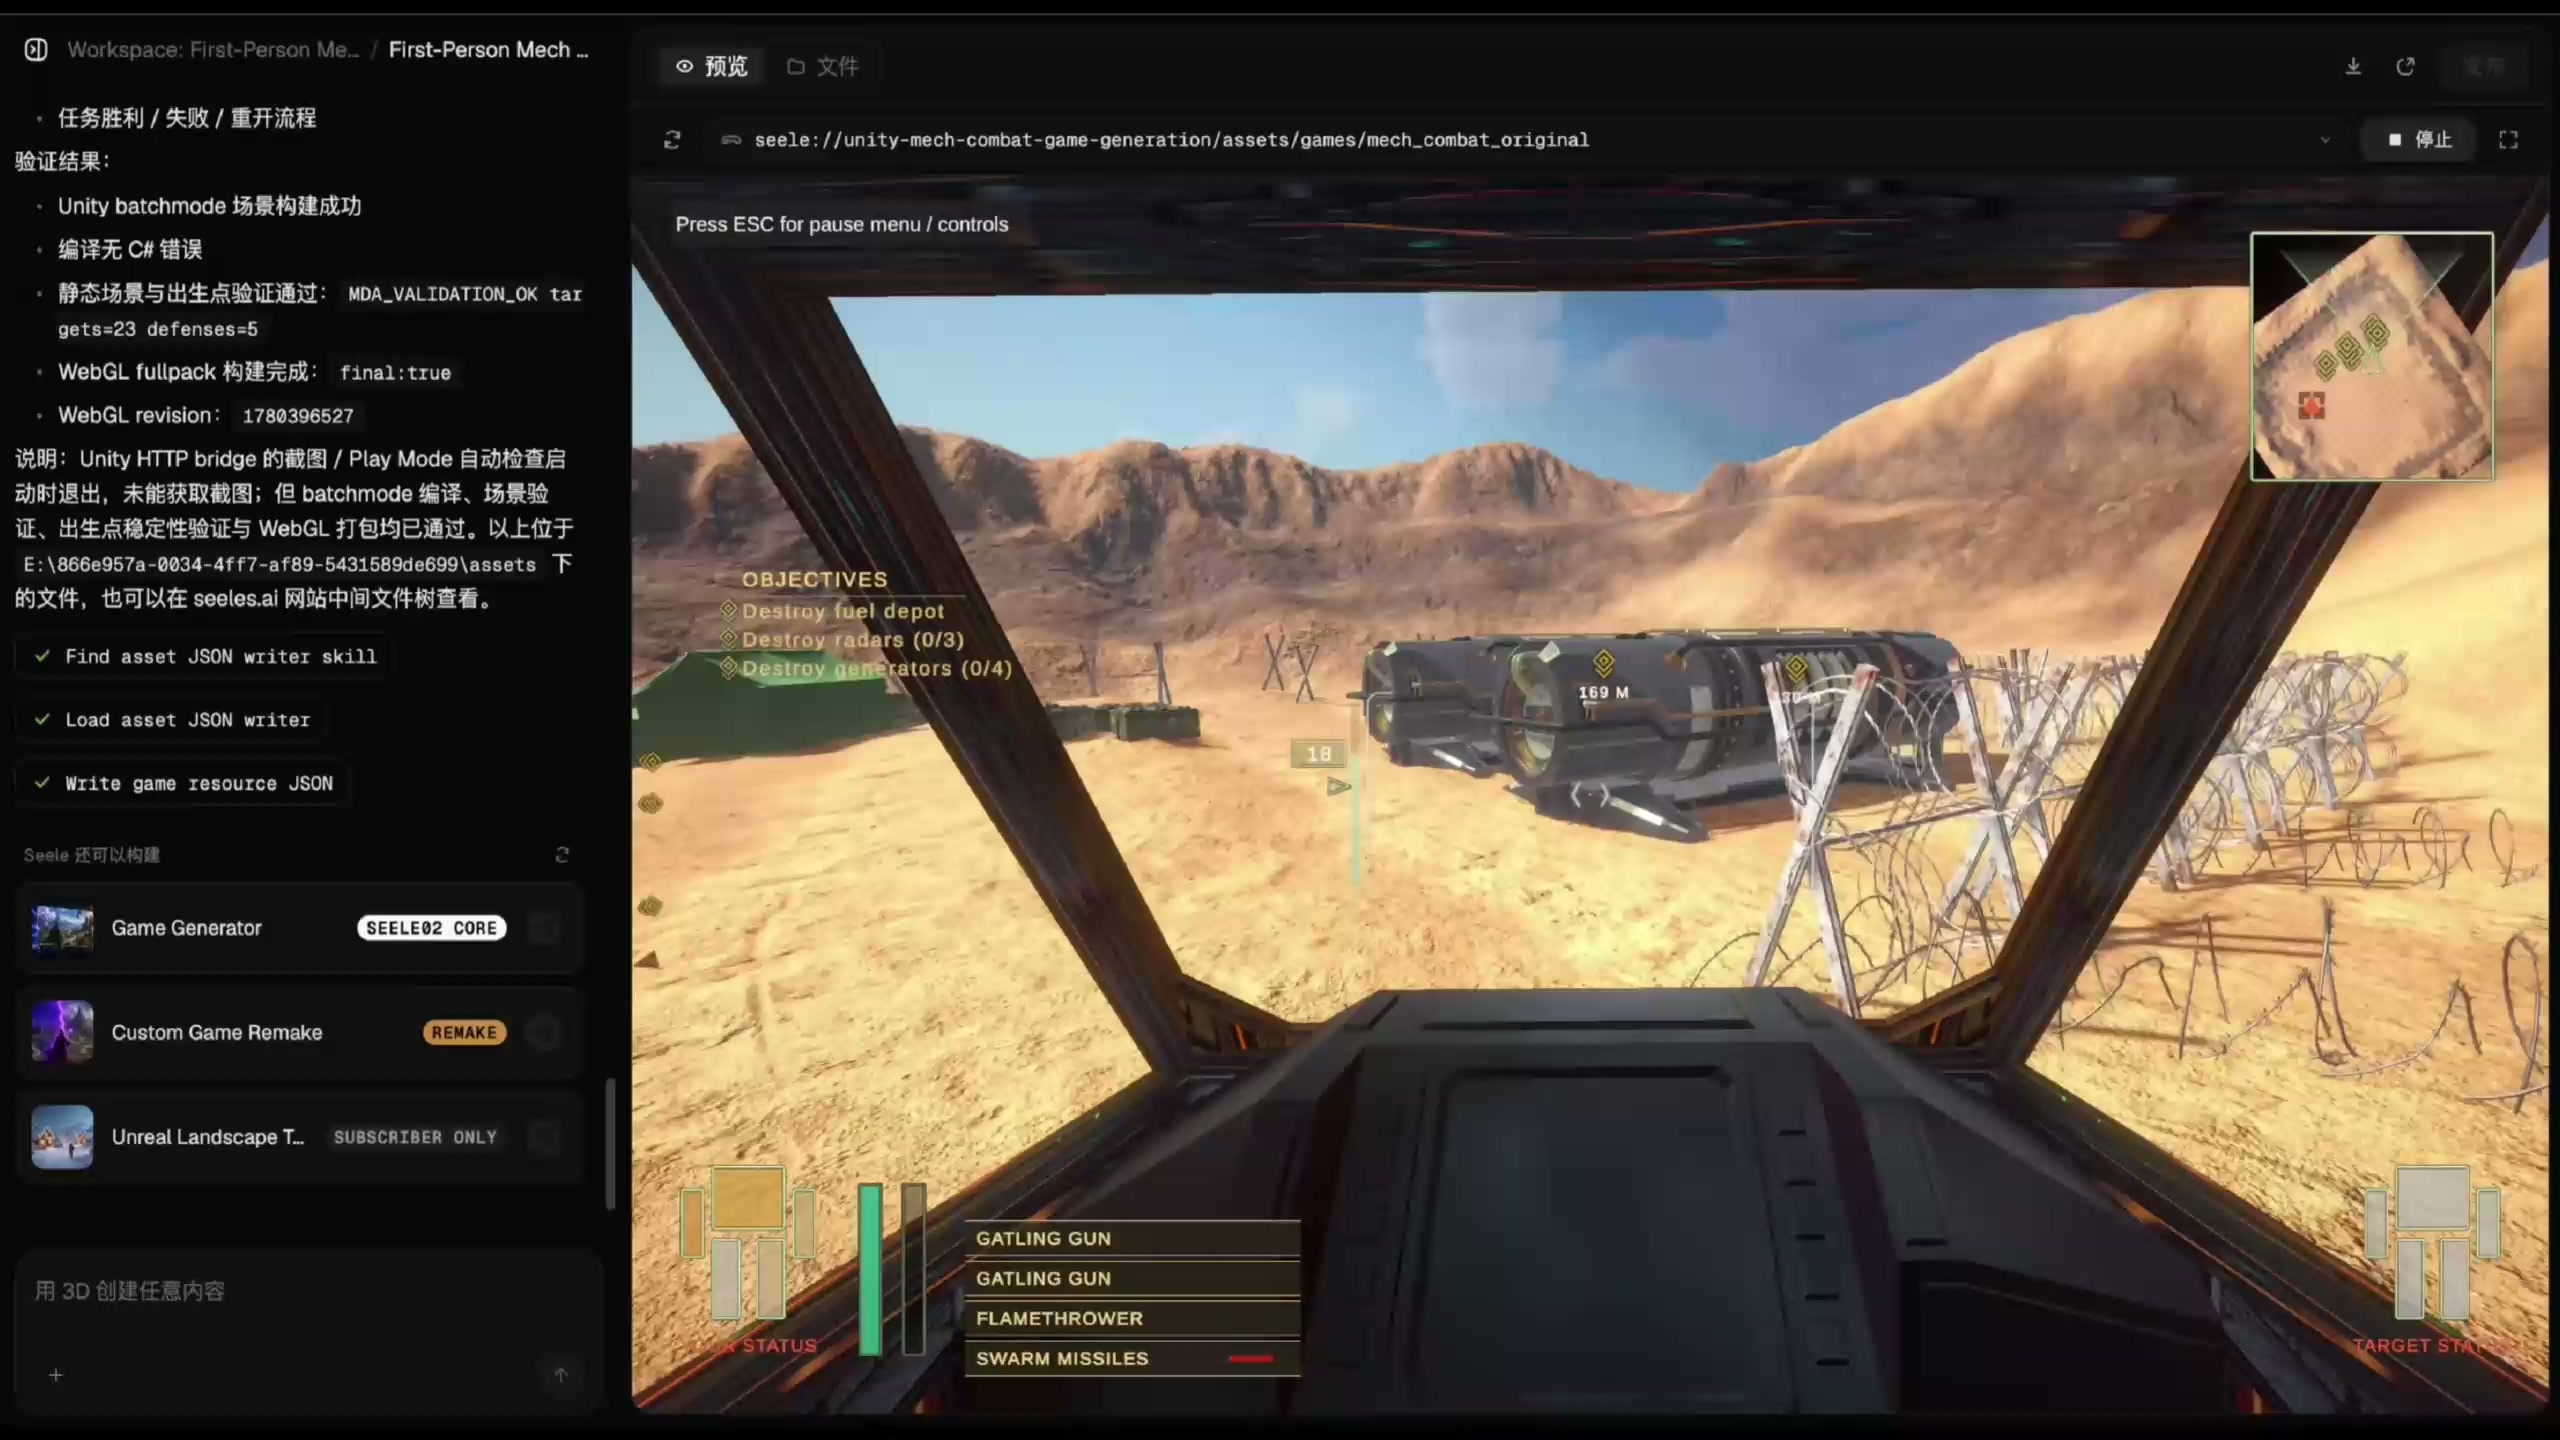
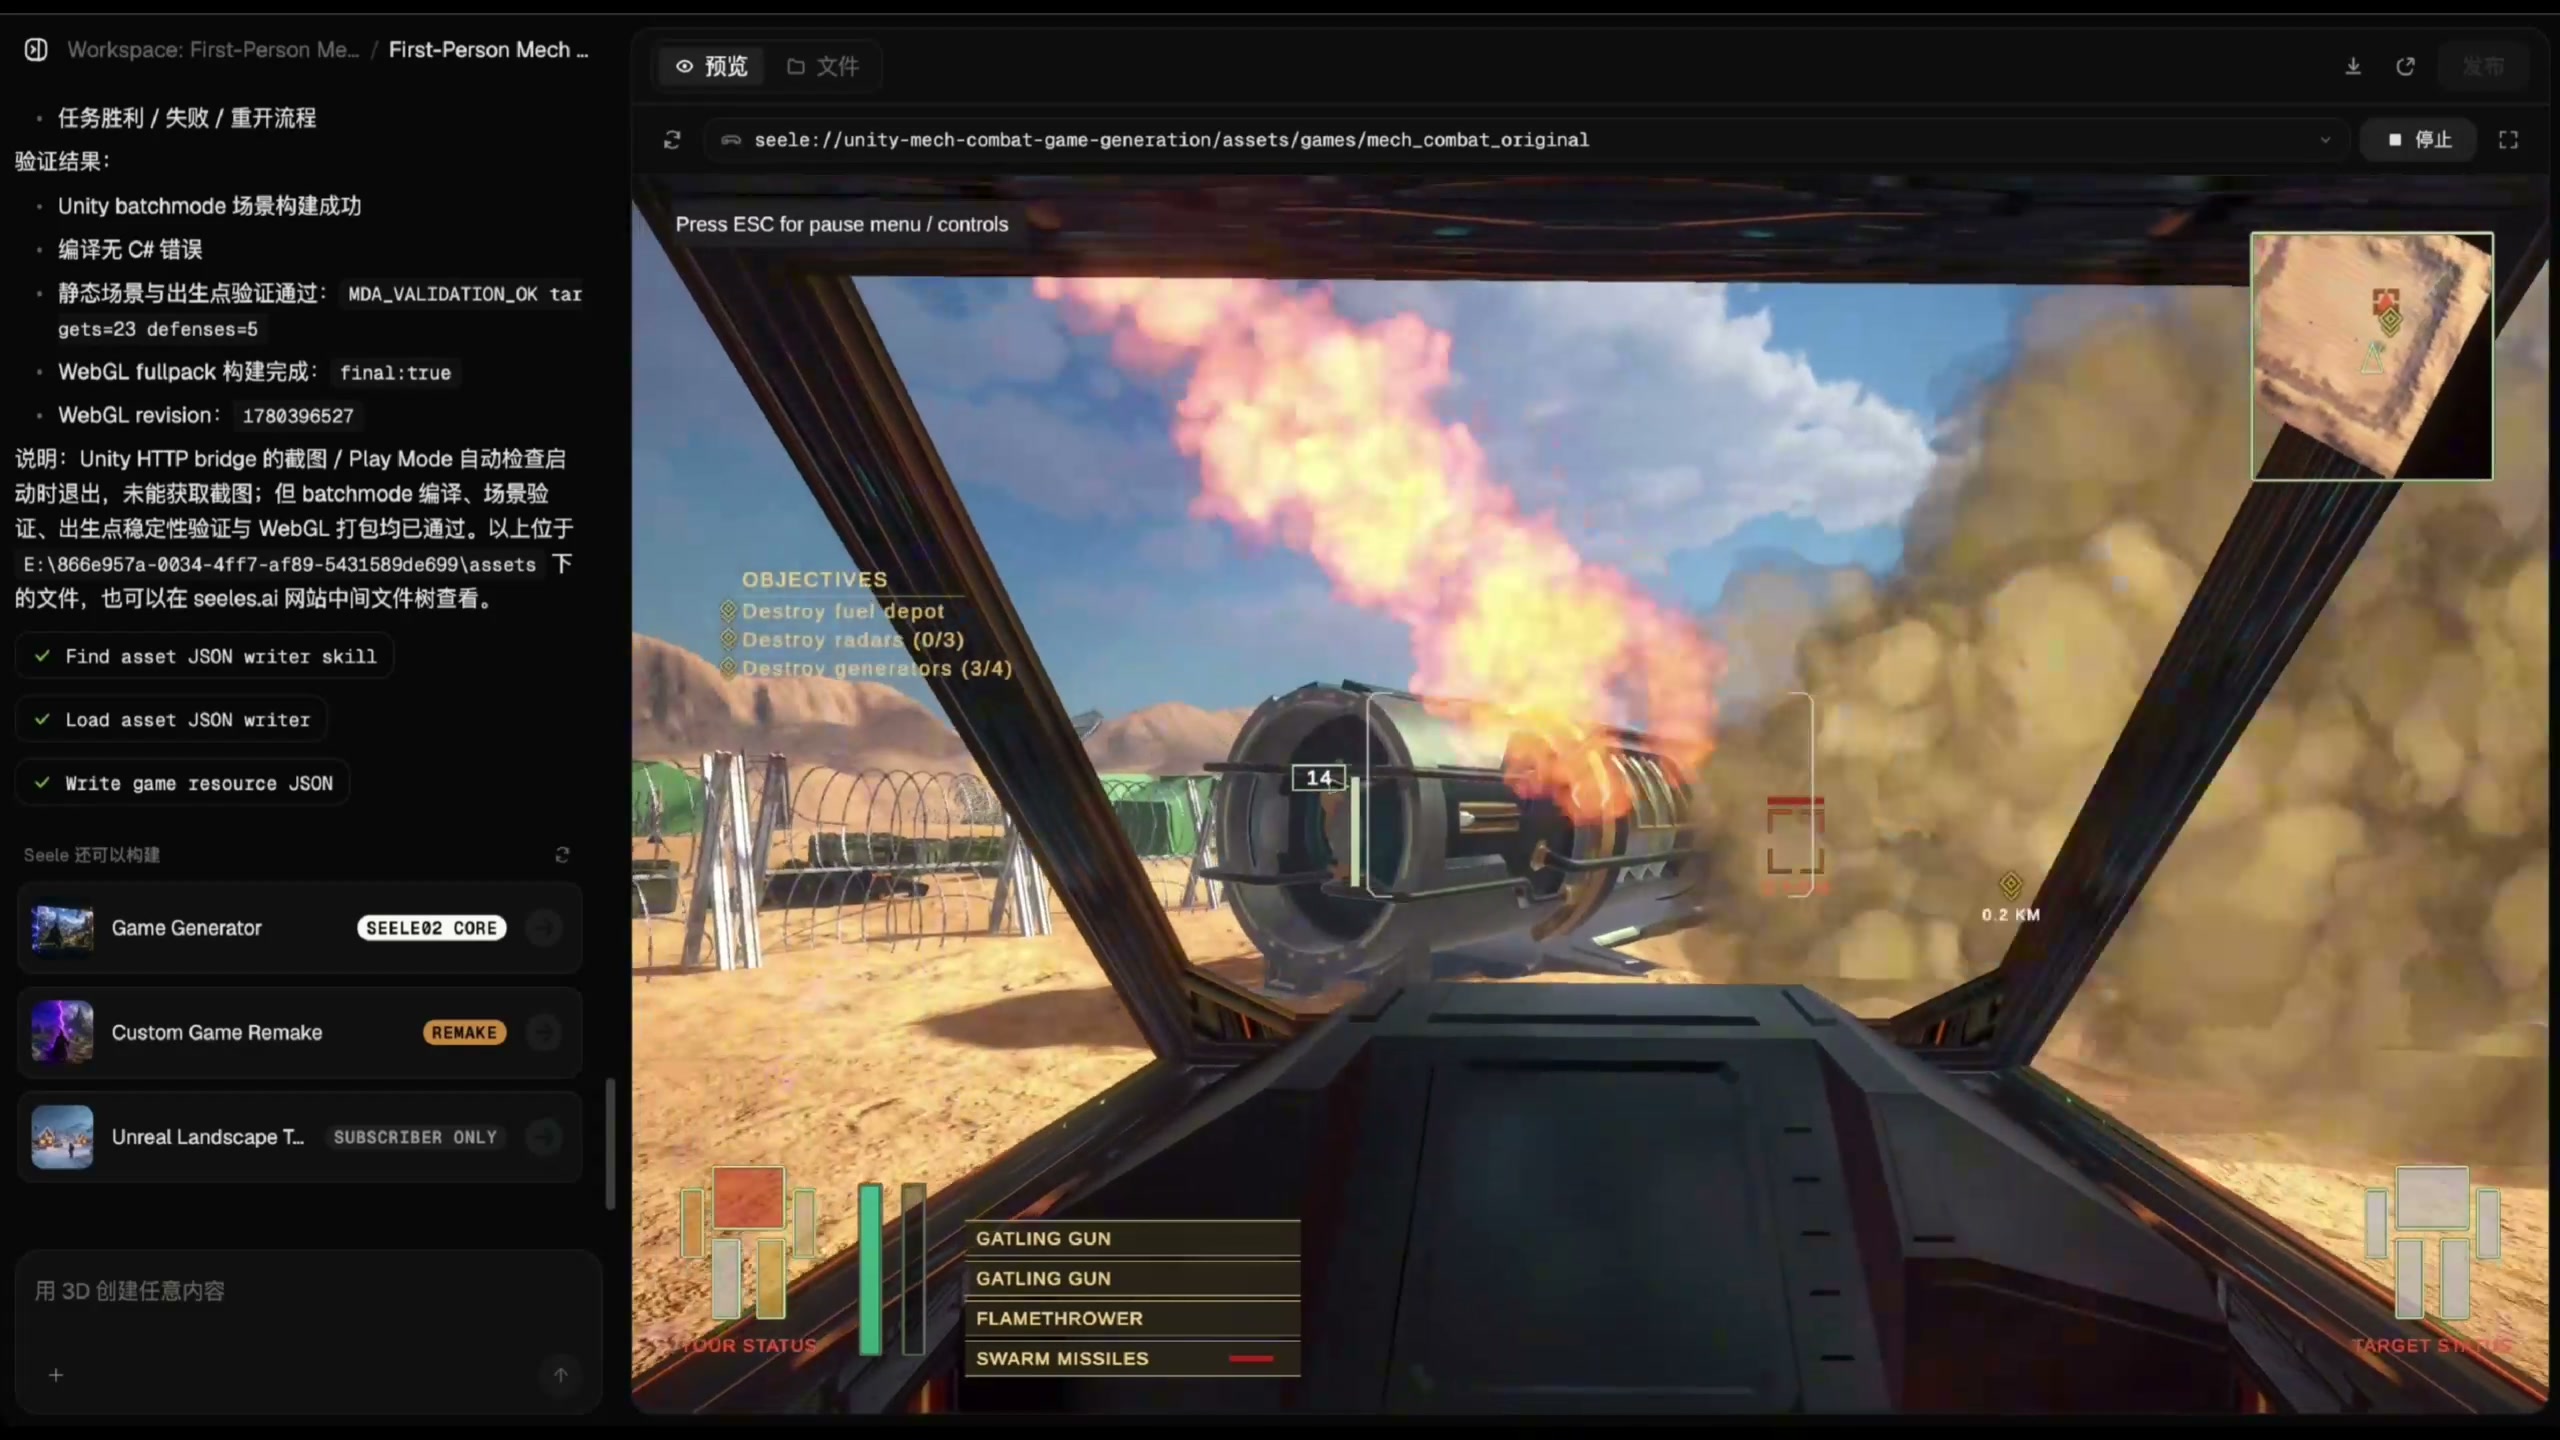
Independent SEELE proof: visible output state
This second authentic SEELE capture shows a first-person cockpit view with a weapon HUD, minimap, objective text, and an on-screen explosion. It is a separate SEELE output example, not evidence for any Rodin operation or for a Blender, Unity, Unreal Engine, format, mesh, material, rigging, or interoperability claim. The article's technical workflow decisions must be validated with the reader's own source files and target tools.
Frequently Asked Questions
Can every Rodin-derived character mesh be rigged for games?
No general guarantee is supportable from the supplied sources. Inspect the specific mesh, pose, topology, disconnected parts, and required motion. Proceed only if it passes deformation qualification or an approved cleanup plan can make it suitable.
Should I use automatic weights?
They can be a starting point when available in your DCC, but they are not an acceptance result. Test required joint extremes, inspect unrelated influences, correct failures locally, and rerun the same deformation suite before approval.
How many bones should the character have?
Use the smallest hierarchy that satisfies animation, deformation, attachment, and destination requirements. Bone count is a project decision informed by control needs and measured runtime constraints, not a universal target for Rodin-derived meshes.
What should I do when elbows, shoulders, or knees collapse?
Check joint placement, topology, and influence distribution in that order. Weight edits cannot always repair poor geometry or pivots. Compare a versioned fix against the same stress pose and verify that it does not create a new failure nearby.
How do I know whether an external animation can transfer to the rig?
Verify hierarchy, rest pose, proportions, axes, root semantics, and an explicit bone mapping in a controlled test. A humanoid silhouette or successful file import does not prove animation compatibility or acceptable deformation.
What belongs in a game-engine rigging handoff?
Include the versioned mesh and skeleton, clip manifest, root-motion policy, export settings, destination import settings, attachment contract, deformation test results, known exceptions, and a clean-project reproduction check.