Key Takeaways: PBR Textures Guide for Game Assets
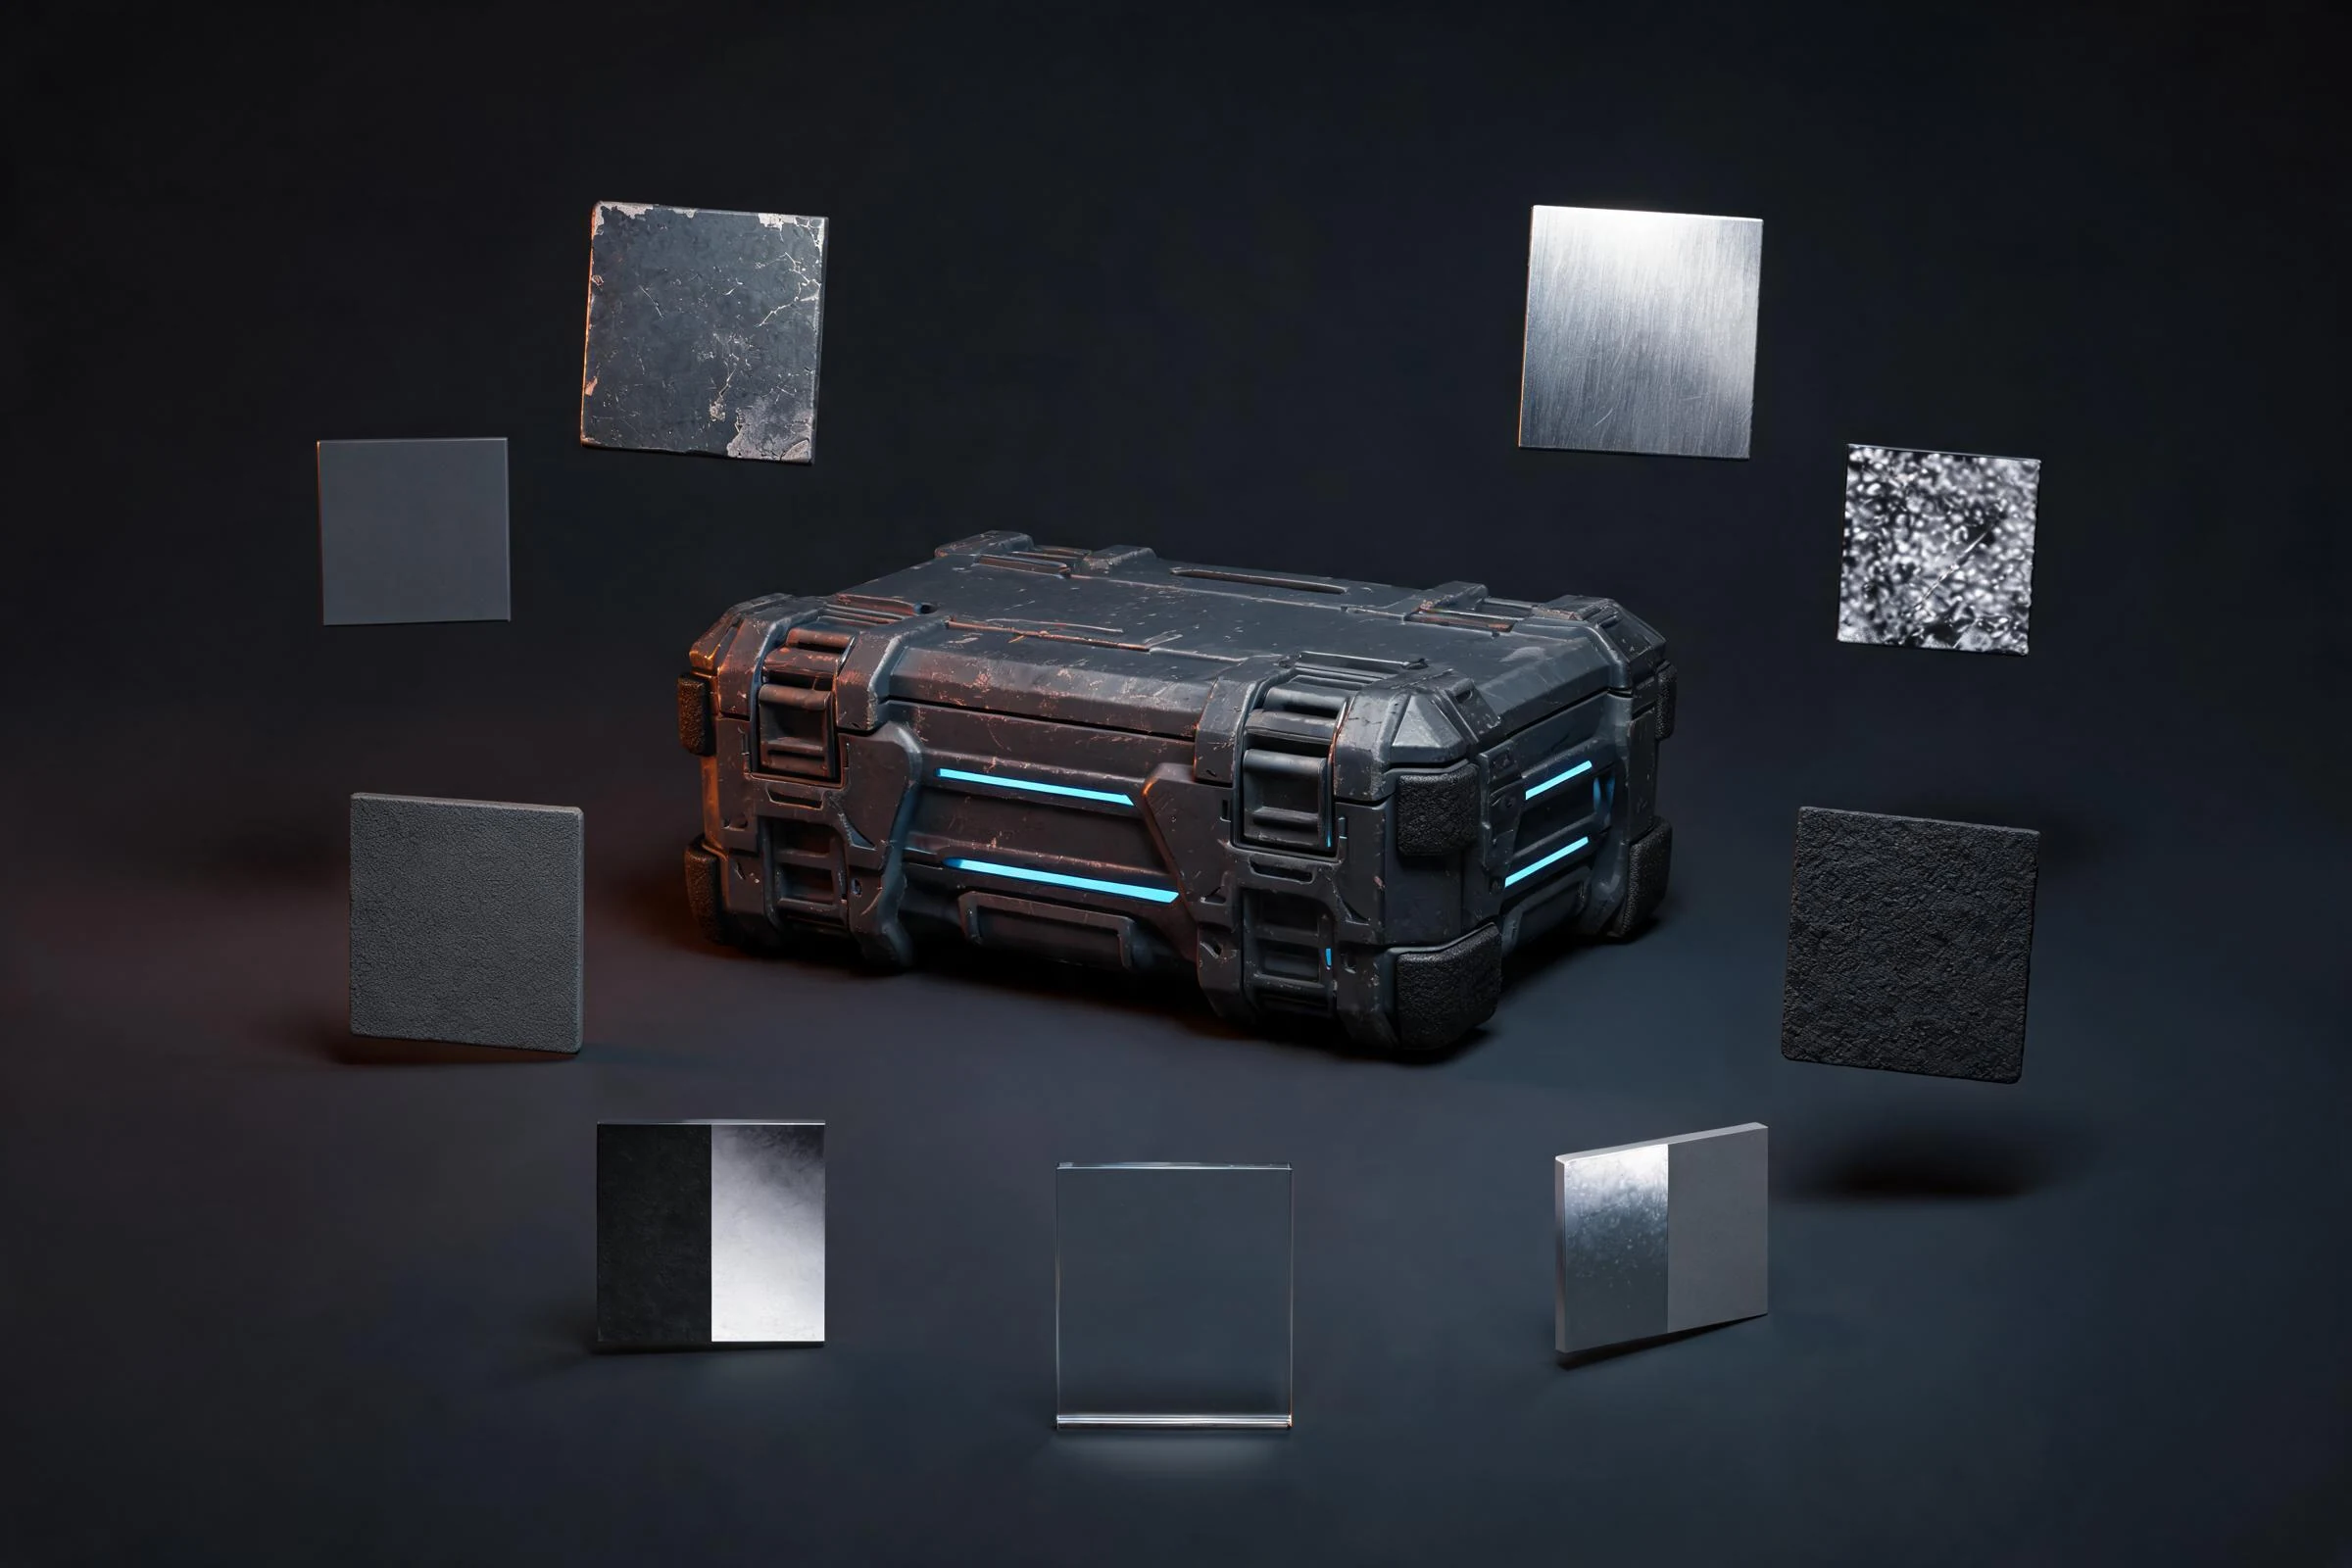
- A PBR texture is one map in a physically based rendering material set. Instead of painting the final appearance into a single image, PBR separates surface properties into inputs such as base color, roughness, metallic, normal, ambient occlusion, and sometimes height. A compatible shader combines those inputs with scene lighting to calculate the material’s appearance. The maps must describe the same surface consistently: metal regions, roughness variation, edges, wear, and small details should agree. Exact map names, channel directions, packing, and supported inputs depend on the destination renderer, so always validate the set in the target tool.
A PBR texture is one map in a physically based rendering material set. Instead of painting the final appearance into a single image, PBR separates surface properties into inputs such as base color, roughness, metallic, normal, ambient occlusion, and sometimes height. A compatible shader combines those inputs with scene lighting to calculate the material’s appearance. The maps must describe the same surface consistently: metal regions, roughness variation, edges, wear, and small details should agree. Exact map names, channel directions, packing, and supported inputs depend on the destination renderer, so always validate the set in the target tool.
What are PBR textures?
PBR textures are images that encode individual surface properties for a physically based rendering shader. The goal is not to make a material look identical under every light; it is to describe the surface consistently enough that the renderer can respond plausibly as the lighting changes.
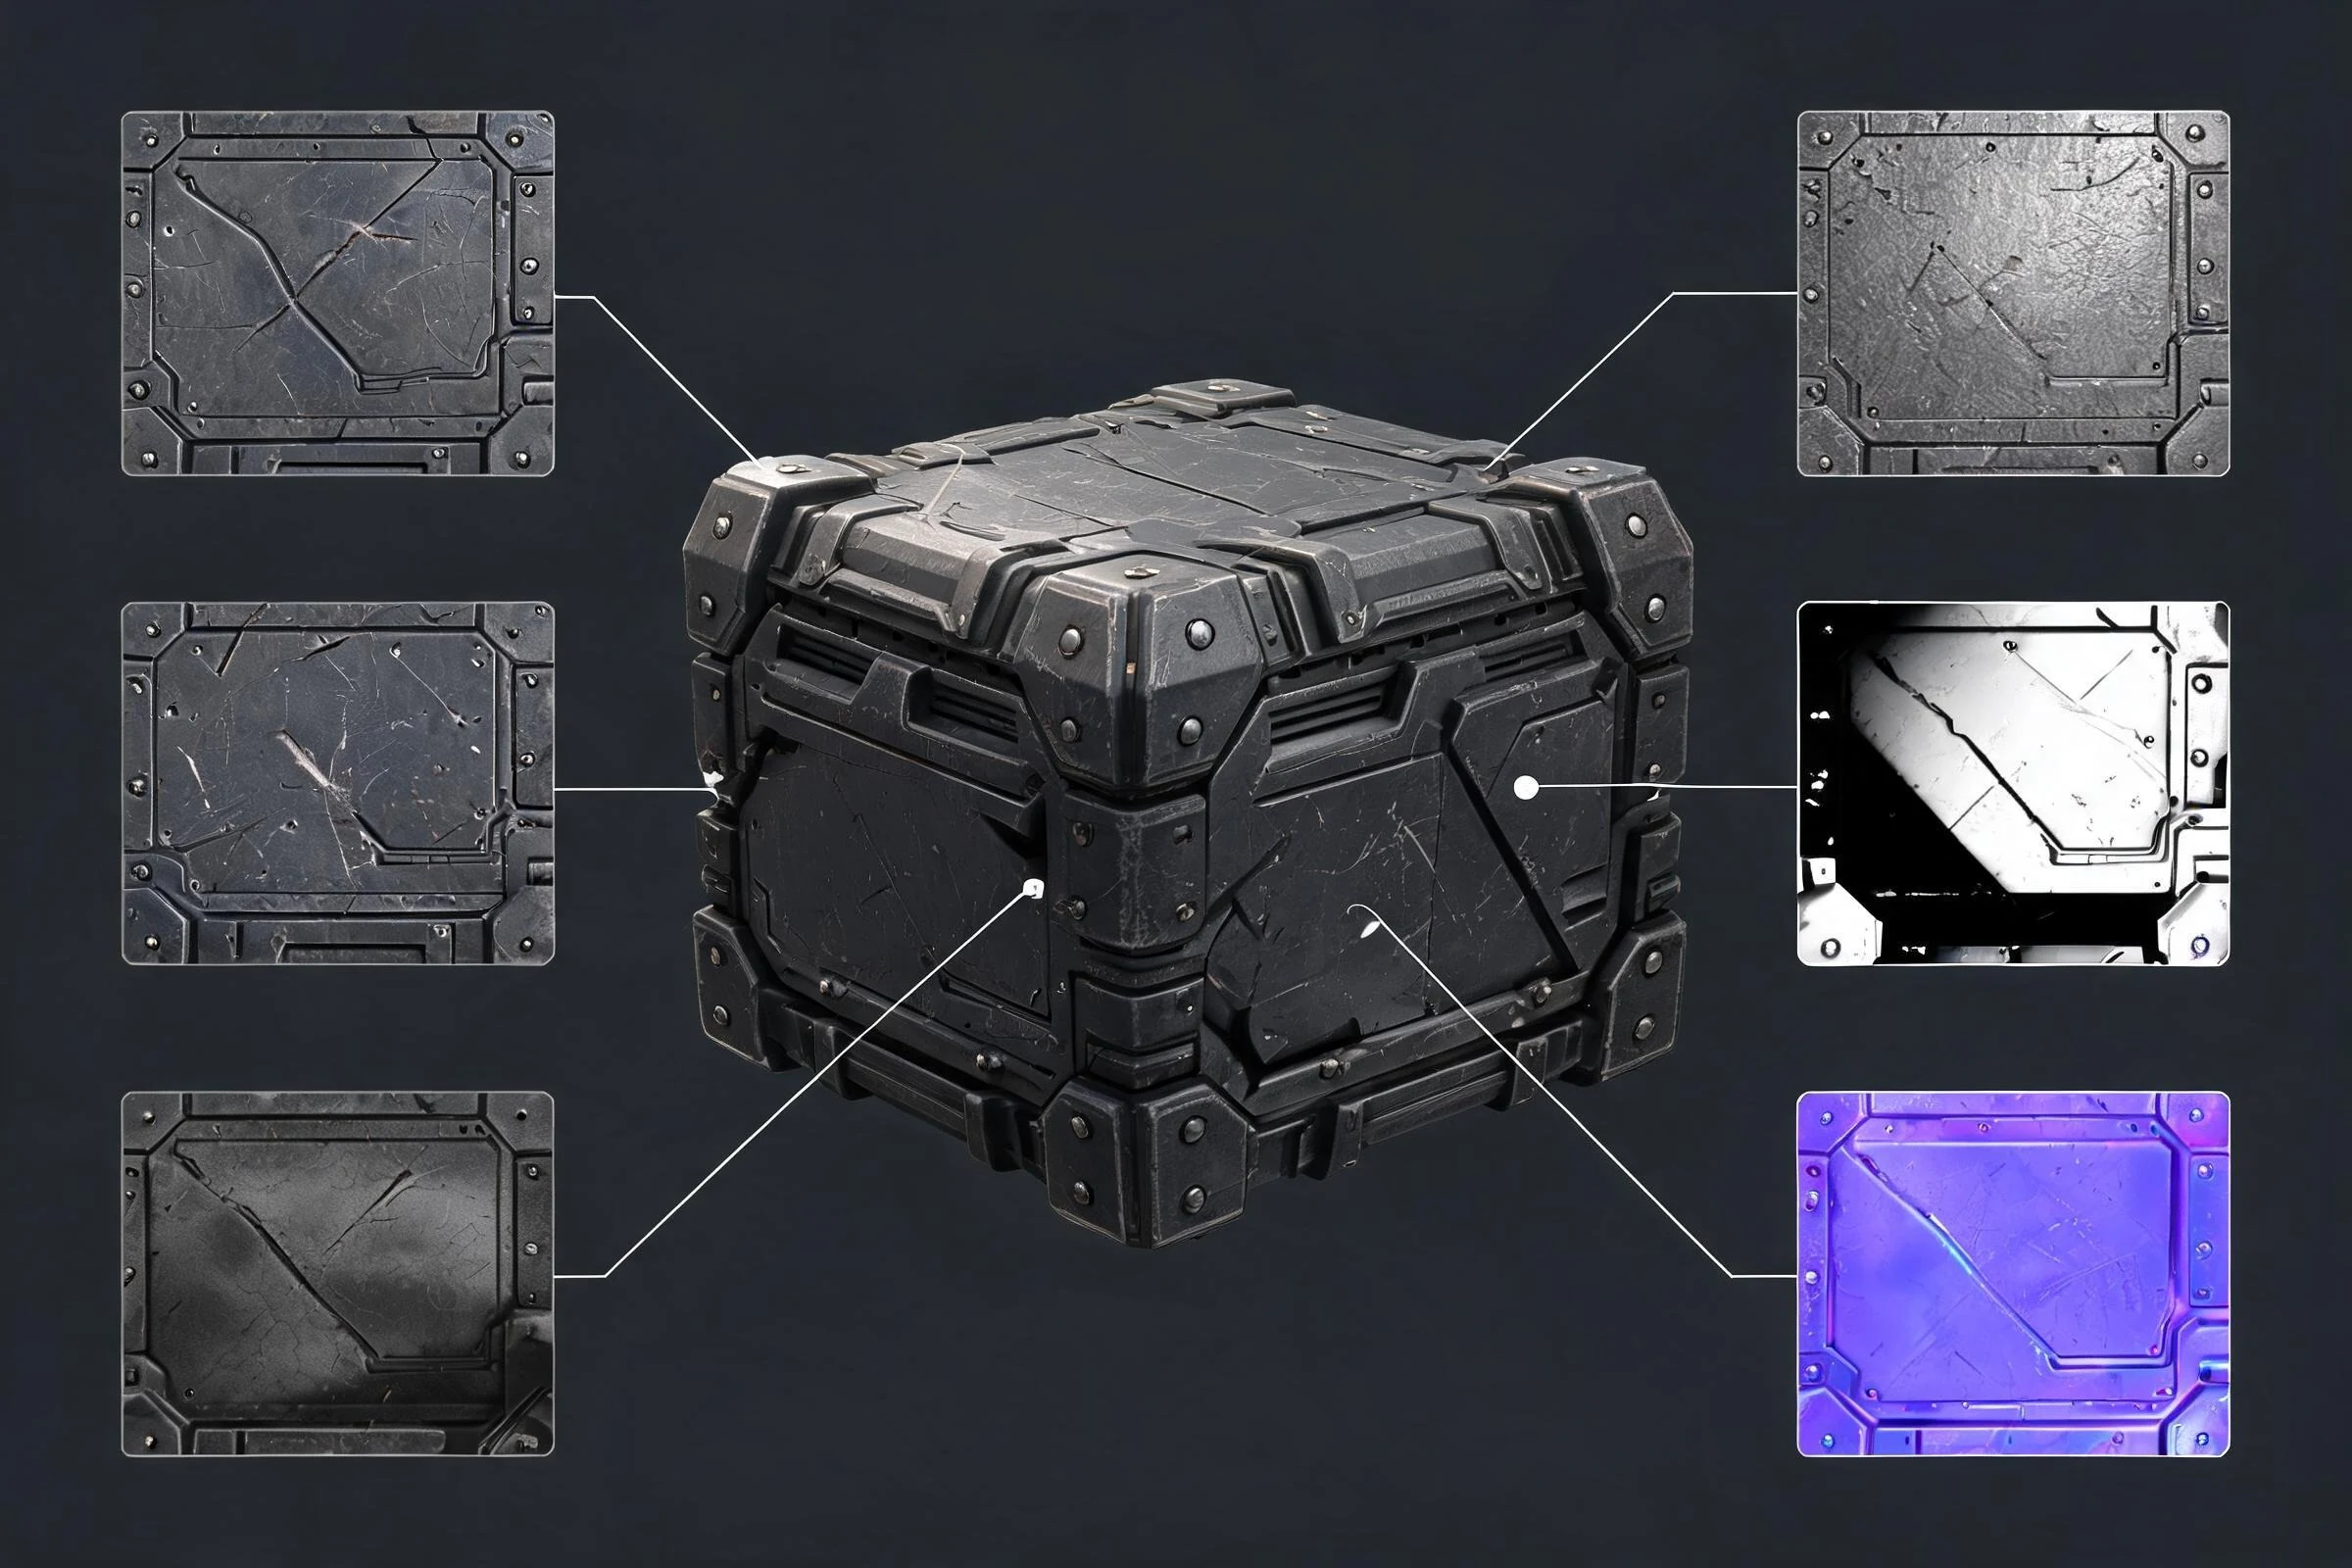
PBR texturing separates artistic decisions that older diffuse-only workflows often mixed together. The base-color map describes surface color. A roughness or glossiness map describes the spread of reflections. A metallic or specular input helps define how reflective behavior differs between conductors and non-metals. Normal and height data add small-scale shape without requiring every detail in the base mesh.
This separation makes debugging easier. If a painted metal panel looks like plastic, the problem may be the metallic or roughness input rather than its color. If scratches appear lit from the wrong direction, the normal map convention or import setting may be wrong. The texture set is a coordinated description, not a folder of unrelated images.
What is PBR texturing?
PBR texturing is the process of authoring those coordinated surface-property maps for a physically based shader. A robust workflow begins with a target shader definition, establishes real or reference-based material categories, builds large-scale variation before microdetail, and checks the result under several lighting conditions.
“Physically based” does not mean every value is scientifically measured. Artists still make choices for readability, style, and production constraints. It means the shader and input conventions are designed around a consistent model of light-surface interaction. Stylized assets can use PBR too; they simply apply the system with a controlled visual language.
The essential PBR maps
Base color or albedo
Base color describes the intrinsic surface color. It should generally avoid painted lighting information such as strong cast shadows, bright specular highlights, or scene reflections, because the renderer will calculate lighting separately. Dirt, paint, discoloration, and printed labels can belong in base color when they are properties of the material itself.
Be careful with the word “albedo.” Pipelines sometimes use it loosely, while technical definitions can differ. Follow the current shader documentation and team convention rather than relying on the filename alone.
Roughness or glossiness
Roughness controls how broad or sharp reflections appear. A low-roughness surface produces tighter reflections; a high-roughness surface scatters them more broadly. Glossiness often represents the inverse concept, but do not invert a map automatically without confirming the target convention.
Roughness variation is one of the strongest cues for material identity. Fingerprints, rubbed edges, dust, oil, brushed direction, and worn coatings often read through reflection behavior before they read through color.
Metallic or specular
A metallic map typically indicates which areas behave as metal in a metallic/roughness workflow. Painted metal is a useful example: intact paint is usually treated as a non-metal coating, while exposed metal beneath it is metallic. Avoid using medium metallic values as a generic “more reflective” control unless the target shader and material model justify them.
A specular/glossiness workflow represents reflectance differently. The two workflows can describe related appearances, but their maps are not interchangeable by filename. Conversion requires understanding the material and destination shader, not merely renaming files.
Normal
A normal map changes the shading direction across a surface to suggest small forms such as grooves, seams, dents, pores, and panel breaks. It does not alter the model’s silhouette. Normal maps also use conventions that can differ—especially the orientation of one color channel—so an incorrect import can make dents appear raised or lighting appear inverted.
Height or displacement
A height map represents relative surface elevation. Depending on the renderer, it may drive parallax, bump, tessellation, or true displacement. Those techniques differ in runtime cost and silhouette behavior. Do not promise that a height map will produce geometry in every engine.
Ambient occlusion
Ambient occlusion approximates reduced ambient light in creases and contact areas. Some pipelines provide it as a separate map; others pack it into a channel or combine it in the shader. Avoid permanently baking heavy AO into base color when the destination expects dynamic lighting, because that can double-darken the result.
Emissive, opacity, and other optional maps
Emissive maps identify self-illuminating areas, while opacity or alpha data can control cutouts or transparency where supported. Clear coat, anisotropy, subsurface, transmission, and other advanced properties are shader-specific. Treat them as optional destination features, not universal PBR requirements.
Metallic/roughness versus specular/glossiness
Choose the workflow required by the destination material system. In metallic/roughness, artists usually author base color, metallic, and roughness. In specular/glossiness, specular color/intensity and glossiness carry related information in a different representation.
The practical rule is simple: identify the destination shader first, then author or convert the maps deliberately. If the target expects roughness and your source provides glossiness, verify whether an inversion is appropriate and how values are encoded. If the source uses packed channels, verify each channel’s meaning. Do not assume suffixes such as _ORM, _RMA, or _MRA mean the same ordering across every asset source.
How to create PBR textures
1. Define the destination before painting
Record the target renderer, shader model, supported maps, color-space expectations, channel-packing convention, resolution budget, and material-slot strategy. This prevents late rework such as discovering that an engine expects roughness in a packed channel while the authoring file contains separate grayscale images.
2. Gather legal, material-specific references
Collect reference for the exact surface: painted steel, untreated wood, glazed ceramic, rubber, fabric, or weathered stone. Observe color variation, reflection width, edge wear, dirt accumulation, and scale. Use only photos, scans, and assets you created or are licensed to use.
3. Establish texel density and UVs
Before detailed painting, make sure UV islands are usable, distortion is controlled, and important areas receive appropriate texel density. Keep scale consistent across related assets unless there is a deliberate reason not to. Padding must suit the intended mip and export workflow so seams do not bleed at distance.
4. Build material regions and large forms
Separate the object into meaningful material regions. Establish broad base-color, roughness, and metallic behavior first. If a prop combines painted metal, rubber grips, and bare fasteners, each region should have internally consistent values and transitions.
5. Add medium and small detail coherently
Scratches should affect more than one map when the physical event requires it. A scratch through paint may reveal metallic substrate, change roughness, alter color, and add a small normal or height change. In contrast, a color stain might affect base color and roughness without changing the normal map. Let the cause determine the maps.
6. Export using explicit conventions
Use clear names and record whether grayscale maps are linear data, whether normal maps use the expected convention, and how packed channels are ordered. Avoid relying on a teammate or importer to infer meaning from an ambiguous filename.
7. Validate in the destination renderer
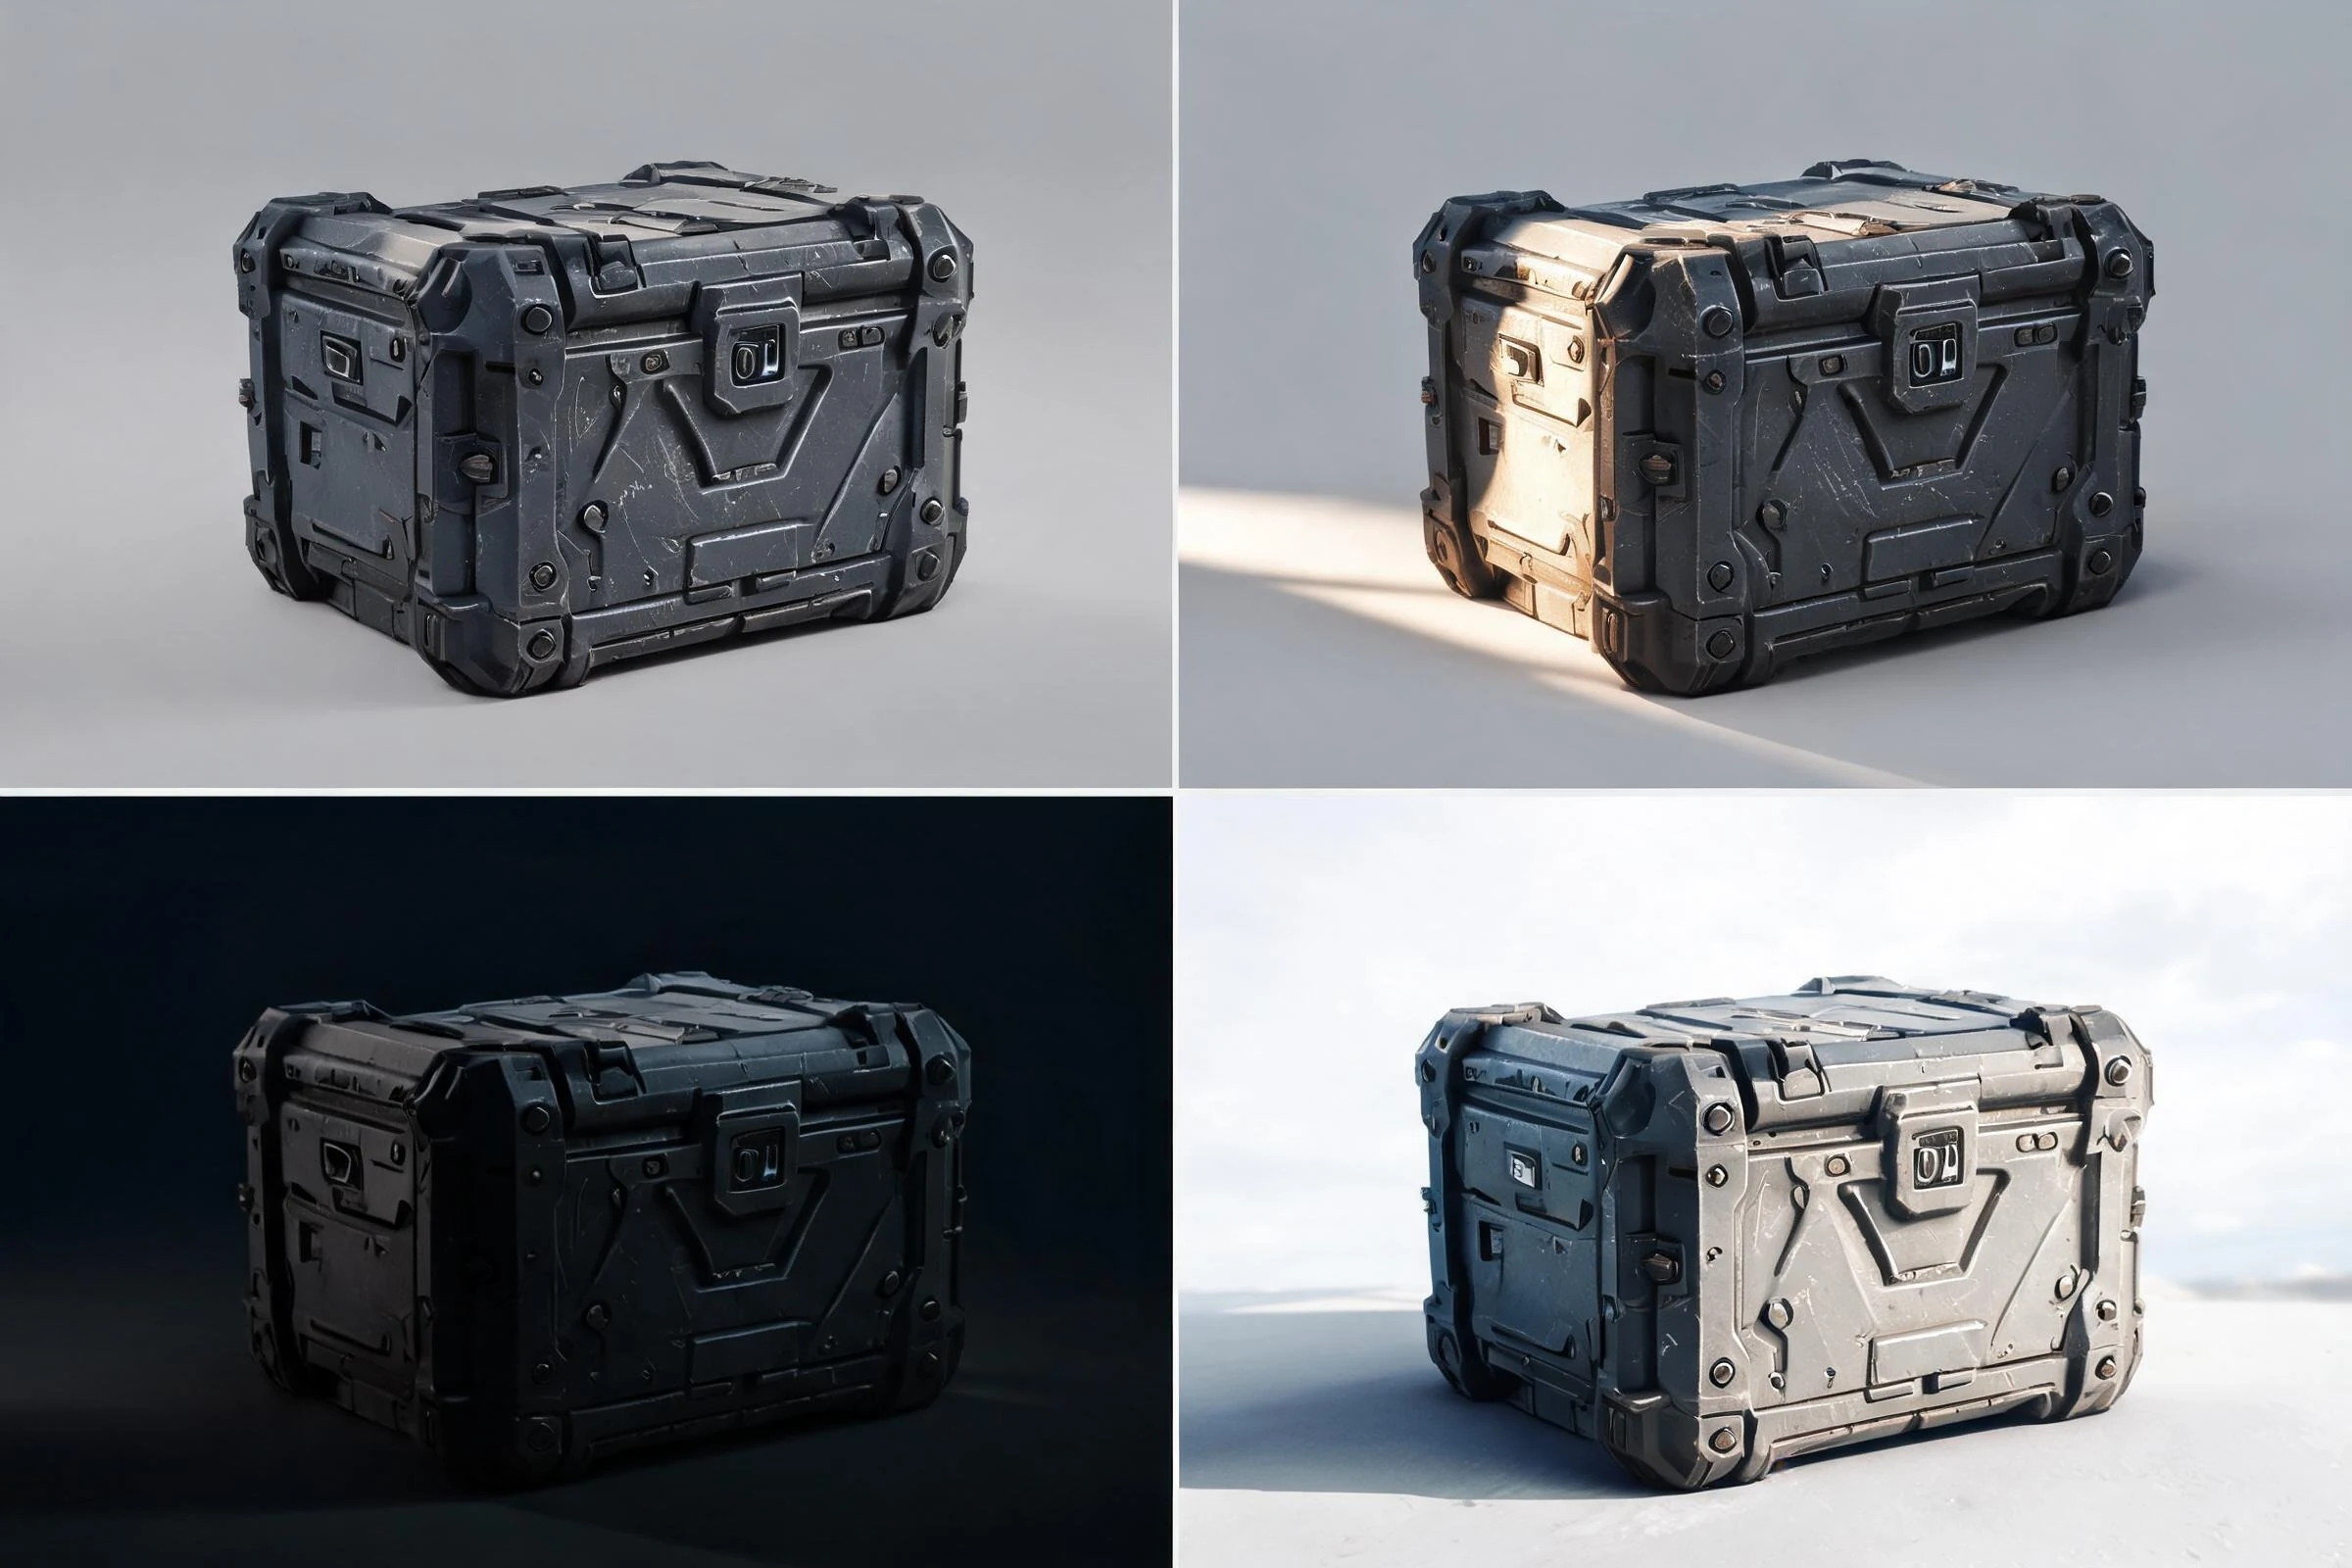
Test the material under a neutral studio light, grazing light, bright and dark environments, and representative gameplay lighting. Rotate the object and the light. A material that looks correct in one fixed beauty shot may reveal inverted normals, crushed roughness, seams, or overstrong detail when conditions change.
How to create PBR textures in Photoshop
Photoshop can author and edit image maps, but it does not remove the need to define a shader convention. Organize source layers by physical effect so related maps stay synchronized. For example, a “paint chip” mask can expose a metal color region, lower or alter roughness as appropriate, and contribute restrained edge information to height or normal-generation inputs.
Avoid generating a normal map from base color and assuming it is physically correct. Color boundaries are not always height boundaries. A printed label can change color without changing surface relief, while a shallow dent can change shape without a strong color difference.
Use non-destructive masks and adjustment layers where practical, preserve a high-quality master, and export copies using the bit depth, color-space handling, and compression required by the destination. Exact Photoshop filters, plug-ins, and menu locations vary by version, so confirm that the required non-destructive editing and export controls exist in the version being evaluated.
How to import PBR textures in Blender
In Blender, create or select a material and connect maps to a physically based shader such as the current Principled BSDF implementation. Connect base color to the corresponding color input, roughness to roughness, metallic to metallic, and route normal data through an appropriate normal-map node before the shader normal input.
Set data maps—roughness, metallic, normal, height, and packed utility maps—to the color-space handling recommended by current Blender documentation, rather than treating them as display color. Check the normal convention and invert or adjust only when the source and Blender expectation differ. If using displacement, confirm the render engine, material settings, mesh subdivision, and output mode because a connected height image alone may not create visible geometric displacement.
Node names and shader inputs can change between Blender versions. Use the current Blender manual for exact controls, while keeping the material test focused on map meaning, color-space handling, and visible output.
How to use or add PBR textures in Roblox
Roblox material workflows and supported SurfaceAppearance properties are platform-specific. The safe high-level workflow is to prepare a UV-mapped mesh, create the texture maps required by the current SurfaceAppearance documentation, upload only assets you have rights to use, associate the maps with the mesh, and inspect the result in representative Studio lighting.
Do not assume that every desktop-renderer map has a one-to-one Roblox slot. Confirm current map names, supported image requirements, channel conventions, moderation rules, and performance guidance in official Roblox Creator documentation. Test at runtime-relevant distances and lighting, because a dense micro-normal or extreme roughness contrast that looks impressive in a close-up may shimmer or disappear in play.
Validate quality and runtime suitability
A good PBR set should remain recognizable as the intended material across varied lighting. Review:
- Value consistency: metal and non-metal regions follow the chosen workflow.
- Map alignment: scratches, seams, labels, and wear line up across maps.
- Normal direction: raised and recessed details respond correctly as the light moves.
- Scale: grain, pores, and scratches are believable relative to the object.
- Seams: UV borders do not reveal obvious discontinuities.
- Mips and distance: detail does not turn into noise or shimmer.
- Compression: gradients and normals survive the destination settings.
- Memory and draw calls: resolution and material count fit the project budget rather than an arbitrary universal number.
Common PBR texturing mistakes
- Painting strong highlights and cast shadows into base color.
- Using metallic as a general reflectivity slider.
- Treating roughness and glossiness as interchangeable without checking direction.
- Importing normal maps with the wrong convention.
- Applying the same noise pattern to every map, creating artificial correlation.
- Making every edge equally worn regardless of use or exposure.
- Using microdetail at the wrong physical scale.
- Ignoring packed-channel order and color-space handling.
- Judging the asset under one flattering light only.
- Copying or extracting unlicensed texture content.
Frequently Asked Questions
What is a PBR texture?
A PBR texture is an image that describes one surface property—such as base color, roughness, metallic behavior, or normal direction—for a physically based shader. It works as part of a coordinated material set.
What are PBR textures?
PBR textures are a set of maps used by a physically based shader to calculate how a surface responds to light. Common maps include base color, roughness, metallic, normal, ambient occlusion, and optional height or emissive data.
What is PBR texturing?
PBR texturing is the process of authoring consistent surface-property maps for a physically based material. It includes choosing a target workflow, creating the maps, exporting them with correct conventions, and validating them in the destination renderer.
How do I create PBR textures?
Define the destination shader, prepare UVs, gather licensed material reference, build large material regions, add coherent wear and detail across maps, export with explicit conventions, and validate under multiple lighting conditions.
Can I create PBR textures in Photoshop?
Yes. Photoshop can create and edit base color, roughness, metallic masks, height inputs, and other images. Keep effects synchronized across maps and do not assume color differences automatically represent surface height.
How do I import PBR textures in Blender?
Connect each map to the matching input of the current physically based shader, route normal data through a normal-map node, use appropriate data color-space settings, verify the normal convention, and test the material under varied lighting.