AI can help turn a game idea into a prototype, but a person still needs to decide what the prototype should prove and whether the result is good enough to expand. The dependable workflow is a short loop: define one player promise, generate a bounded first build, inspect what exists, play it, and make a deliberate next-step decision.
The distinction matters because a generated screen can look complete while leaving basic questions unanswered. Can a player understand the objective? Do the controls respond as expected? Does the main action create a reason to continue? A review checkpoint makes those questions part of the process instead of assumptions.
Key Takeaways - Write a testable game brief before asking for a build. - Review the generated result against visible acceptance checks, not the prompt alone. - Treat a short prototype recording as evidence of only the moments it shows.
1. Turn the idea into a brief a person can approve
A useful brief describes the player's action, the first goal, the feedback for success or failure, and the limits of the prototype. It should also name what is out of scope. For example, a first-person survival prototype might request one small encounter and a visible health and ammunition display while leaving campaign progression for later.
Before generation, a designer or project owner should check that the brief is original, understandable, and small enough to evaluate. Replace vague goals such as “make it exciting” with observable ones: the player can move, identify a threat, use an action, and see a consequence. If a requirement cannot be judged from a build or a short play session, rewrite it.
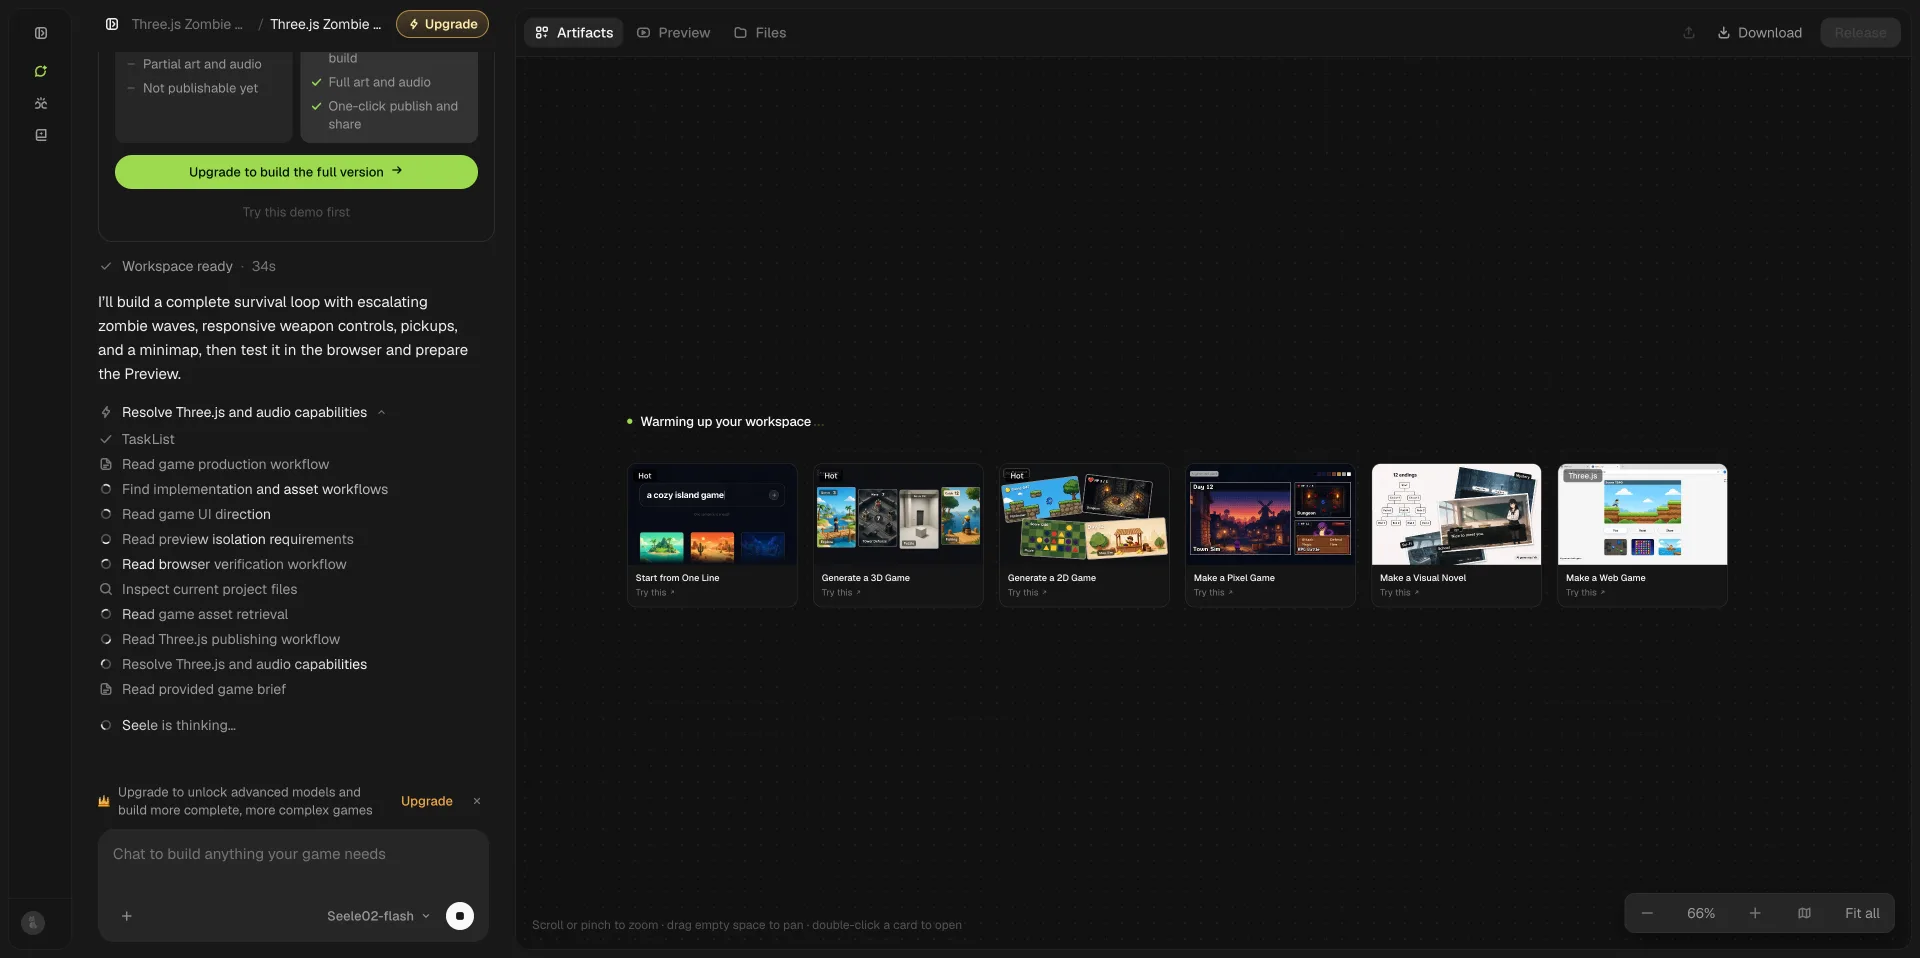
A screenshot from the supplied October 2026 test record shows the generation workspace and task progress for a Three.js zombie-survival prompt. It documents the generation interface, not the correctness of every requested mechanic.
2. Generate the smallest slice that can answer a question
Keep the first build narrow enough that a reviewer can connect each requested feature to a specific test. One environment, one core action, a clear goal, and basic feedback are often more useful than a long feature list. Ask the generator to surface assumptions or incomplete requirements rather than silently filling every gap.
The human checkpoint here is scope. Compare the output with the brief and remove work that does not test the central idea. If the first build needs more content before the main action can be judged, add only the smallest supporting piece.
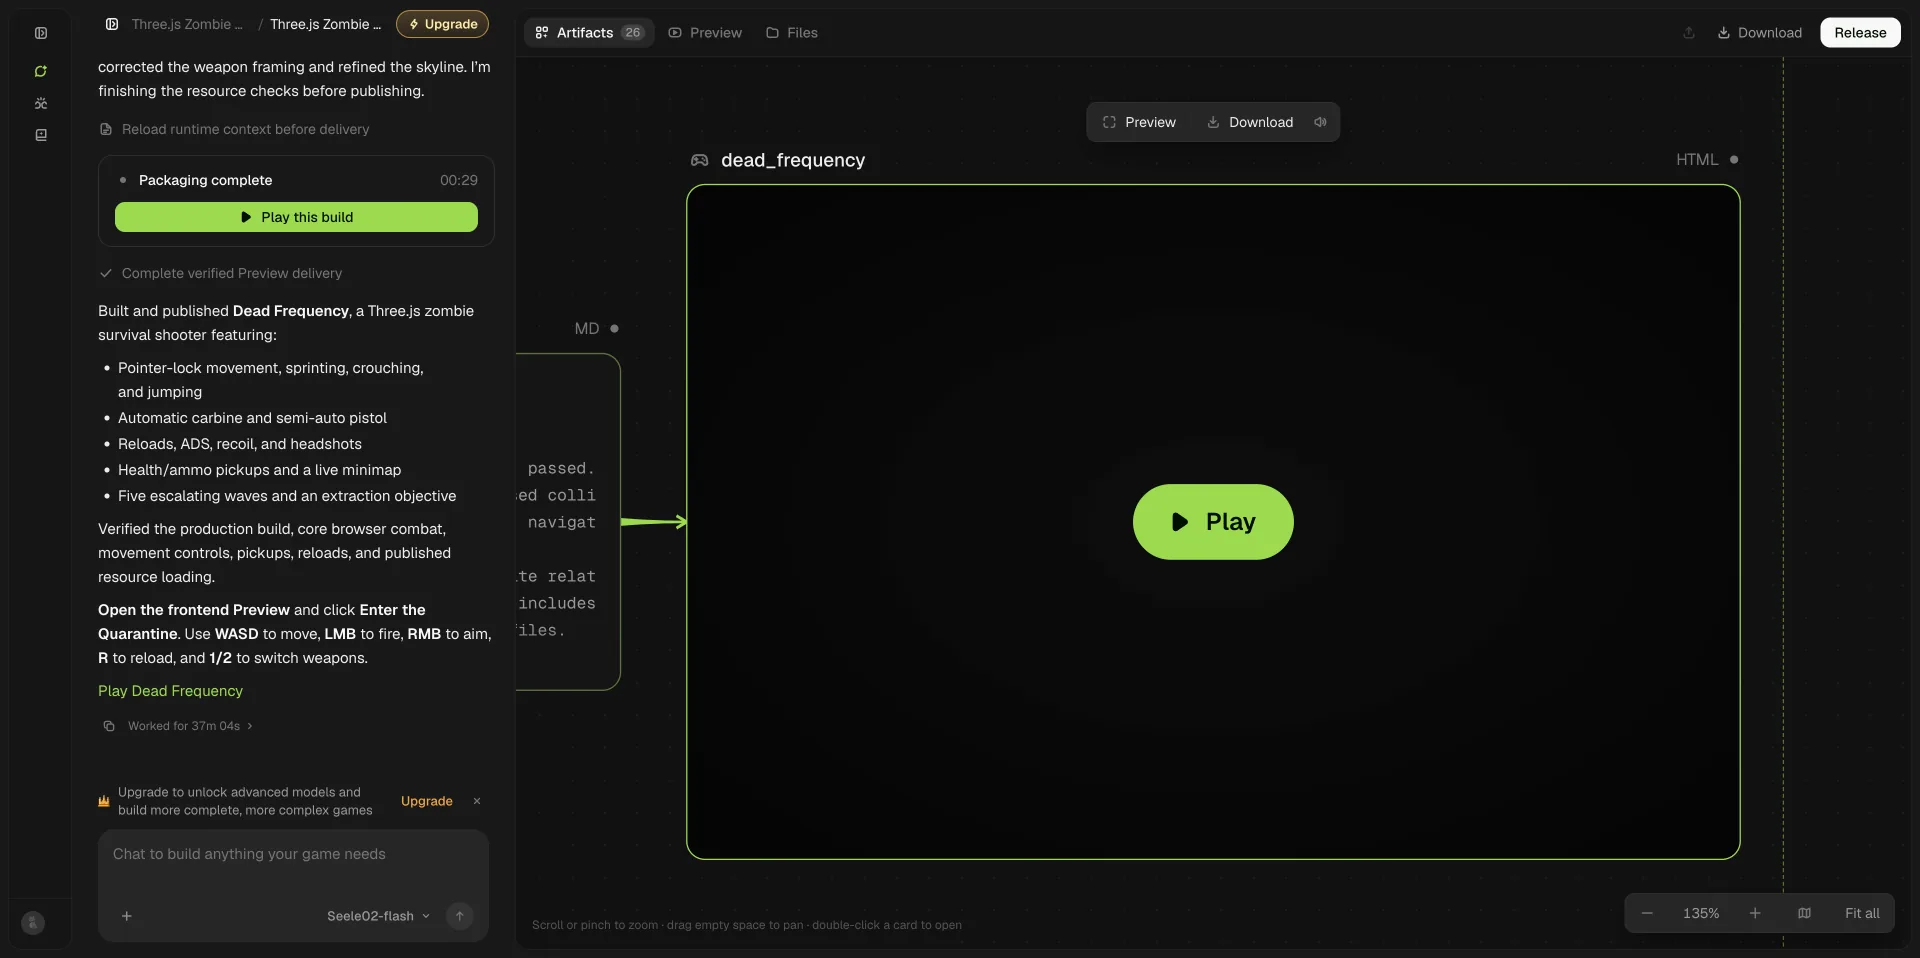
The supplied record includes a build-complete screenshot with a preview entry point. It shows that a build-complete state and preview option were visible. It does not establish that the game is complete or ready to ship.
3. Review the running game, not just the build panel
A reviewer should play the slice and record what happened. Check controls, readability, feedback, failure behavior, and whether the player understands what to do next. Separate observed behavior from requested behavior. A feature listed in a prompt is a test hypothesis until someone exercises it.
For the Three.js example, the test record describes a 21.5-second gameplay recording that shows part of the first wave. Visible elements include a first-person weapon view, health and ammunition HUD, minimap, wave count, enemies, and a pickup prompt. The record explicitly says it does not independently verify every requested feature, the full five-wave sequence, or browser compatibility. Those limits belong beside any summary of the result.
4. Make the release decision a separate checkpoint
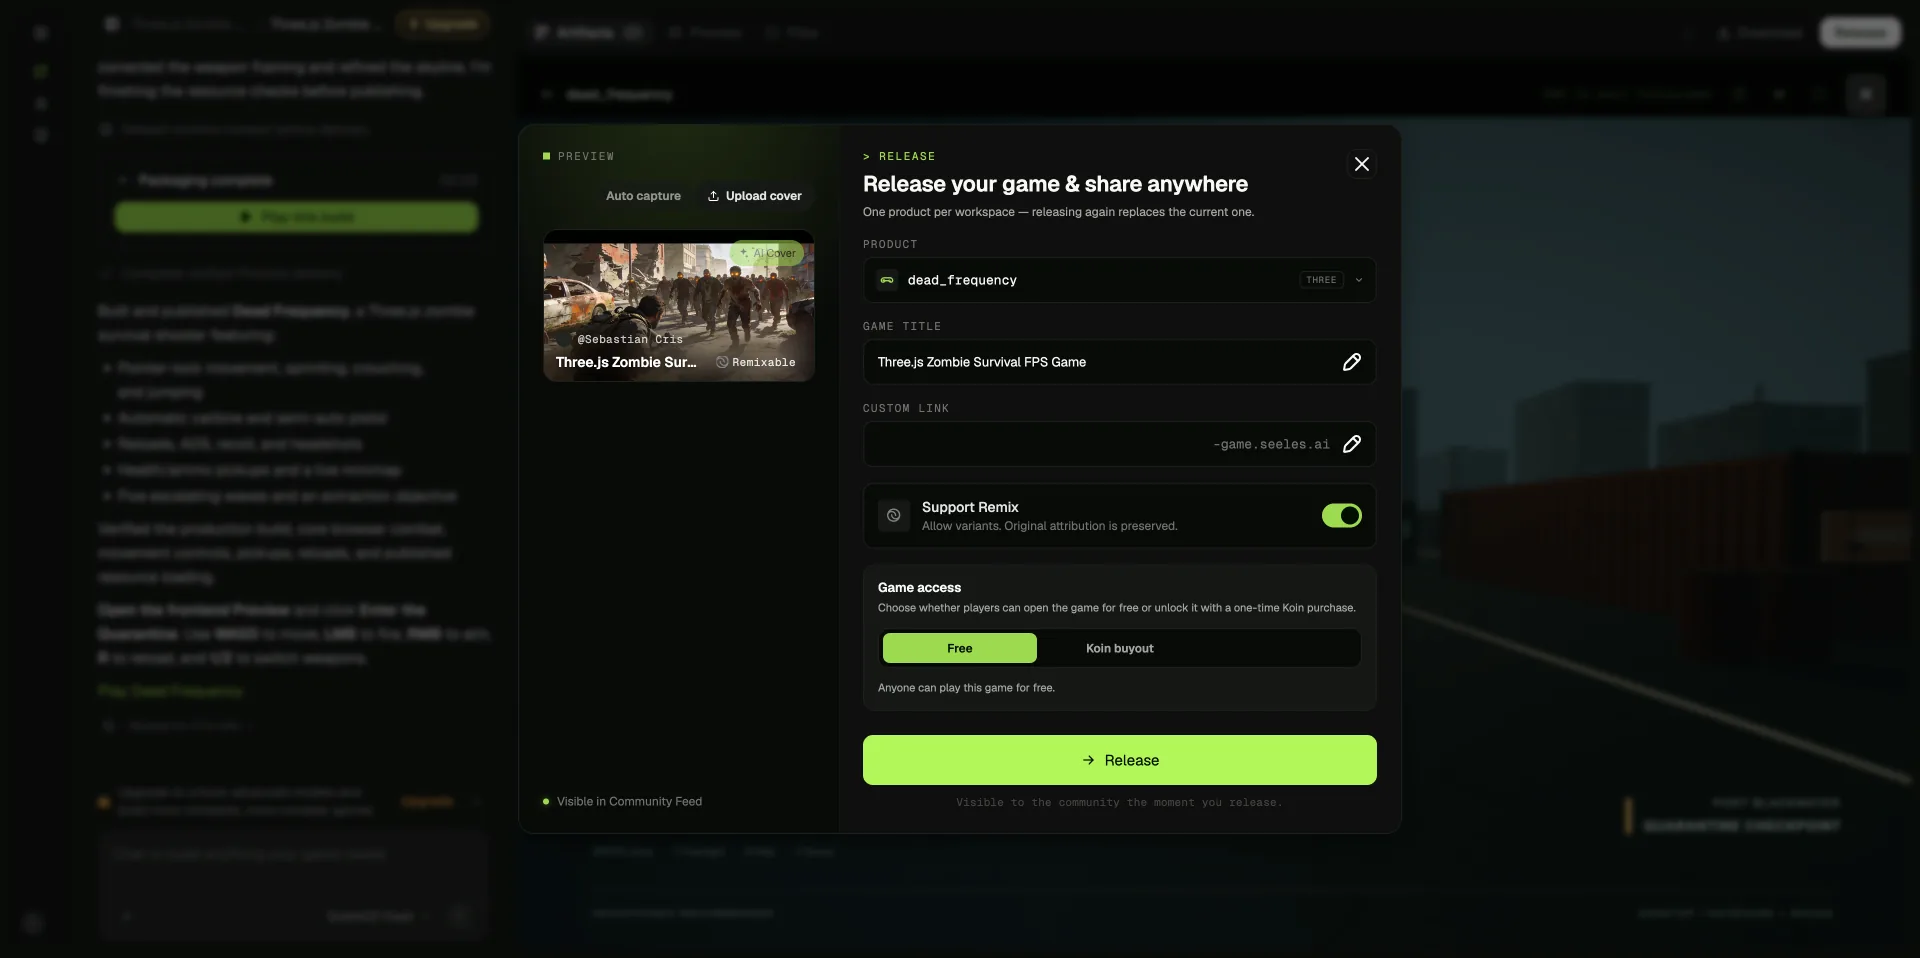
A release settings screen is an interface state, not proof that the game has passed review. Before sharing a build, a human should verify the title, access setting, intended audience, and whether the public description matches what was actually tested. Keep technical, accessibility, originality, and asset-source questions open until they have evidence.
Use a short decision record: what was tested, what passed, what failed, what remains unknown, and who owns the next action. If the core action is still unclear, return to the brief. If the action works but presentation is rough, keep the scope fixed and improve the feedback. Expand only when the current slice answers its original question.
A repeatable review loop
The workflow can be written on one page: brief approval, generation, build inspection, playtest, review notes, and a go/no-go decision. A human checkpoint does not need a committee or lengthy paperwork. It needs a named person, a concrete criterion, and a record of the result.
For a broader look at team ownership, see AI game development for indie teams. If you are starting from a broad idea, turning a game brief into a playable prototype covers the scoping step. The Three.js zombie shooter prompt walkthrough gives the example behind the screenshots.
The useful output of an AI-assisted workflow is not a confident completion label. It is a prototype with a clear purpose, a human-reviewed result, and an honest account of what still needs testing.
A worked example: turn a feature list into a reviewable slice
The October 2026 Three.js zombie-survival test is useful because its prompt names several mechanics but the evidence record also makes clear what was and was not checked. The prompt asked for pointer-lock movement, firearms, reloads, aiming down sights, crouching, sprinting, pickups, and a minimap. The result record includes a generation workspace, a completed-build preview, release settings, and a short gameplay recording. The recording lasts 21.5 seconds and shows part of wave one. It is evidence for the visible moments in that clip, not for every mechanic in the request.
A team can convert that difference into a compact acceptance card before it starts. For example:
| Question | Observable check | Evidence to save | Status after a short clip |
|---|---|---|---|
| Can the player identify the current state? | Health, ammunition, and wave information are legible during play | Gameplay capture with the HUD visible | Visible in the supplied clip |
| Does a threat appear in the play space? | An enemy is visible while the player is in control | Gameplay capture | Visible in the supplied clip |
| Does a pickup communicate an action? | A prompt appears near an item | Gameplay capture | A prompt is reported as visible; collection behavior still needs a separate test |
| Do movement and weapon controls work? | Each input produces the intended movement or weapon state | Individual input checks | Not established by the clip alone |
| Does the full encounter finish? | The player reaches the end of all planned waves | A complete run and end-state capture | Not established |
The card prevents a visual impression from becoming a broad claim. It also gives the builder a useful next task: choose the highest-value unknown, add one test that can answer it, and record the outcome. If the pickup interaction is central to the game, test it before adding more weapons. If the question is whether the opening is readable, ask a new player to state the goal without coaching.
Use a short review loop with explicit stop points
A small workflow can be run in four passes. First, the owner approves the brief and marks assumptions. The builder then generates or assembles only the smallest playable slice. A reviewer inspects the running game and checks each acceptance item as observed, failed, or not tested. Finally, the owner chooses whether to revise, test further, or expand scope. These are separate decisions: an attractive preview may justify another test without justifying a larger production commitment.
For a revision, change one important variable at a time. If the objective is unclear, adjust the opening cue and repeat the same test. If movement feels imprecise, isolate movement before adding an enemy. This makes it easier to connect a change to the result. When several changes happen at once, the team may not know which one helped or introduced a new problem.
Keep notes short but traceable. A useful entry includes the build identifier or date, the requirement being tested, the steps performed, what happened, and the next action owner. Use “not tested” when no one performed a check. Use “not visible in this recording” when the evidence is a clip that omits the behavior. These descriptions are more accurate than a single “works” label.
Decide what “ready for the next step” means
A prototype does not need production polish to be useful, but it does need a clear decision. The owner can define three outcomes: continue, revise, or stop. Continue when the central action is understandable and the next uncertainty is small enough to test. Revise when the idea still appears promising but a specific interaction or explanation fails. Stop or re-scope when the central promise is not supported by the test or the required work exceeds the available time.
A decision note should identify the evidence and the unresolved questions. For the zombie example, a careful note might say that the clip shows a first-person weapon view, health and ammunition HUD, a minimap, a wave counter, enemies, and a pickup prompt during part of the first wave. It should also say that the clip does not establish all requested controls, the complete five-wave sequence, or compatibility across browsers. That statement is useful because it tells the next reviewer exactly where to look.
Questions teams often ask
Should every prompt requirement become a test?
Every important requirement should have a way to be checked before the team relies on it. Some checks can be grouped when one test genuinely observes more than one behavior, but do not infer hidden mechanics from a screenshot. A visible reload animation, for instance, does not by itself establish that ammunition updates correctly.
How much evidence should a prototype review keep?
Keep enough to reproduce or understand the decision: the brief, the relevant build, concise test notes, and a capture when visual behavior matters. A short recording can be enough for a narrow question. It is not a substitute for a complete run when the decision depends on the whole loop.
When should the team expand scope?
Expand after the current slice answers its primary question or the remaining uncertainty is explicitly accepted. Add one new system at a time and update the acceptance card so the next review remains bounded.