A prompt can request a specific game, but a prompt alone cannot establish that the result works. The supplied October 2026 test record documents one request for a Three.js first-person zombie-survival shooter, a generation interface, a build preview, release settings, and a 21.5-second gameplay recording. The clip shows part of the first wave. The record does not independently verify every requested feature, the complete five-wave sequence, or compatibility across browsers.
That makes this a practical example of how to move from a detailed prompt to bounded prototype evidence. The useful lesson is to keep the request readable, inspect the resulting build, and label observations separately from untested requirements.
Key Takeaways - The exact test prompt requested a first-person Three.js zombie-survival shooter and named its desired mechanics. - The supplied 21.5-second clip shows only part of the first wave. - Visible UI and gameplay details are observations, not proof that every requested feature was independently tested.
The exact prompt used in the test record
The test record gives this prompt:
Create a 3D Three.js first-person zombie survival shooter with pointer-lock movement, firearms, reloads, ADS, crouching, sprinting, pickups, and a minimap.
Turn feature words into observable checks before drawing conclusions. For example, a reload test should capture the input, ammunition change, and any visible reload feedback. A pickup test should record the prompt, collection action, and state change.
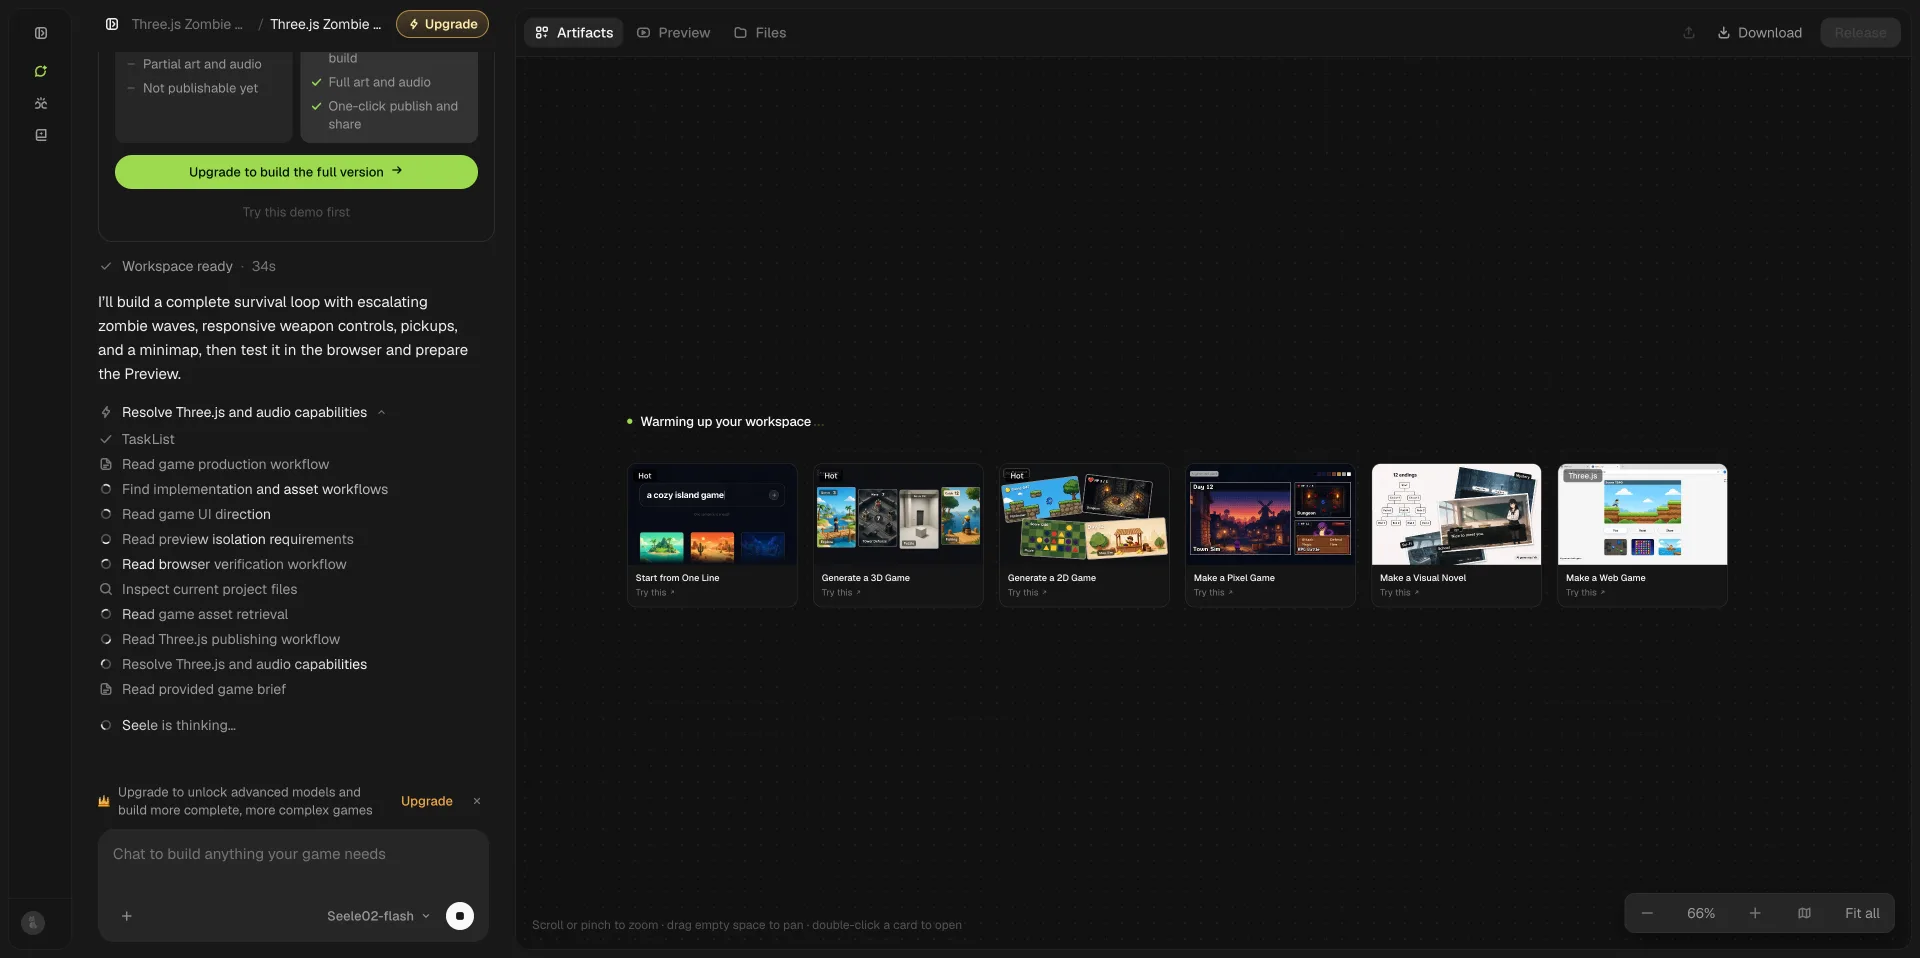
The record says the prompt was submitted in a desktop browser to a game generator. The screenshot below shows the task workspace and progress display. It is not a frame from the separate generation video, which used a different prompt variant and is not part of this walkthrough.
Inspect the build before drawing conclusions
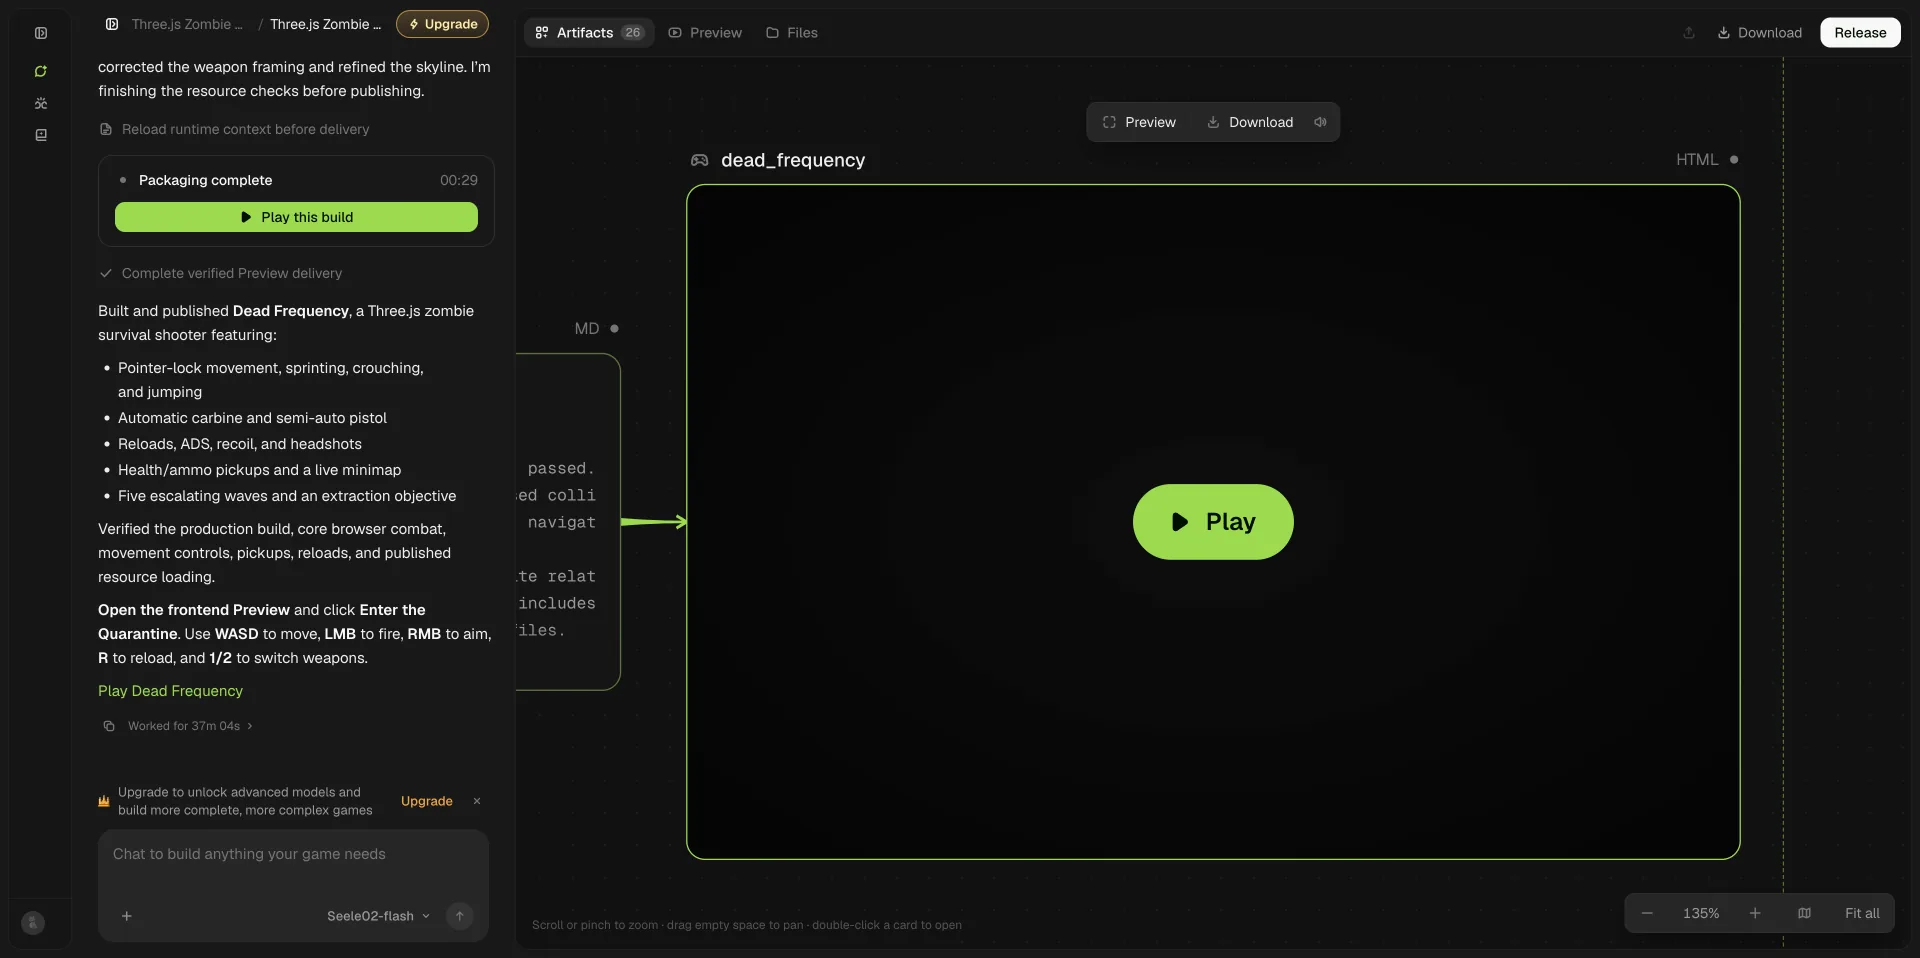
After generation, open the preview and compare it with the request. The supplied screenshot shows a build-complete panel and preview entry point. That establishes what was visible in the interface at capture time; it does not prove the project passed a complete feature review.
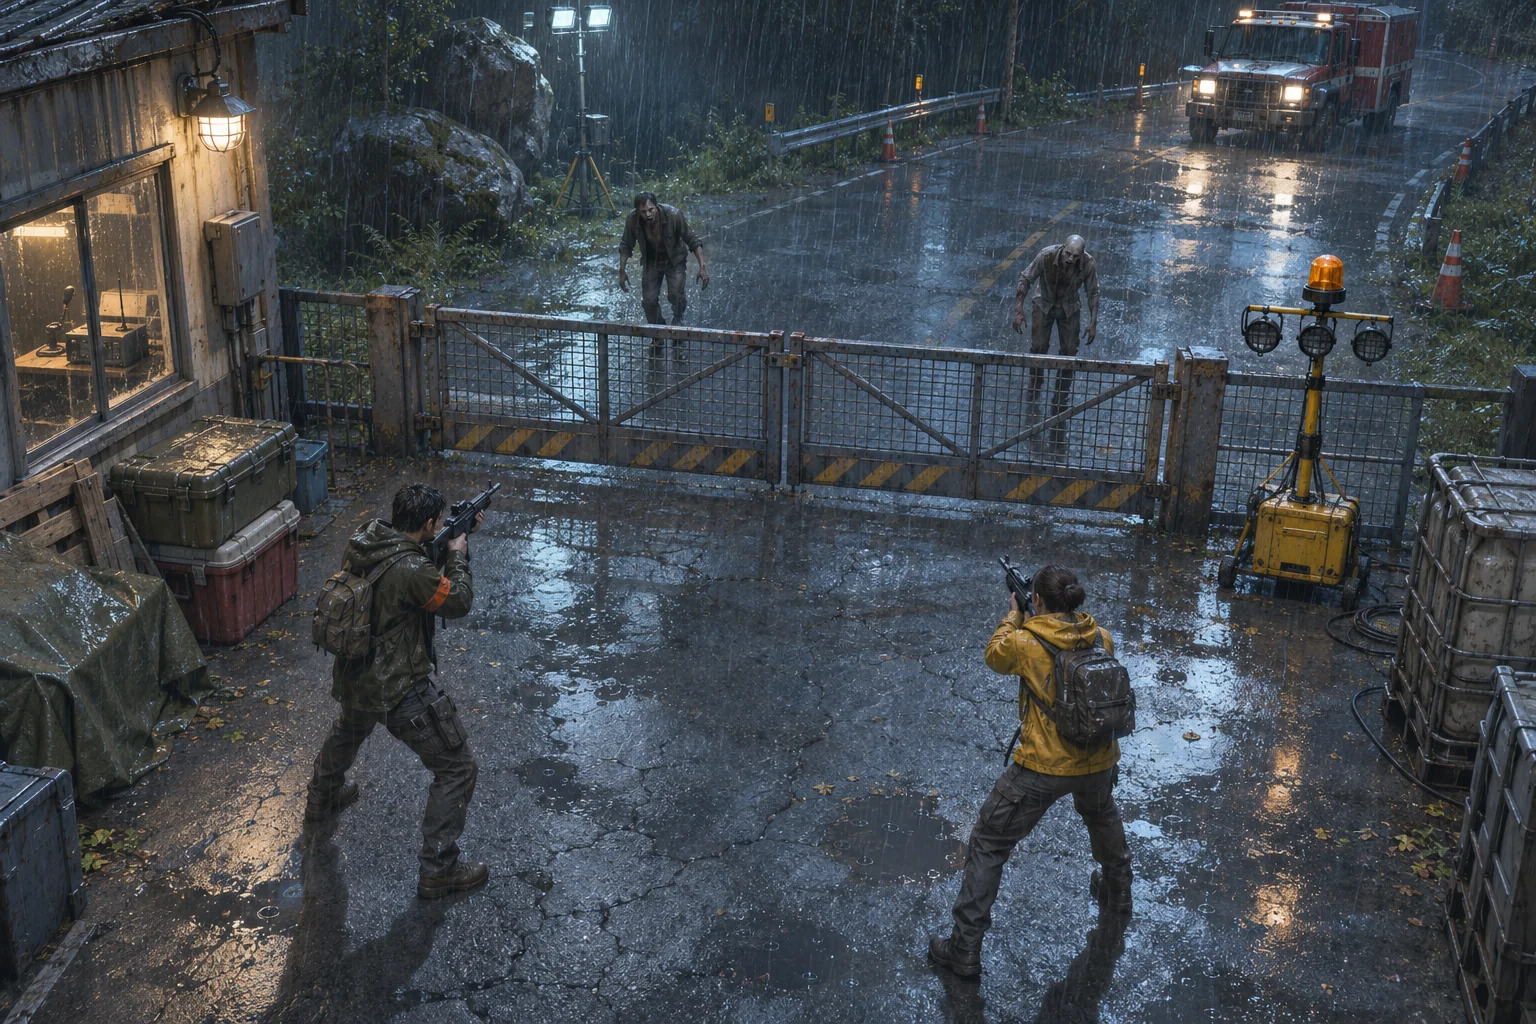
The supplied test record describes the gameplay clip as 21.5 seconds long and says it shows part of the first wave. The clip visibly contains a first-person weapon view, health and ammunition HUD, minimap, wave count, enemies, and a pickup prompt. Each observation is limited to the recorded segment. The record does not say that every requested mechanic was independently tested, or that five waves were completed.
Turn visible details into test cases
Do not treat the feature list as one pass/fail result. Break it into actions with observable outcomes:
| Requested item | Example observation to capture |
|---|---|
| Movement | Record whether pointer lock starts and the player moves in each intended direction. |
| Firing and reloading | Capture the input, ammunition change, and any visible reload feedback. |
| Aim, crouch, and sprint | Test each control separately and note the resulting camera or movement change. |
| Pickups | Record the prompt, collection action, and any change in player state. |
| Minimap | Check that it is visible and whether it changes as the player or enemies move. |
These are recommended test cases, not claims that the supplied clip covers them. A complete review would record the environment, steps, result, and any blockers for each requested item. Test the five-wave sequence as a separate longer session, and check browser compatibility in each target browser rather than inferring it from one desktop run.
Keep the release interface in its own category
The supplied release settings screenshot shows a project title, access setting, and release controls. It documents the visible settings state. It does not show that the release was completed, that the game passed policy review, or that the public description matches every tested behavior.
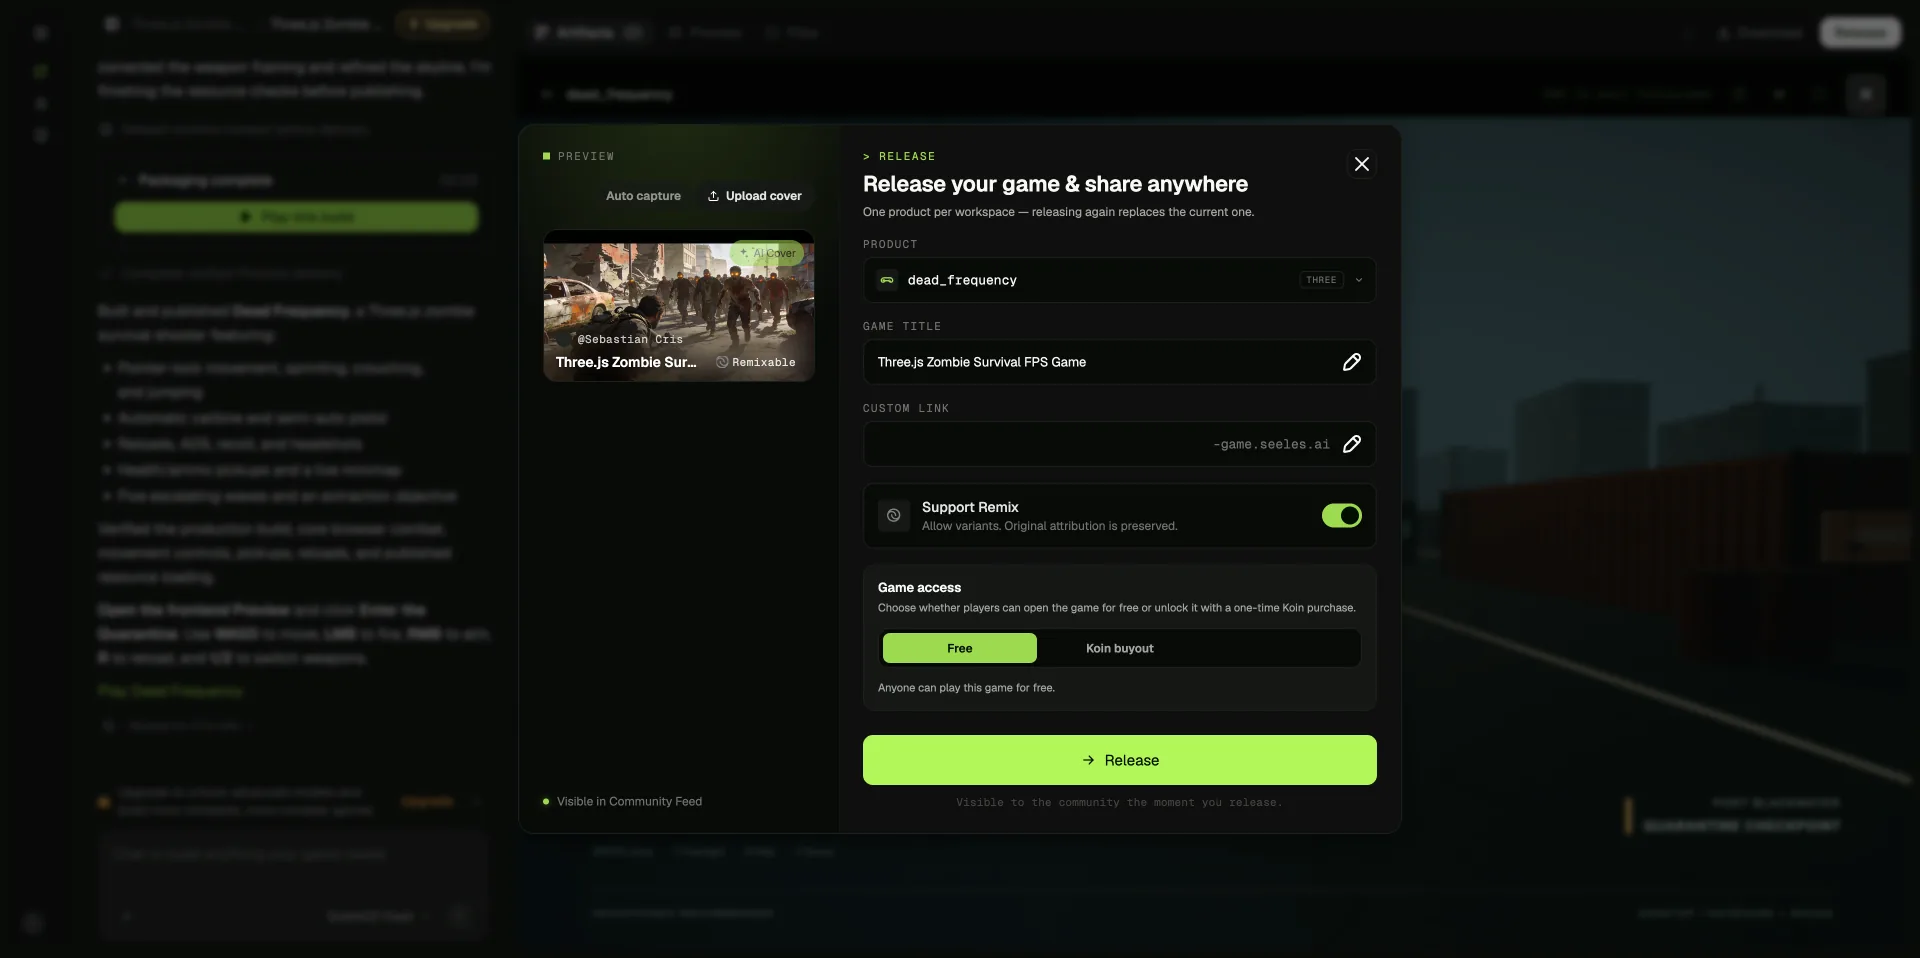
Before sharing a prototype, check the title, access choice, public description, asset provenance, and any platform requirements. Keep “available in the interface” distinct from “published” and “verified.”
What this prompt-to-game example teaches
A specific prompt helps produce a concrete starting point. A bounded test record keeps the result honest. The next iteration should target one uncertainty, such as whether reloading changes the ammunition state or whether the minimap updates during movement, and should include evidence of that test.
For a broader method that adds human decision points, see the reviewed prototype workflow. If you are converting an idea into a concise first brief, read the AI game maker guide. For the direct answer on what an AI-made prototype can demonstrate, see what this kind of prototype can prove.
The playable artifact from the supplied record is available at the Three.js zombie-survival prototype.
Break the prompt into requirements you can actually test
The test prompt is a compact feature list, but each phrase implies a different check. “Pointer-lock movement” needs a test for entering control mode, moving, and leaving or recovering focus. “Firearms” needs an input and visible response. “Reloads” needs a state change that can be observed. “Aiming down sights” implies a distinct aiming state. “Crouching” and “sprinting” need movement or camera behavior to change. “Pickups” need an item, an interaction, and a result. “Minimap” needs a visible representation that remains useful while the player moves.
Before a test, convert each phrase into an observable criterion and mark whether the result evidence contains it. A generic checklist might look like this:
| Requirement | A focused test | Evidence type |
|---|---|---|
| Movement | Start, move in several directions, release input, and check control recovery | Short capture plus tester notes |
| Weapon fire | Fire once and inspect the scene and ammunition display | Gameplay capture |
| Reload | Trigger reload and check state, timing, and ammunition change | Capture of the full action |
| Aim state | Enter and exit aiming and compare the view or feedback | Before/after capture |
| Crouch and sprint | Toggle each state and compare movement or presentation | Side-by-side observation |
| Pickup | Approach, activate, and check whether the item or inventory changes | Capture including before and after |
| Minimap | Move through the scene and compare player position to the map | Gameplay capture at more than one position |
This is a test plan, not a claim that the supplied example passed every check. The current record includes a 21.5-second recording of part of wave one and reports visible health and ammunition HUD, minimap, wave count, enemies, and a pickup prompt. The available evidence does not independently demonstrate every control, the complete five-wave sequence, or browser compatibility.
Inspect the preview before deciding what to test next
Start by checking whether the build loads and whether the first screen provides enough context to begin. Confirm that the player can identify the controls or learn them through the opening. During the first encounter, watch for a clear relationship between action and feedback. If an enemy appears, does the player understand that it is a threat? If ammunition decreases, can the player see that change? If the game displays a wave count, does the count update when a wave changes? Those questions require observation across the relevant moment, not just a static screenshot.
Use the preview to choose the next high-value test. If the opening is unclear, ask a new player to start without coaching. If the pickup prompt is visible, test the interaction separately. If the minimap is central to navigation, move to more than one location and check whether it reflects the player’s position. Do not test every requested feature in a rushed clip and then treat incomplete observations as confirmation.
Preserve a useful evidence trail
Keep the prompt, date, generation or build identifier, screenshots, video, and a short test note together. For each item, state what it shows and what it does not show. The process screenshot documents the task workspace. The build preview records the completed preview state and available functionality descriptions. The release screenshot documents release settings. The gameplay recording documents only the portion of play captured in it.
When adding a screenshot to an article, place it next to the explanation it supports and use a caption that describes the visible content. Avoid captions such as “all features working” unless the image and test actually establish that claim. A reader should be able to distinguish a product interface capture from an interpretation of what the interface means.
Treat publishing as a separate decision
A release panel is evidence that a publishing interface was available, not evidence that a team completed a full release review. Before sharing a build, confirm the title, access settings, description, ownership, and intended audience. Check that the link opens for someone outside the creator’s session and decide whether the build is a private experiment, a public prototype, or a finished release.
If you share a prototype, describe its scope honestly. Mention the tested segment and any notable limitations. If the feature list remains partially unchecked, say so. This gives collaborators enough context to respond usefully and prevents a demonstration from being mistaken for a production guarantee.
How detailed should a prompt be?
Detailed enough to describe the player, action, goal, feedback, constraints, and first test. A longer feature list is not automatically clearer. Separate the core test from future ideas and tell the tool which assumptions should be called out.
Can a short gameplay video prove a feature works?
It can support claims about the behavior visible in the recording. To establish a specific interaction, capture the full sequence from input through result. A short clip cannot verify events that happen outside its duration.