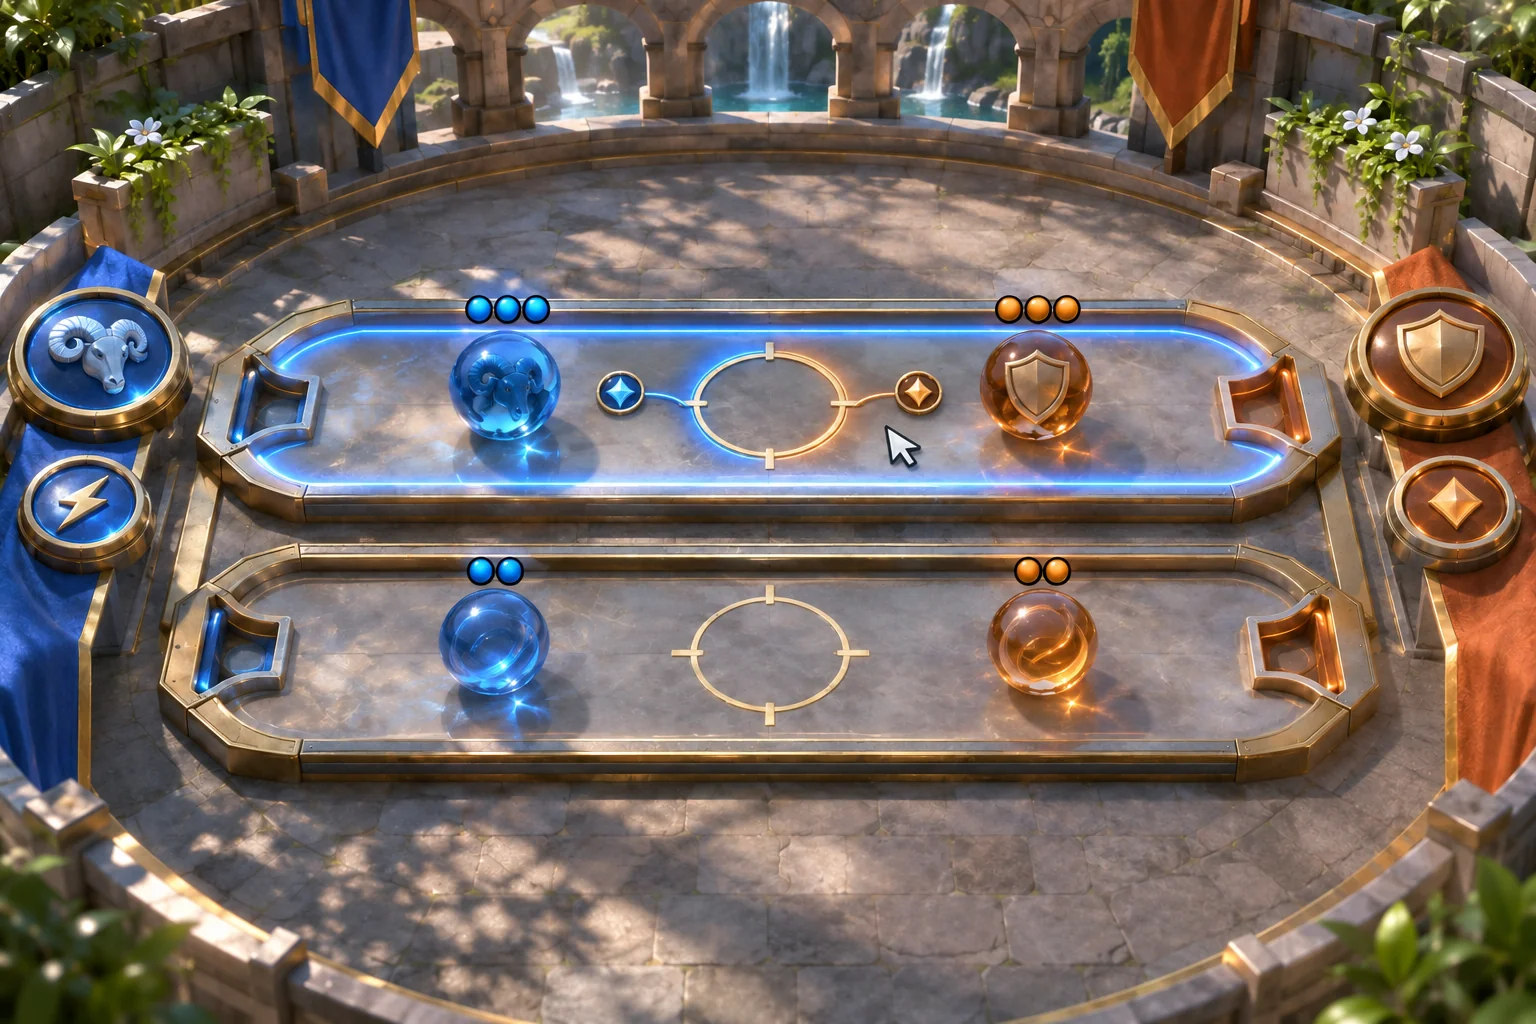
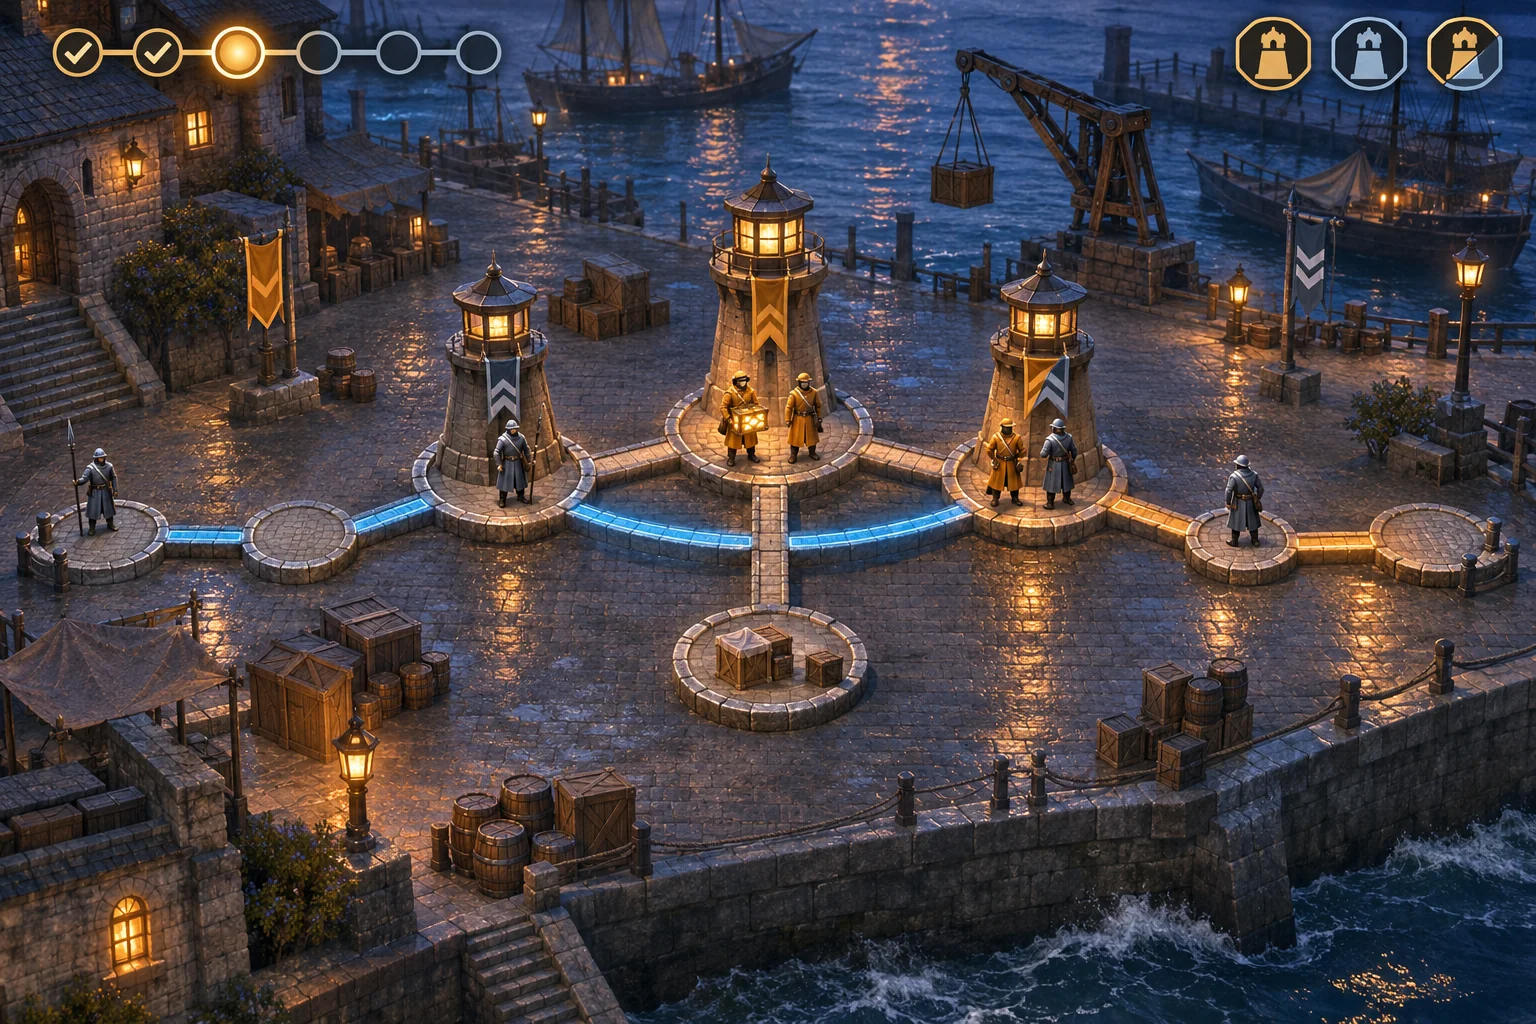
A formation matters when moving one unit changes who it can hit, who can hit it, or which lane your side wins. Start by fixing the board, legal cells, unit target preferences, and attack timing. Then score each lane from the health that remains after one simultaneous volley. That gives you a compact core loop you can reason through before adding more units or abilities.
The example below, Northwall Muster, is an original fictional design calculated by hand from its written rules. Its interface refinement is a simulated design hypothesis, not an observed playtest. No prompt run, generated build, player session, or measured combat result is claimed.
Define the board and squad
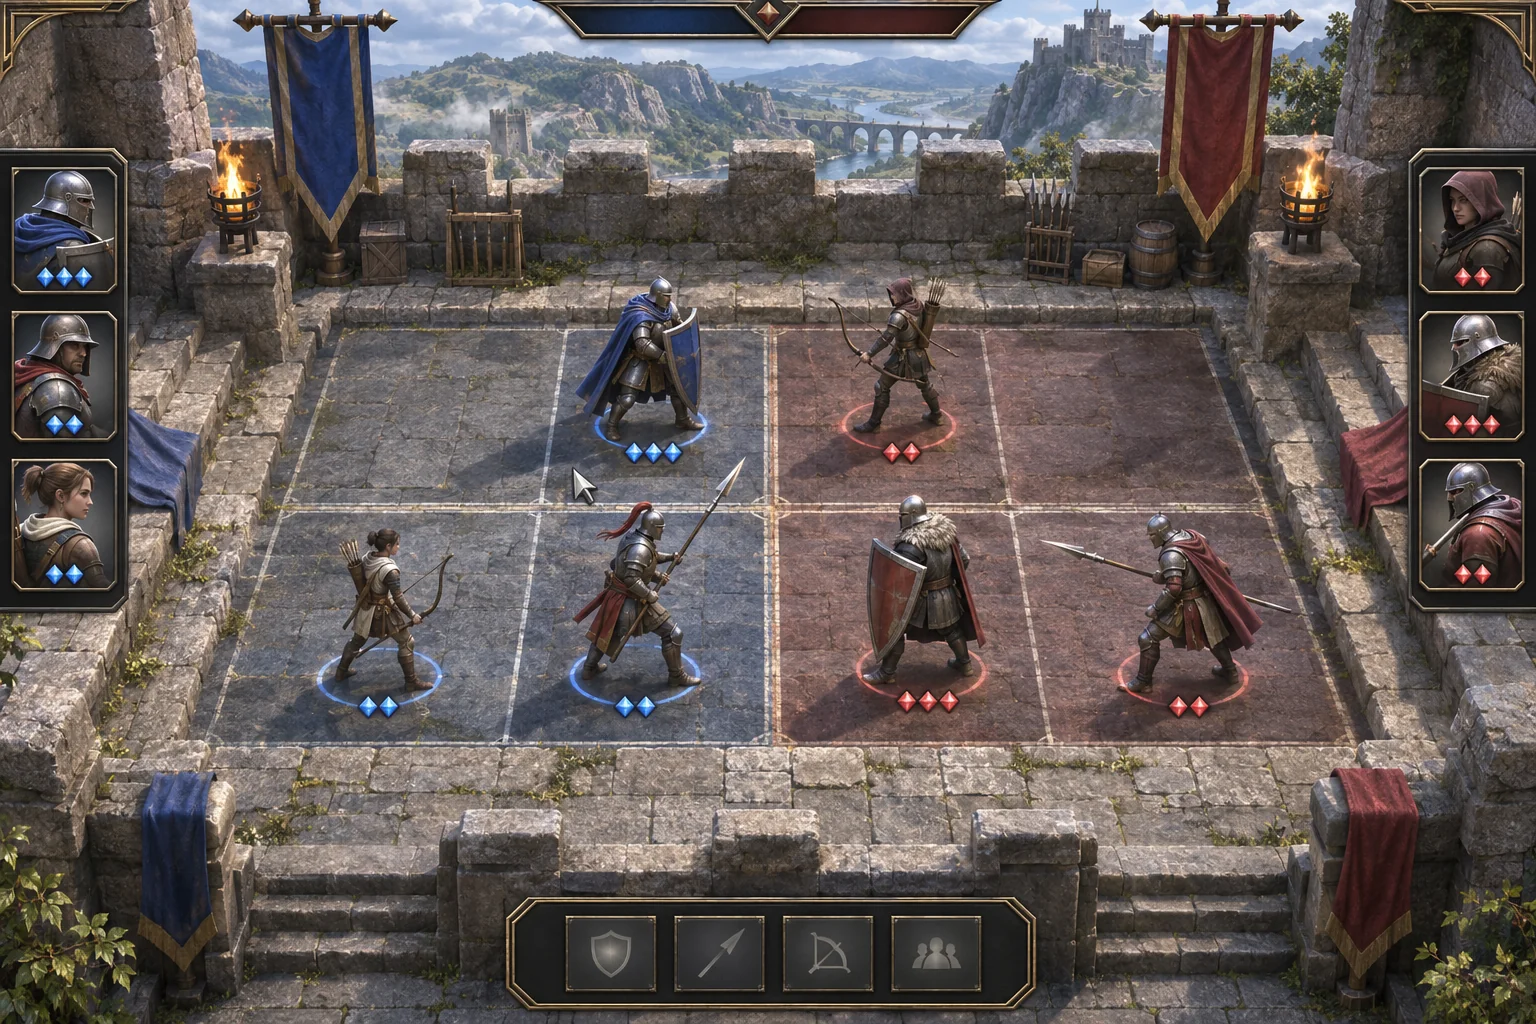
Give the player enough information to make a formation choice, but keep the first battlefield small. Northwall Muster uses two lanes, North and South, each with a Front and Rear cell on each side. Each army has a Shieldbearer, Archer, and Lancer, so one of its four cells stays empty. The opponent's layout is visible before the player locks a formation.
| Unit | Starting health | Damage | Target rule |
|---|---|---|---|
| Shieldbearer | 3 HP | 1 | Front first, then Rear in its lane. |
| Lancer | 2 HP | 2 | Front first, then Rear in its lane. |
| Archer | 2 HP | 1 | Rear first, then Front in its lane. |
The table separates a unit's durability, damage, and target preference. Those values are invented starting rules, not a balance finding. Keeping a roster to three roles makes it possible to trace why an Archer pressures the back row while a Lancer pushes damage into the front row.
Give each unit one readable role
Target preferences only matter if every unit uses the same boundary. In this design, an attacker can target a living enemy in its own lane only. A Shieldbearer or Lancer chooses the Front cell first; an Archer chooses Rear first. If the preferred cell is empty, the attacker falls back to the other rank. If no enemy remains in that lane, it has no target and deals no damage.
This makes an empty cell meaningful without creating a complicated movement phase. Putting a unit in Rear can protect it from a front-first attacker while exposing it to an Archer. Leaving a lane empty can also make the other side's attacks fail to find a target there. The tradeoff comes from position and role rather than a hidden initiative bonus.
Before resolving combat, show both formations and mark the target each living unit would choose. If a target has two attackers, keep both attack packets; the game must not silently redirect one because the other unit acted first.
Resolve one volley without hidden initiative
Use a fixed sequence: lock the formation, choose every target from the same pre-volley board state, display the attack arrows, apply all damage together, remove units at zero health, then calculate lane totals. A unit alive at volley start still attacks even if incoming damage also knocks it out. This is the key rule that keeps a double knockout from depending on which animation plays first.
- Choose targets: use lane and rank priority while all starting units are still present.
- Apply damage together: attacks from both sides resolve simultaneously; sum damage against shared targets.
- Remove defeated units: any unit at 0 HP leaves the board after the damage batch.
- Compare lanes: total each side's remaining HP among survivors in that lane. The higher total earns one lane point; a tie earns none.
- End the skirmish: more lane points wins; equal lane points is a draw. Restore the three units to full health before the next match.
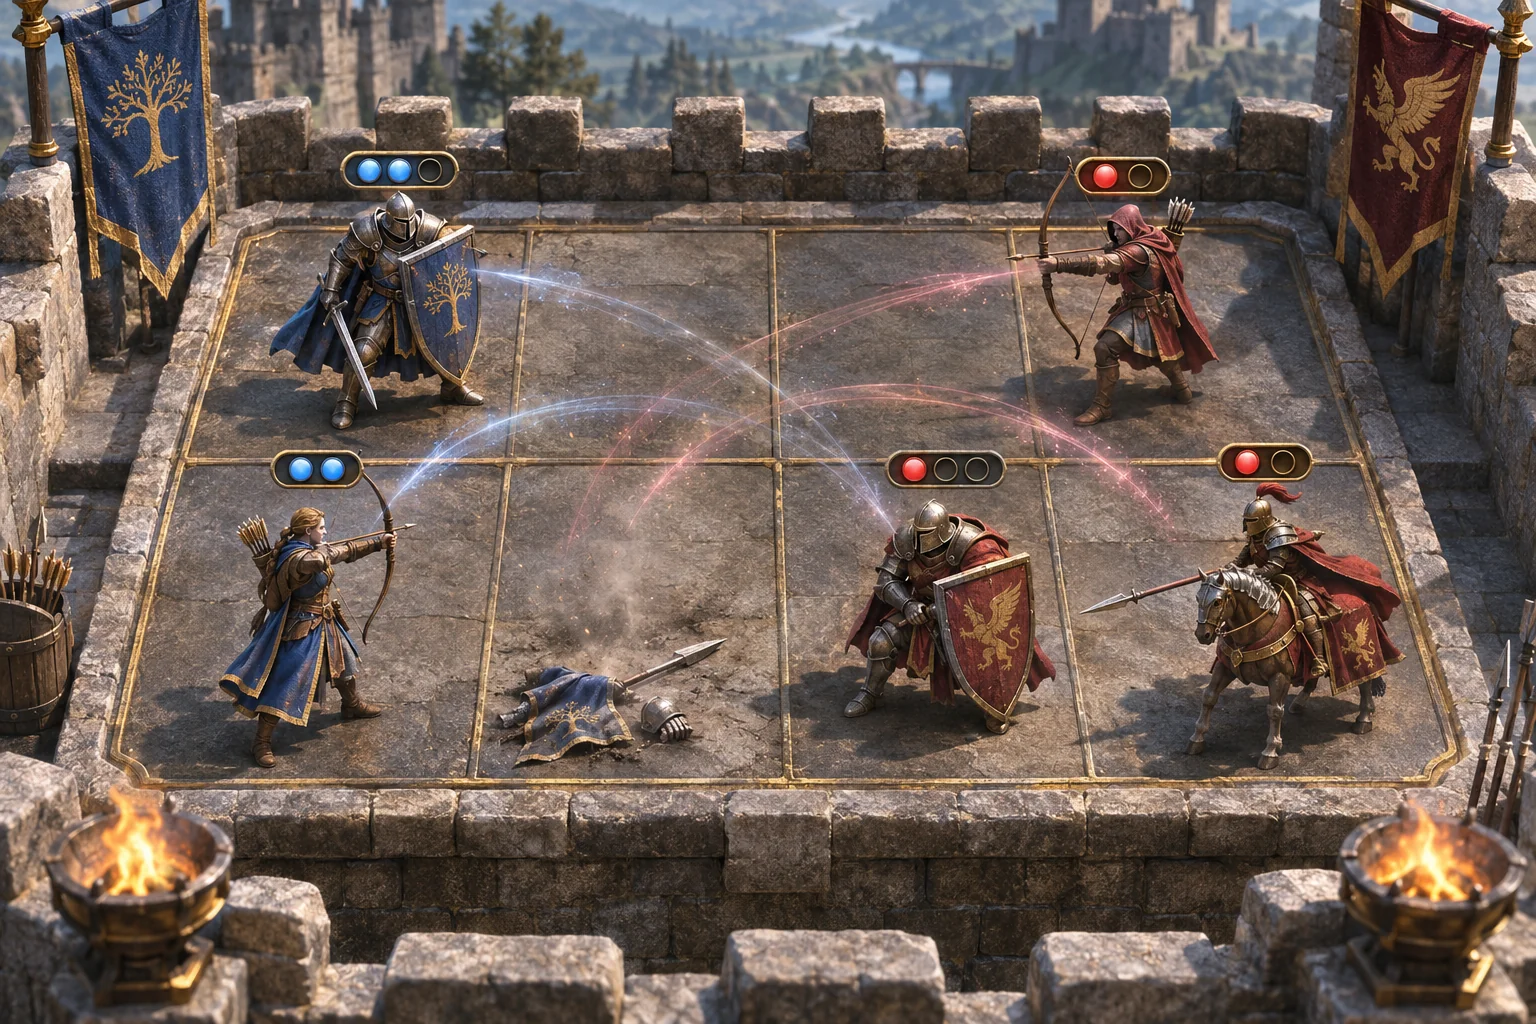
At the mechanism stage, this is still a post-volley board rather than a score screen. The player's South Lancer has been removed; the remaining health pips show player North Shieldbearer 2, enemy North Archer 1, player South Archer 2, and enemy South Shieldbearer and Lancer 1 each. Those totals set up the scoring decision in the worked example.
Hand-resolve Northwall Muster
Begin from the visible formation: player Shieldbearer at North Front, player Lancer at South Front, and player Archer at South Rear. The enemy has an Archer at North Front, Shieldbearer at South Front, and Lancer at South Rear. North Rear is empty for both sides. Every unit begins at full health.
| Lane | Attack packets chosen before damage | Survivors after simultaneous damage | Lane score |
|---|---|---|---|
| North | Player Shieldbearer → enemy Archer for 1. Enemy Archer → player Shieldbearer for 1 because North Rear is empty. | Player Shieldbearer: 3−1=2 HP. Enemy Archer: 2−1=1 HP. | Player 2, enemy 1: player earns one point. |
| South | Player Lancer → enemy Shieldbearer for 2. Player Archer → enemy Lancer for 1. Enemy Shieldbearer → player Lancer for 1. Enemy Lancer → player Lancer for 2. | Player Lancer takes 3 damage against 2 HP and is removed. Player Archer stays at 2 HP. Enemy Shieldbearer: 3−2=1 HP. Enemy Lancer: 2−1=1 HP. | Player 2, enemy 1+1=2: tied, no point. |
There are six attack packets because all six units were alive when the volley began. In South, both enemies target the same front Lancer; its 2 HP cannot absorb their combined 3 damage. It still sends its own 2-damage attack into the opposing Shieldbearer. After removal, South compares the surviving player Archer's 2 HP with the enemy's combined 2 HP.
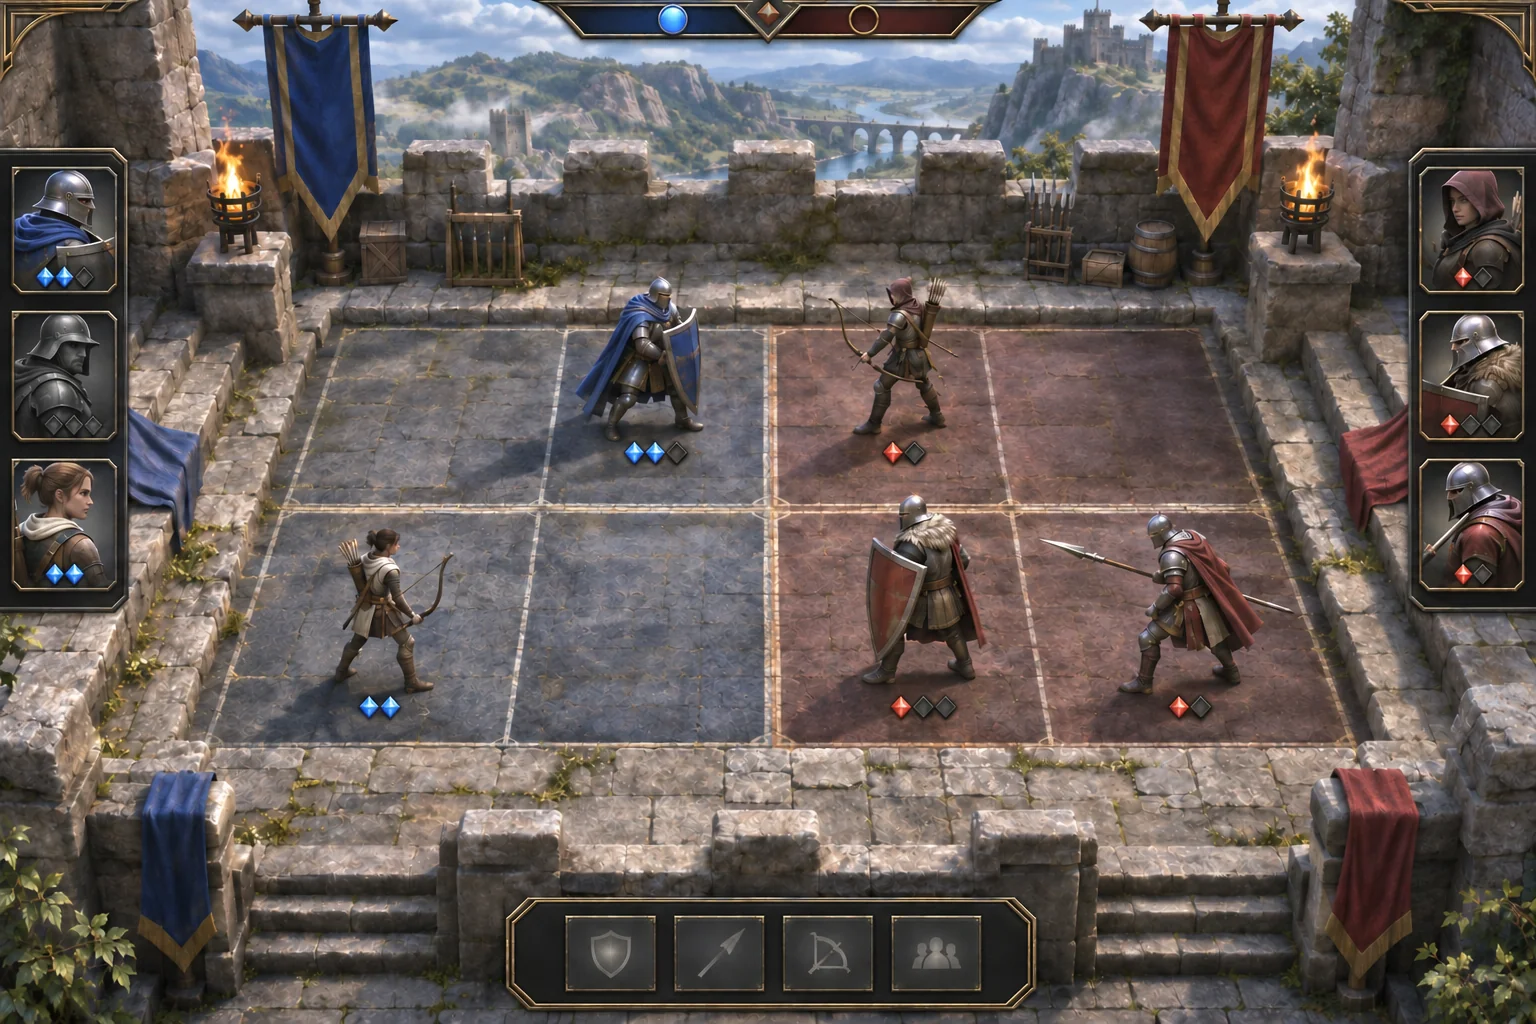
The player wins this skirmish 1–0. The total health across the whole board is not the scoring rule: the game awards points lane by lane, so South's tie does not cancel the North point. This is a manually calculated fictional result, not a battle observed in software.
Show why a lane was won
A generic victory message says who won but not why the formation mattered. A more useful score screen can reveal each lane's survivor totals and which lane awarded a point. In the simulated Northwall interface refinement, the first draft says only “Victory”; the proposed revision shows North 2–1, South 2–2, and a single North point.
This is an author-created interface hypothesis, not a real user test or software iteration. Its design principle is narrower: show the state change that explains the result. A reader can see that North's Shieldbearer stayed alive while South's Lancer was overwhelmed, and that the South tie awards no point. Do not treat a clearer mockup as evidence that players understood the system.
Check the formation contract before adding units
Write a short set of expected states before adding critical hits, armor, movement, or abilities. These cases exercise the same rules with a different board, so they can catch ambiguous target fallbacks and scoring order early.
| Case | Expected rule response | What to inspect |
|---|---|---|
| Preferred rank is empty | Target the other rank in the same lane. | No cross-lane target or skipped attack if a legal target remains. |
| Lane has no enemy | The unit has no target and deals no damage. | No automatic movement or target switch into the other lane. |
| Two attacks hit one target | Sum both packets; remove at 0 after simultaneous damage. | Both attackers still resolve if alive at volley start. |
| Unit reaches 0 HP | Remove it before calculating remaining lane health. | It cannot contribute HP to the score, but its starting volley attack still lands. |
| Lane totals tie | Award neither side a point for that lane. | Do not break ties using unit count or maximum starting HP. |
| Next match begins | Restore the same three units to full health and allow new positions. | Confirm the prior battle score is not mistaken for unit health or a campaign state. |
These are acceptance checks for a future implementation. A real run should record the build version, formation, target choices, expected HP, observed HP, lane points, and any correction separately. No such implementation check is part of this article's example.
Take the rules brief to a creation workspace
The current Free AI Game Maker page describes a general workflow: write a plain-English game idea, review a playable 2D or 3D result, and iterate in Workspace. Before submitting, it advises reviewing the selected AI model, available Koin balance, and displayed generation cost. The page also recommends testing a finished build on target devices before sharing. Those broad statements support a creation handoff; they do not show that Northwall Muster or its target preferences have been generated.
For a first brief, name the player, first choice, legal formation cells, target rules, expected volley, and score output. Ask for the Northwall state trace and compare each HP value against the hand calculation before you add effects. If an output chooses an Archer's Front target while a living Rear target exists, report that exact condition and request a focused revision. Keep the current product's general workflow separate from a promise about this specific combat engine.
When you are ready to describe your own unit matchup and inspect a result, start with the Free AI game maker using a small formation brief and the lane checks above.
Start with one formation decision
Keep the first skirmish to three units per side, two lanes, two ranks, and one simultaneous volley. If each unit has a visible role, the target rules are explicit, and lane scoring follows remaining health, a player can understand why placement changed the result. Only add more roster complexity after you can explain that first formation and volley without relying on a hidden priority rule.
Frequently asked questions
What makes a formation matter in a strategy game?
Placement matters when it changes a target, protects a unit, exposes a rear unit, or changes a lane total. Give each unit one readable target preference, keep lanes distinct, and show the opponent's layout before the player locks a formation. If moving a unit does not change a target or result, the formation may not be affecting the core loop yet.
Why show the opponent's formation before locking?
Visible enemy placement gives the player information for a real decision. In Northwall Muster, the player can see the enemy Archer in North Front and two front-first units in South before placing the three-unit squad. That does not guarantee a strategic result; it lets the player make the formation choice using stated matchup rules.
Should formation-game attacks resolve simultaneously?
Simultaneous resolution is one design option. It lets every unit alive at volley start attack even if it is knocked out by incoming damage, and it avoids choosing a first striker for this small prototype. If you want turn order or initiative, define it as a different rule and recalculate every target and survivor state.
What happens when a target cell or lane is empty?
In this example, an empty preferred rank falls back to the other rank in the same lane. If the lane contains no living enemy, the unit has no target and deals no damage. It never crosses lanes. State both cases so the game does not invent a movement or retarget rule during the volley.
Was Northwall Muster tested or generated?
No. Northwall Muster is an original fictional rules example calculated by hand. The score-screen change is a simulated design hypothesis; no prompt run, generated build, real battle, player session, or empirical result is claimed. The image concepts show intended states, not a product screenshot or a tested game.