AI can help organize a game idea into scenes, mechanics, asset needs, and test cases. Godot is where those plans must be implemented and checked. Treat AI output as a proposal: verify node and scene structure, run the game in the editor, and test the exported build yourself. A written plan or generated script is not proof that a Godot project works. For a complementary perspective, see a broader AI game development workflow.
Key Takeaways - Ask AI for a bounded prototype plan with explicit assumptions and test cases. - Use Godot’s editor to confirm that scenes, nodes, scripts, and interactions behave as intended. - Test the target export separately; editor success alone does not establish release readiness.
Define what the first slice must prove
Start with one player action and one short loop. State the player’s goal, input method, camera, one interaction, success and failure states, and the condition that tells you the prototype is worth extending. Keep art and content requirements small enough that a developer can inspect each part.
AI can turn this brief into a scene outline, implementation checklist, draft code, or edge-case list. Ask it to separate facts from assumptions and to name the files or editor steps it expects, but do not assume its answer matches your Godot version or project conventions. If a script uses an unfamiliar node, signal, or property, check the official class reference and test the behavior in a minimal scene before integrating it.
Move from plan to Godot scenes
Use the plan to create or revise scenes in Godot, keeping one responsibility per scene where practical. Connect scripts and signals deliberately, name nodes so their purpose is clear, and keep input actions and reusable assets organized. When AI suggests a scene tree, treat it as a starting point rather than a required architecture. The actual project should remain understandable to the people maintaining it.
Godot’s official first 2D game tutorial walks through creating a small complete game and covers project structure, a player, enemies, scoring, and a HUD. Its introductory path assumes some programming experience; beginners can follow the linked step-by-step material first. The separate editor overview explains the Project Manager, scene tabs, viewport, FileSystem and Scene docks, Inspector, and playtest controls. These are useful references when checking where an AI-generated instruction fits into the real editor.
Test behavior in the editor
Run the prototype after each meaningful change. Check the main path and failure cases: can the player start, move, interact, receive feedback, fail, retry, and complete the loop? Inspect the remote or running scene when a node behaves differently than expected. Watch the debugger and output for script errors, missing resources, and warnings. Godot’s debugger documentation describes the panel’s error and warning views. Test different input timings and states instead of relying on one successful run.
Keep a short test record: project revision, Godot version, steps, expected outcome, actual outcome, and unresolved issues. When AI proposes a fix, review the changed code and rerun the relevant cases. This helps distinguish a real correction from a patch that merely suppresses a visible symptom.
Check an export as a separate build
A project that runs in the editor may still fail after export because of resource paths, platform settings, permissions, or input differences. Godot’s exporting projects documentation explains export presets and platform-specific setup; use it to produce a test build, then launch that build on the intended environment and repeat the core loop. If the game depends on a feature or plugin, verify that the dependency is present and supported in that build.
Do not describe AI planning as Godot integration. An assistant may help draft code or instructions, but it does not prove that a project was imported, edited, or tested in Godot. Likewise, a Three.js browser prototype is evidence about that browser implementation only; it is not evidence of a Godot project or workflow.
Keep the handoff concrete
For a team handoff, include the brief, selected plan, project version, completed tests, known issues, and the next decision. Avoid passing along a long AI transcript without identifying which suggestions were accepted. The point is to make the implementation reviewable by a human who can open the project and reproduce the behavior.
AI is most useful here as a planning and drafting aid. Godot’s editor, the project’s scripts, and repeatable tests determine whether the prototype actually works. For an engine-neutral review process, see the human-reviewed prototype workflow; for a concrete prompt-to-build example, read the Three.js zombie shooter walkthrough. A concise first-scope checklist is in the brief-to-prototype guide. This article is published by the Seele Editorial Team; see About SEELE for company and contact information.
A worked planning example for a small Godot scene
Imagine a top-down collection prototype. The player must move around a compact room, collect one item, and reach an exit. Before asking AI for a scene plan, write the test in game terms: the player should understand where to go, see the item, receive feedback after collecting it, and recognize when the exit condition has been met. This gives the developer a way to evaluate the result without assuming that a generated node tree is correct.
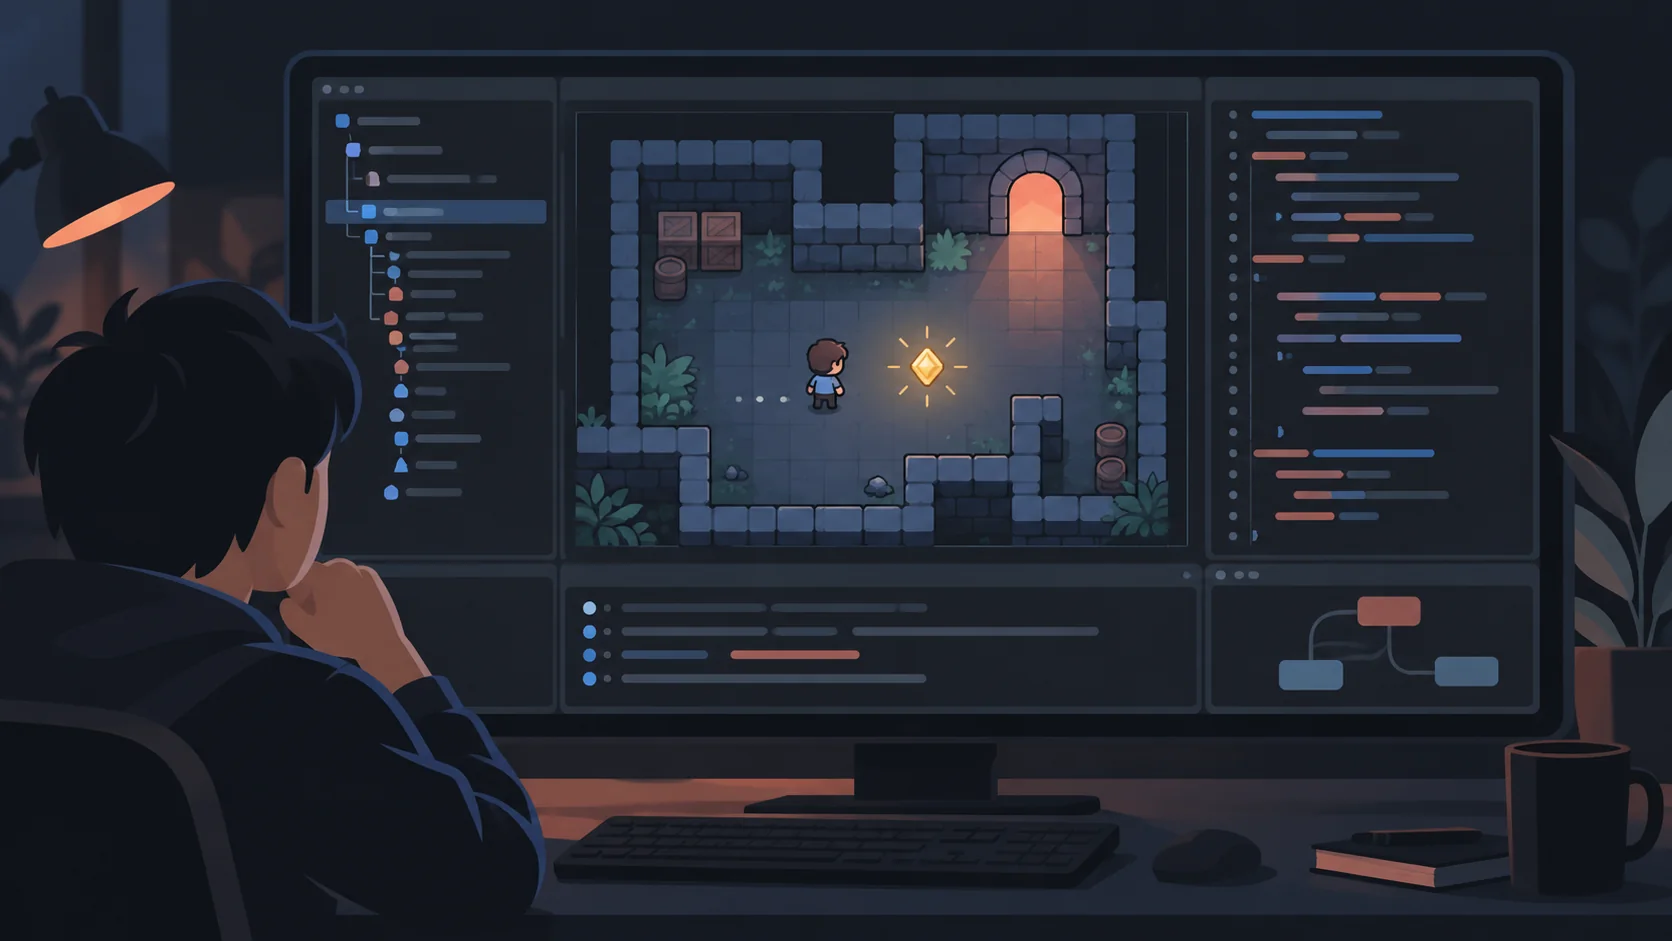
Ask for a short plan with the scene responsibilities, input actions to configure, signals or interactions that may be needed, visible states, and tests. Tell the model to identify assumptions about the Godot version and project structure. Treat proposed class names and properties as research leads; verify them in the official class reference for the project’s actual version before using them. Avoid asking for a large architecture before the first interaction has been tested.
A scene plan might divide the work into a room, player, collectible, exit, and interface. That division is illustrative, not a rule. A tiny prototype may be simpler with fewer scenes; a larger project may already have conventions that should be preserved. The developer should follow the project’s existing structure where it is clear and make the smallest change that supports the test.
Build an editor test matrix
After implementing the slice, check each behavior in the running scene. A simple matrix can include:
| Area | Test | Record |
|---|---|---|
| Startup | Run the intended main scene | Which scene started and whether errors appeared |
| Movement | Try each supported direction and stop input | Whether movement responds as intended |
| Collision | Move into a wall or boundary | Whether the player stays within the intended space |
| Collection | Approach and activate the item | Whether the item and player state change correctly |
| Exit | Reach the exit before and after collection | Whether the rule is communicated and enforced |
| Restart | Reset or relaunch the scene | Whether the starting state is restored |
The table does not assume a particular script structure. It focuses on what a player or developer can observe. If the project includes automated checks, use them where they cover a specific rule, but still run the scene for interactions that depend on timing, camera, or feedback.
Use the Godot documentation as a verification path
Godot’s official introductory material provides a baseline for how the editor and a small game project are organized. When AI suggests an unfamiliar node, property, signal, or import setting, open the documentation for the engine version in use and confirm the exact behavior. A model can mix examples from different versions or omit a required setup step. Verifying a small isolated case in a scratch scene can be quicker than debugging it after it is woven into a larger project.
Keep a note of which version was used, especially if the project is shared with teammates. When a generated suggestion conflicts with the project’s conventions, adapt the idea rather than forcing the code into the project. The aim is a maintainable prototype, not a literal transcription of a model’s answer.
Verify exports separately from the editor
An editor run and an exported build are different review targets. Decide which platform or export preset matters, create the build using the project’s established settings, and launch it outside the editor. Check startup, input, window behavior, assets, audio, and the core interaction. If the build is intended for a browser, test the actual hosted or exported page on the intended browsers and devices rather than assuming that a desktop editor preview is equivalent.
Capture the export settings and record the build identifier with the test notes. If a failure occurs only after export, reduce the case and compare it with the editor run. Do not state that an export works merely because the project ran in the editor.
Is AI-generated Godot code safe to paste directly into a project?
Treat it as unreviewed code. Check it against the project’s engine version, inspect what it changes, and run focused tests before integrating it. This is especially important when a suggestion touches input, saving, networking, imported resources, or project configuration.
Should beginners ask AI to generate a full Godot game?
A full-game prompt can be useful for exploration, but a small scene is easier to understand and verify. Start with one interaction, learn how the project is structured, then add features as you can test them.
Make debugging useful to both people and AI
When a test fails, keep the report narrow and reproducible. State the Godot version, the scene being run, the action taken, what was expected, and what actually happened. Include the relevant error text or a short capture if it helps explain the failure. Avoid pasting secrets, private project material, or unrelated source files into an external tool. Ask for possible causes and how to distinguish them, then verify each suggestion in the project.
Change one likely cause at a time. If the item is not collected, test whether the player can reach it, whether the interaction is detected, and whether the state update occurs. A failure report should not say “the whole project is broken” if only one action failed. Smaller reports make it easier to preserve working behavior while repairing the specific issue.
Before accepting a generated fix, inspect its impact on the scene and scripts. Confirm that it follows the project’s conventions and that the original tests still pass. If the fix changes a shared component, repeat checks in scenes that depend on it. Record the result against the build or commit being reviewed.