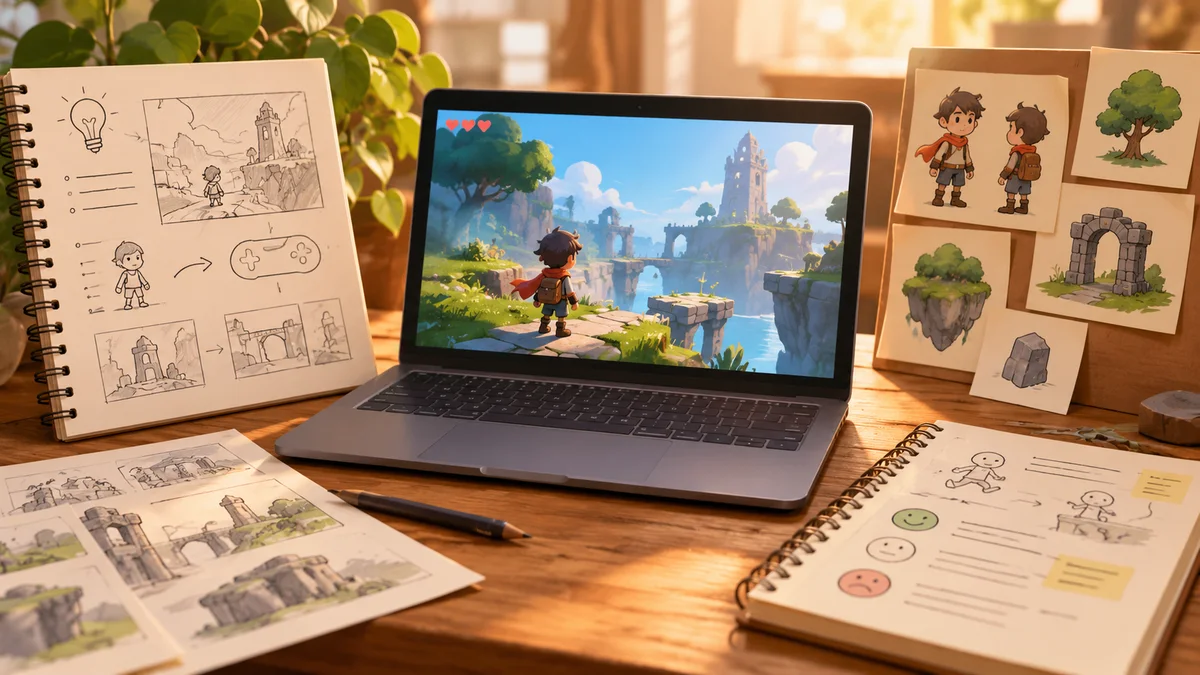
AI can help turn a game idea into a bounded Unreal prototype brief, including a player goal, a short gameplay loop, a visual direction, and a list of questions for implementation. The brief is only a handoff. Build the project in Unreal Engine, verify its behavior in the editor, then test a packaged build on the intended platform. Planning text or generated concept art cannot establish that an Unreal project works. For a complementary perspective, see a step-by-step prompt-to-game prototype workflow.
Key Takeaways - Ask AI for a small, testable slice and explicit assumptions, not a complete game. - Use the brief to guide Unreal implementation, then validate scenes, controls, and gameplay in-editor. - Package and run a target-platform build before treating the prototype as ready to share.
Bound the prototype before opening the editor
Write down the core player action, objective, camera, input method, one interaction, success and failure states, and the question the prototype is meant to answer. Add constraints such as target platform, session length, available assets, and which features are out of scope. For visual direction, describe original shapes, materials, lighting, and color relationships instead of naming a franchise or asking for a recognizable scene.
Ask AI to return a short production packet: a scene or level outline, asset list, implementation questions, acceptance checks, and risks. Label uncertain technical details as questions. The packet should help a developer decide what to build, not pretend that a model has inspected the Unreal project or verified Blueprint nodes and engine settings.
Translate the brief into Unreal work
Create the smallest scene that can test the core loop. Use placeholder geometry when possible so scale, movement, interaction range, collision, and sightlines can be changed cheaply. Implement only the systems the test needs, then run through success, failure, reset, and edge cases in the editor.
Review every generated code suggestion before using it. Check names and types against the engine version and project setup, inspect Blueprint or C++ changes, and make sure the code has a clear owner. Keep a note of what the AI suggested, what the developer changed, and which behavior was tested. This is especially useful when a plan mixes design goals with implementation details that may not fit the project.
A visual reference is not a playable level, and an engine-neutral prototype is not Unreal evidence. The Zombie survival demo associated with the broader workflow material was built with Three.js. It does not demonstrate Unreal integration, Unreal editor testing, or a packaged Unreal build.
Test the packaged build
Editor playtesting catches many issues, but distribution builds add another test surface. Epic’s In-Editor Testing documentation describes using Play In Editor to test controls and gameplay events. Its Packaging Unreal Engine Projects documentation explains that packaging converts a project into a standalone executable or application for a target platform. It describes build, cook, stage, and package operations, and notes that packaging can be used during production and testing as well as distribution.
Choose the target platform early, then package a test build and run it outside the editor on that platform when available. Check startup, input, required assets, audio, resolution, save behavior, and the prototype’s full gameplay loop. Keep the build log and test conditions with the project. If packaging fails or behavior changes, return to the project, fix the cause, and repeat the test instead of treating an editor-only run as final validation.
For example, if the question is whether a pickup works during a short encounter, test the interaction and feedback in Play In Editor, then launch a packaged build and repeat that same sequence on the target platform:
| Check | Editor pass | Packaged-build pass |
|---|---|---|
| Pickup appears | Confirm it is visible in the intended level. | Confirm it loads in the target build. |
| Player collects it | Walk into range and verify the interaction. | Repeat the input and inspect the resulting inventory or HUD change. |
| Result persists | Check the expected state during the editor session. | Restart or change level if persistence is part of the brief. |
This is a test example, not a report of a completed Unreal project.
Make the handoff reviewable
A useful handoff contains the brief, the Unreal project revision, the target platform, what was tested, what failed, and what remains uncertain. Avoid forwarding an unfiltered AI transcript. Summarize decisions and link them to the relevant implementation or test case so another developer can reproduce the result.
The practical role for AI is to reduce blank-page planning and make assumptions easier to inspect. Unreal’s editor and a packaged build determine whether the prototype behaves as intended. For a wider prototype review loop, see the human-reviewed workflow, the indie team handoff guide, and the systems-loop example. This article is published by the Seele Editorial Team; see About SEELE for company and contact information.
Example: plan a small Unreal pickup test
Suppose the prototype needs one player, one collectible, and a door that opens after collection. The first question is not how to build a large inventory system; it is whether the player can find the object, understand how to interact with it, and see the door respond. Write that outcome in the brief and keep the rest out of scope until the interaction works.
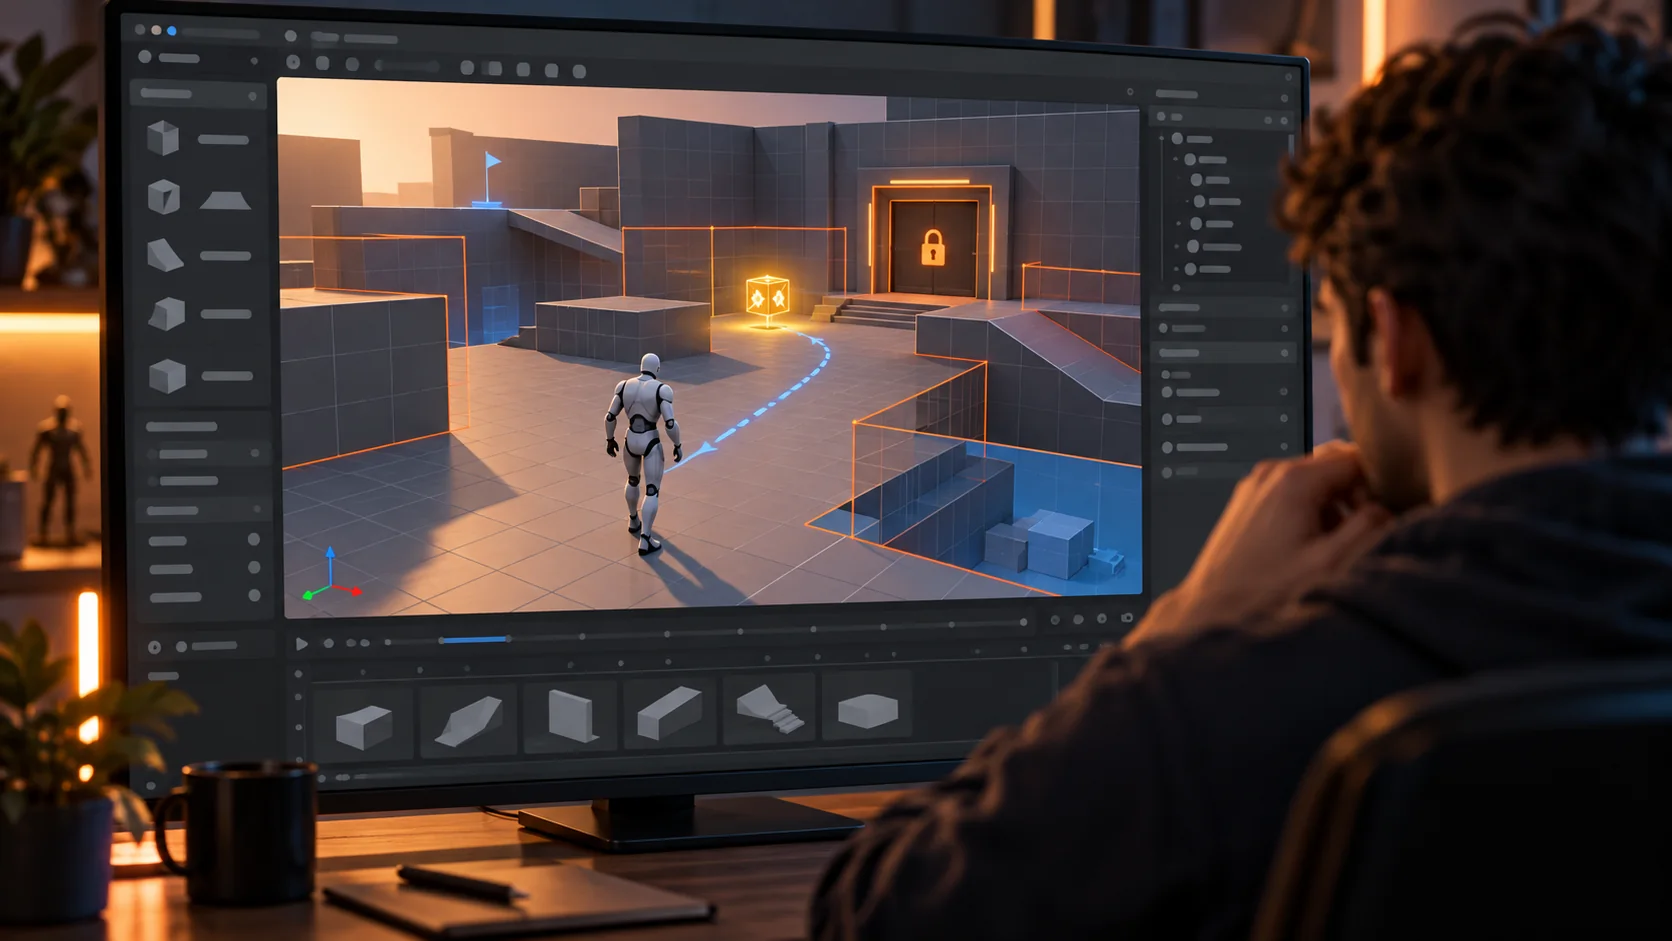
Ask AI for a production packet containing the player goal, scene or level requirements, placeholder assets, implementation questions, and acceptance checks. Ask it to mark uncertain Unreal-specific names or settings as questions. The developer can choose an appropriate implementation using the project’s established conventions, whether that involves Blueprint, C++, or existing systems. Do not paste a proposed node list or code into the project without confirming that it fits the engine version and the project setup.
A simple acceptance sequence is: start the level; approach the collectible; try the intended interaction; confirm the item’s visible state changes; approach the door before and after collection; confirm that the lock rule is communicated; then restart and check that the initial state is restored. This sequence tests the core promise without requiring a finished art pass or a large world.
Review in the editor and outside it
Use the Unreal editor to inspect the scene, run the intended gameplay path, and check the relevant success and failure cases. Confirm that collision, camera, input, interaction range, and feedback work in context. If the project uses data assets or shared components, make sure the prototype follows existing conventions rather than adding an isolated system that cannot be maintained.
Then package a build for the actual target platform and run it outside the editor. Check startup, input, asset loading, audio if relevant, window or display behavior, and the central interaction. A successful Play-in-Editor run does not establish that a packaged build behaves the same way. Keep the engine version, target platform, packaging settings, build identifier, and test notes together so another person can reproduce the review.
A useful test note distinguishes a failure in the project from a problem in the test setup. Record the steps, expected outcome, actual outcome, and whether the issue reproduces after a clean launch. If an AI-generated suggestion changed a setting or asset, note that too. This makes debugging easier than feeding a vague error description back into a prompt.
Keep visual direction original and useful
When using AI to explore art direction, describe qualities such as material, contrast, lighting, silhouette, and palette. Avoid prompting for a recognizable character, franchise, or exact scene from a reference game. Review generated textures and concept art in the actual Unreal level: scale, readability, contrast, and performance can differ from a standalone image.
If the art is only a placeholder, label it as such and keep the gameplay test focused on the mechanic. If the team intends to ship the asset, track its source and terms and review it before release. A concept image is not proof that the environment has been implemented or tested in Unreal.
A decision checklist for the next milestone
After the test, choose the smallest next step. Continue if the interaction is understandable and the next risk is bounded. Revise if the prompt or scene did not communicate the intended action. Test further if the feature appears to work but the evidence is incomplete. Stop or re-scope if the core action does not support the project goal.
Record the decision with the build it applies to. A reviewer should know whether the team accepted only the pickup interaction, the whole scene, or the packaged build. “Prototype approved” can mean different things to different teammates unless the accepted scope is written down.
Should AI choose between Blueprint and C++?
It can outline tradeoffs or propose a starting point, but the project’s architecture and team needs should determine the choice. Verify suggestions against the actual project and engine version.
What does a packaged-build check need to cover?
At minimum, run the core player path on the intended target and verify that startup, input, assets, and the main interaction work. Add checks for platform-specific requirements that matter to the project; editor success alone is not enough.
Troubleshoot a failed first pass without widening the scope
When the first implementation fails, resist the urge to ask for a complete replacement project. Reproduce the problem in the smallest level or scene that still shows it. Record the engine version, project setup, steps, expected behavior, actual result, and any relevant log message. Then ask a focused question about that failure and verify any suggested Unreal-specific setting or node against the project’s documentation and conventions.
Separate content issues from integration issues. If the pickup is hard to see, the problem may be visual contrast or placement. If the interaction input does not fire, inspect input configuration and the interaction path. If the door opens in the editor but not in the packaged build, compare the relevant project settings and reproduce the sequence in that build. Each situation needs a different next test, so a prompt that says only “fix the game” is unlikely to produce a reviewable change.
After a fix, rerun the original acceptance sequence and any neighboring behavior the change could affect. Record whether the same failure disappeared and whether a new issue appeared. Keep a known-good build if possible so the team can compare behavior and avoid mistaking an unrelated change for a fix.
Keep generated project changes understandable
Before accepting a large code or Blueprint change, review the files and assets it touches. Ask for a concise explanation of the proposed change and a list of assumptions, then inspect the actual diff in the project. Preserve naming conventions, ownership boundaries, and existing systems unless the team has decided to change them. If generated work cannot be explained or maintained by the project team, reduce it to a smaller proposal and implement the part the team understands.
This is also a useful handoff practice. A teammate joining later should be able to tell what the prototype proves, how to run it, which parts are temporary, and which tests remain. A short README or issue note can hold that information without turning the prototype into an elaborate documentation exercise.