
Confirm dimensions first
State the intended size and printer limits before making changes.

Check a model’s scale, orientation, thin features, and overhangs before preparing a print. Review a 3D model for common print-preparation questions. Confirm printer and material requirements separately; geometry checks do not guarantee a successful print.
Partners and teams

















How it works
Build your own single-player racing game. Design a coastal track, add nitro boosts and checkpoints, then race against the clock.
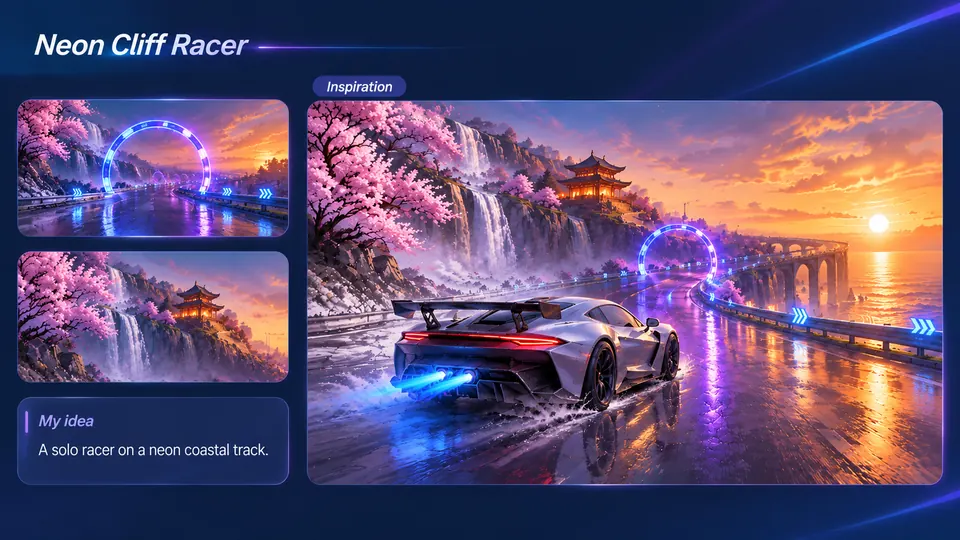
Imagine a silver sports car racing past waterfalls, cherry blossoms, and neon gates.
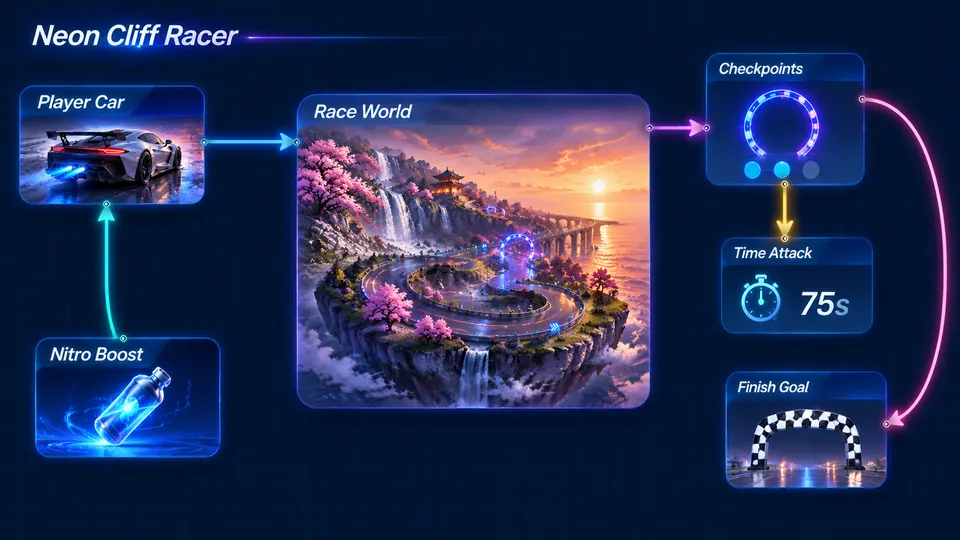
Connect your sports car, coastal track, checkpoints, nitro boost, and finish line.
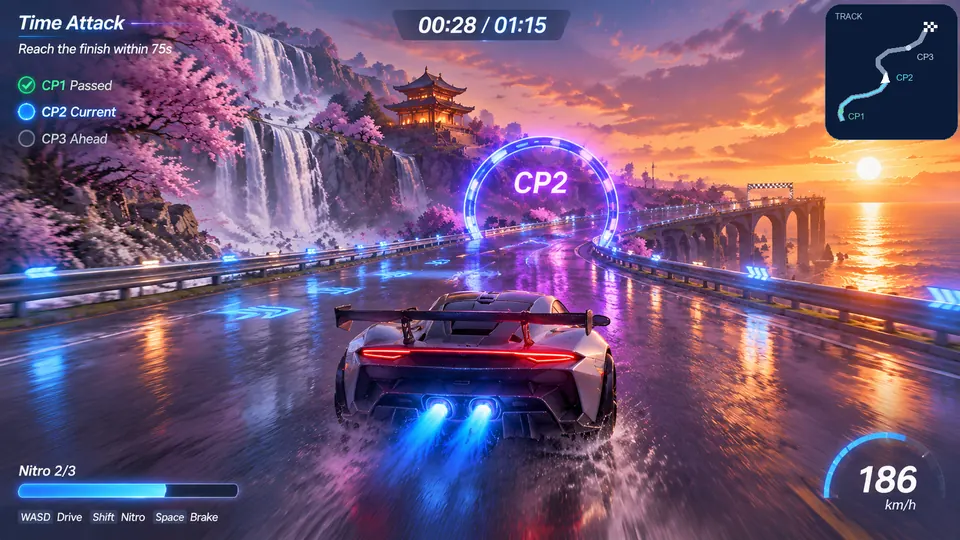
Drive through three neon gates, activate nitro, and finish within 75 seconds.
Make a game for freePick a starting point
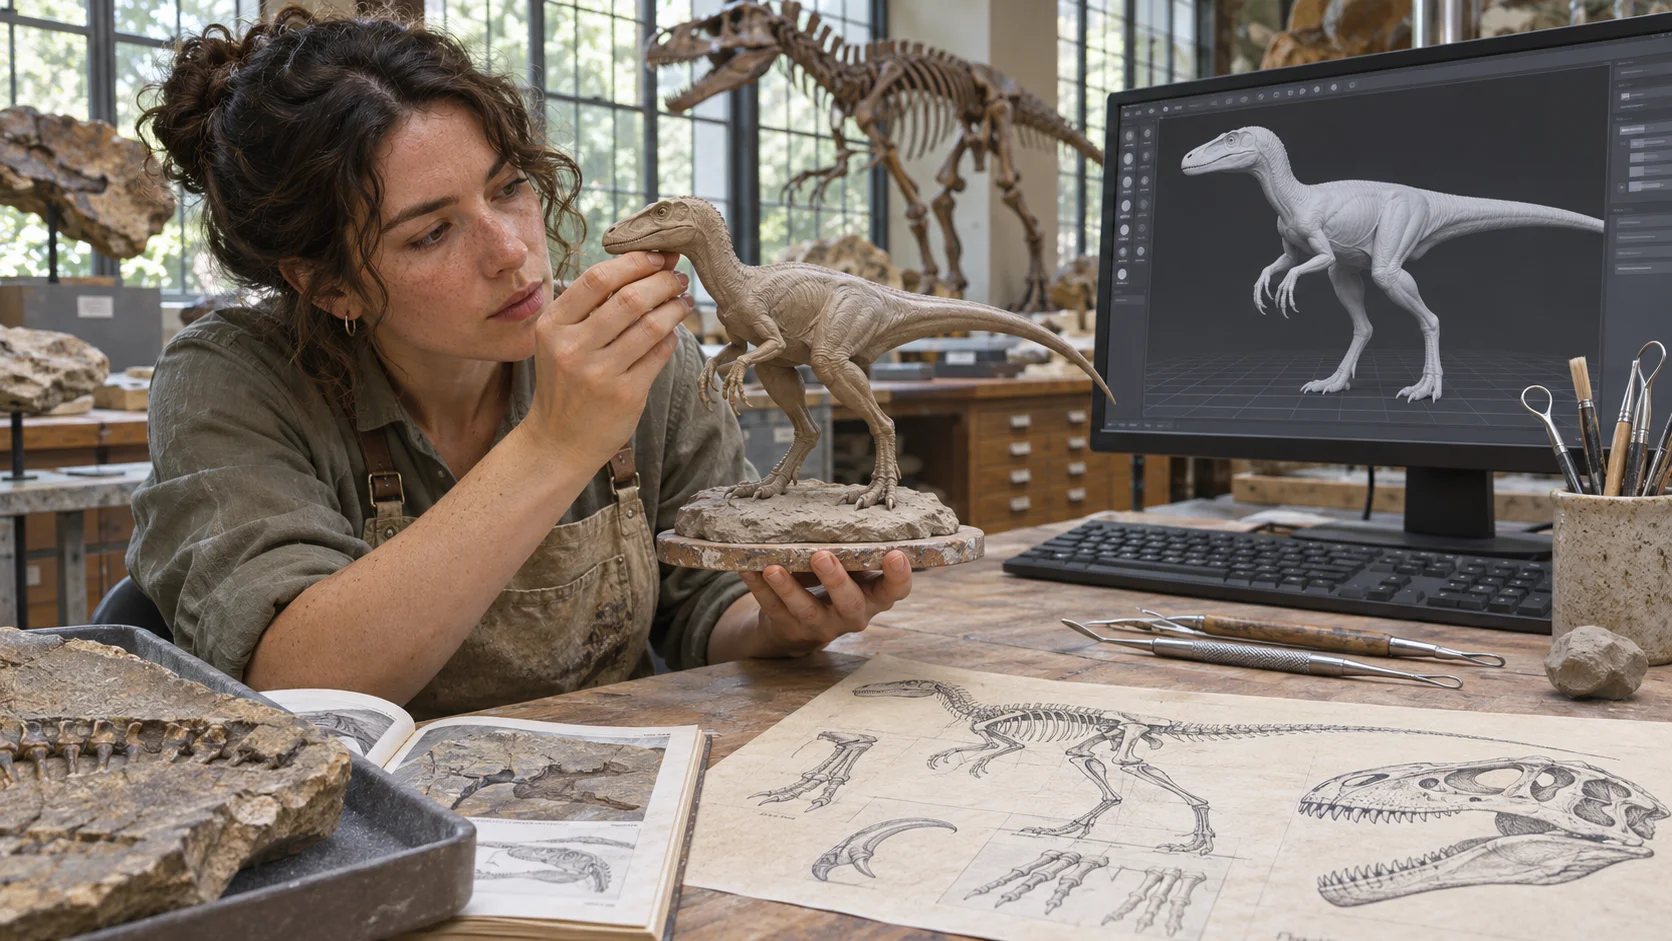
Review this small tabletop figurine for print orientation. Check the figurine’s contact points and support marks at the intended print orientation.
Review this small tabletop figurine for print orientation. Compare standing upright with laying it on its back, and note which pose needs fewer supports around the face and raised arms.
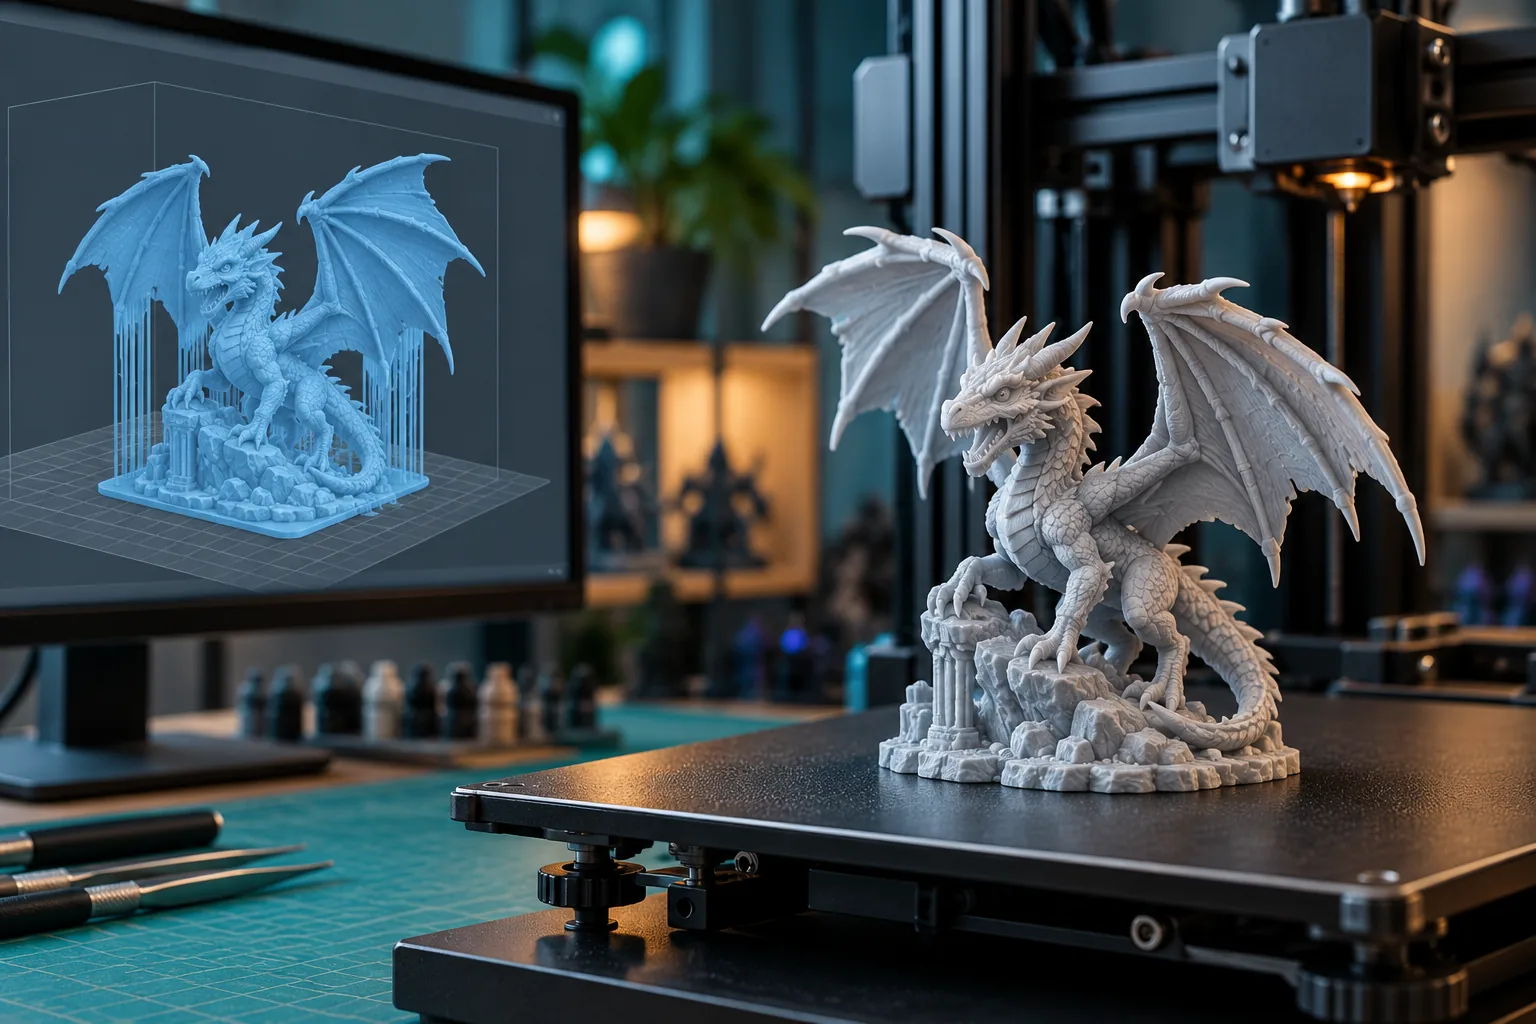 Model orientation ↗
Why SEELE
State the intended size and printer limits before making changes.

Measure narrow details against the manufacturer’s resolution guidance.

Protect the visible surface when choosing an orientation.

Print a small tolerance sample before committing to a full assembly.

Look for open edges, intersecting shells, or reversed faces in the chosen tool.

Shrinkage, strength, and finish depend on the printer and material.
Made with SEELE
These games are playable. Pick one and give it a try.
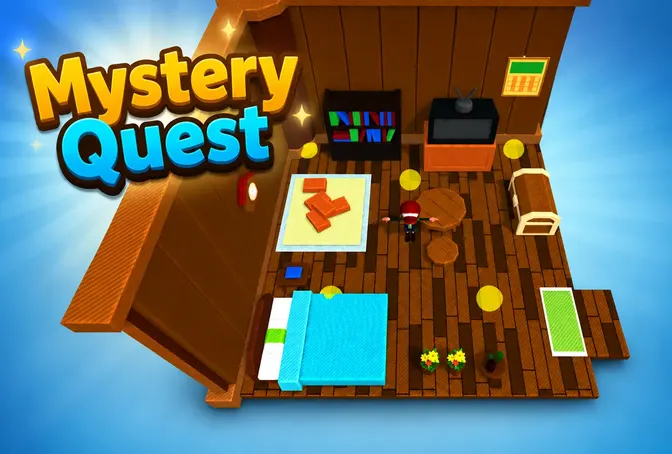 AdventureAdventure GamePlay the example ↗
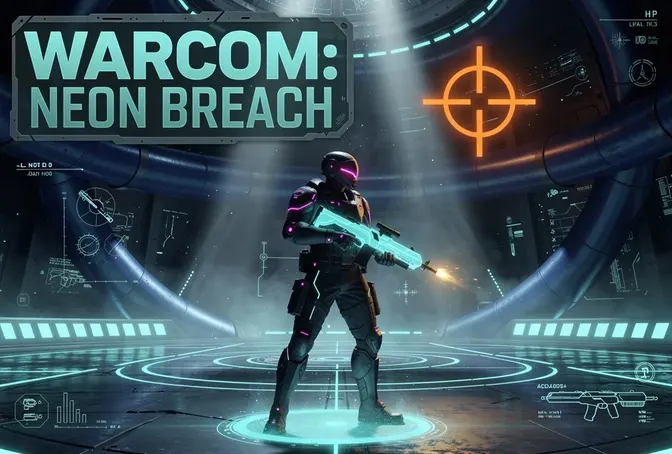 ShooterWarcom: Neon BreachPlay the example ↗
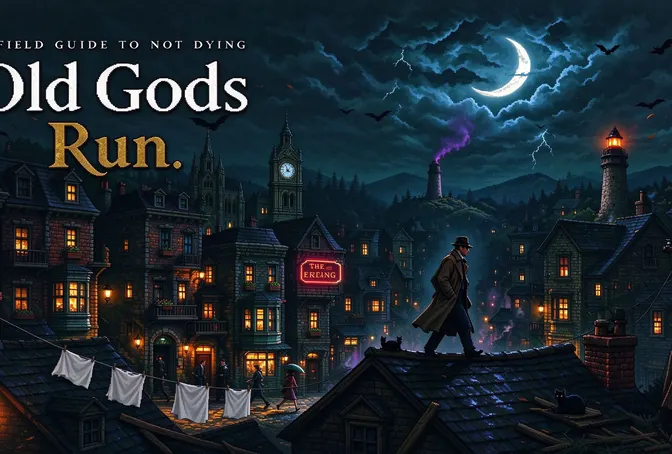 ActionOld Gods RunPlay the example ↗
 CasualCaution! Egg on the Car RoofPlay the example ↗
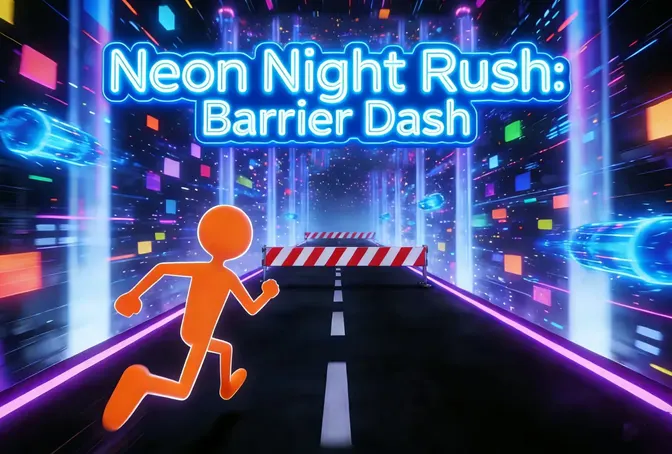 RunnerNeon Night Rush: Barrier DashPlay the example ↗
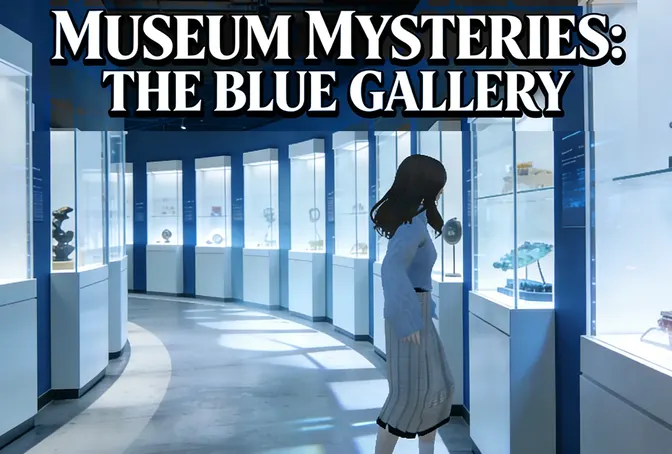 PuzzleMuseum ExhibitionPlay the example ↗
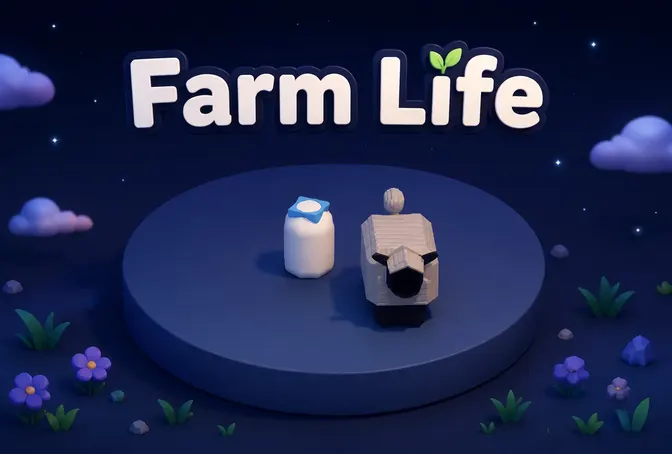 SimulationMilky Way Idle 3DPlay the example ↗
 CasualSnowfall & Starry GiftsPlay the example ↗
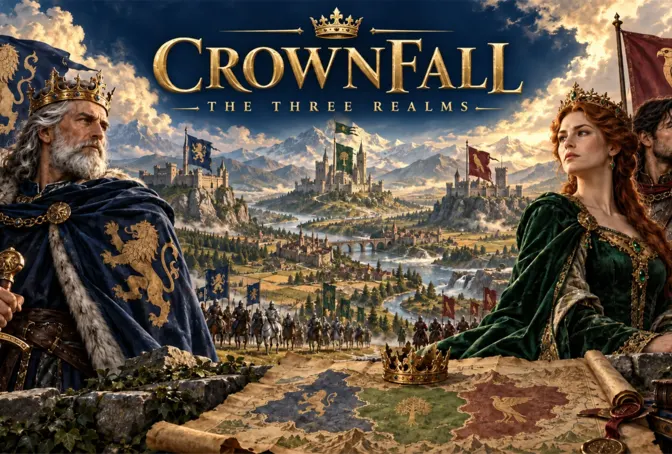 RPGCrownfall-The-Three-Realms-CoverPlay the example ↗
 SimulationFLYING CARPlay the example ↗
Who it’s for
Describe the intended asset and where it will be used; review shape, style, rights, and downstream fit before using an output.
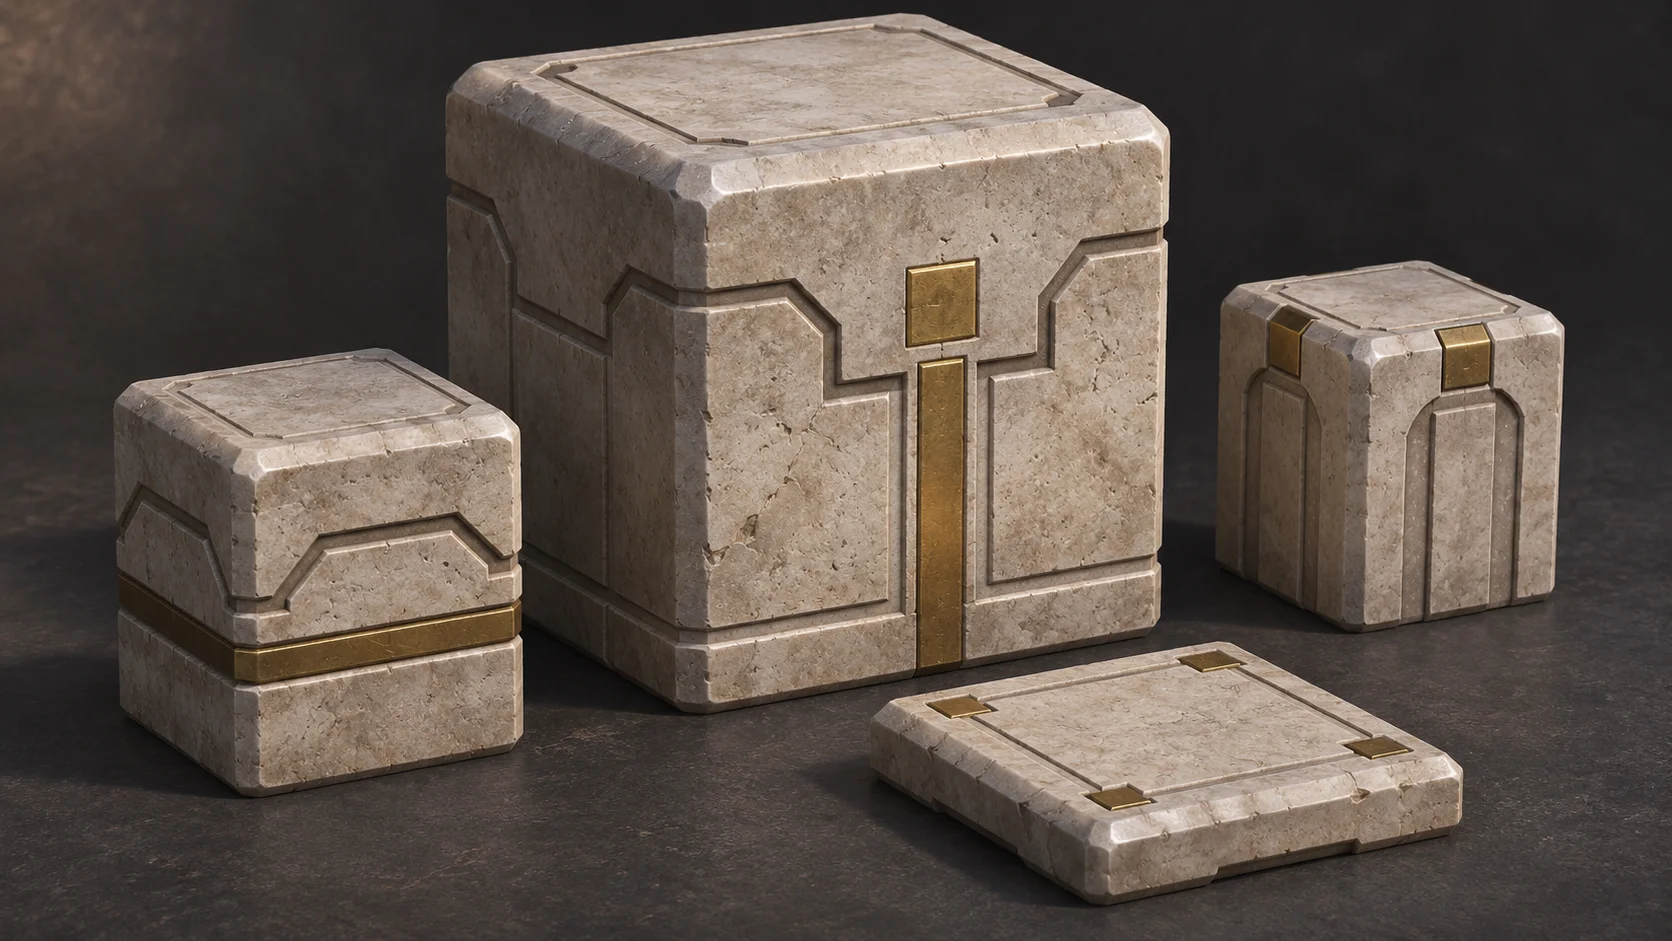
AI 3D Cube Model Generator for Modular Assets ↗
Check the proposed asset against project format, engine, and performance constraints. Available edit and export options vary by workflow.
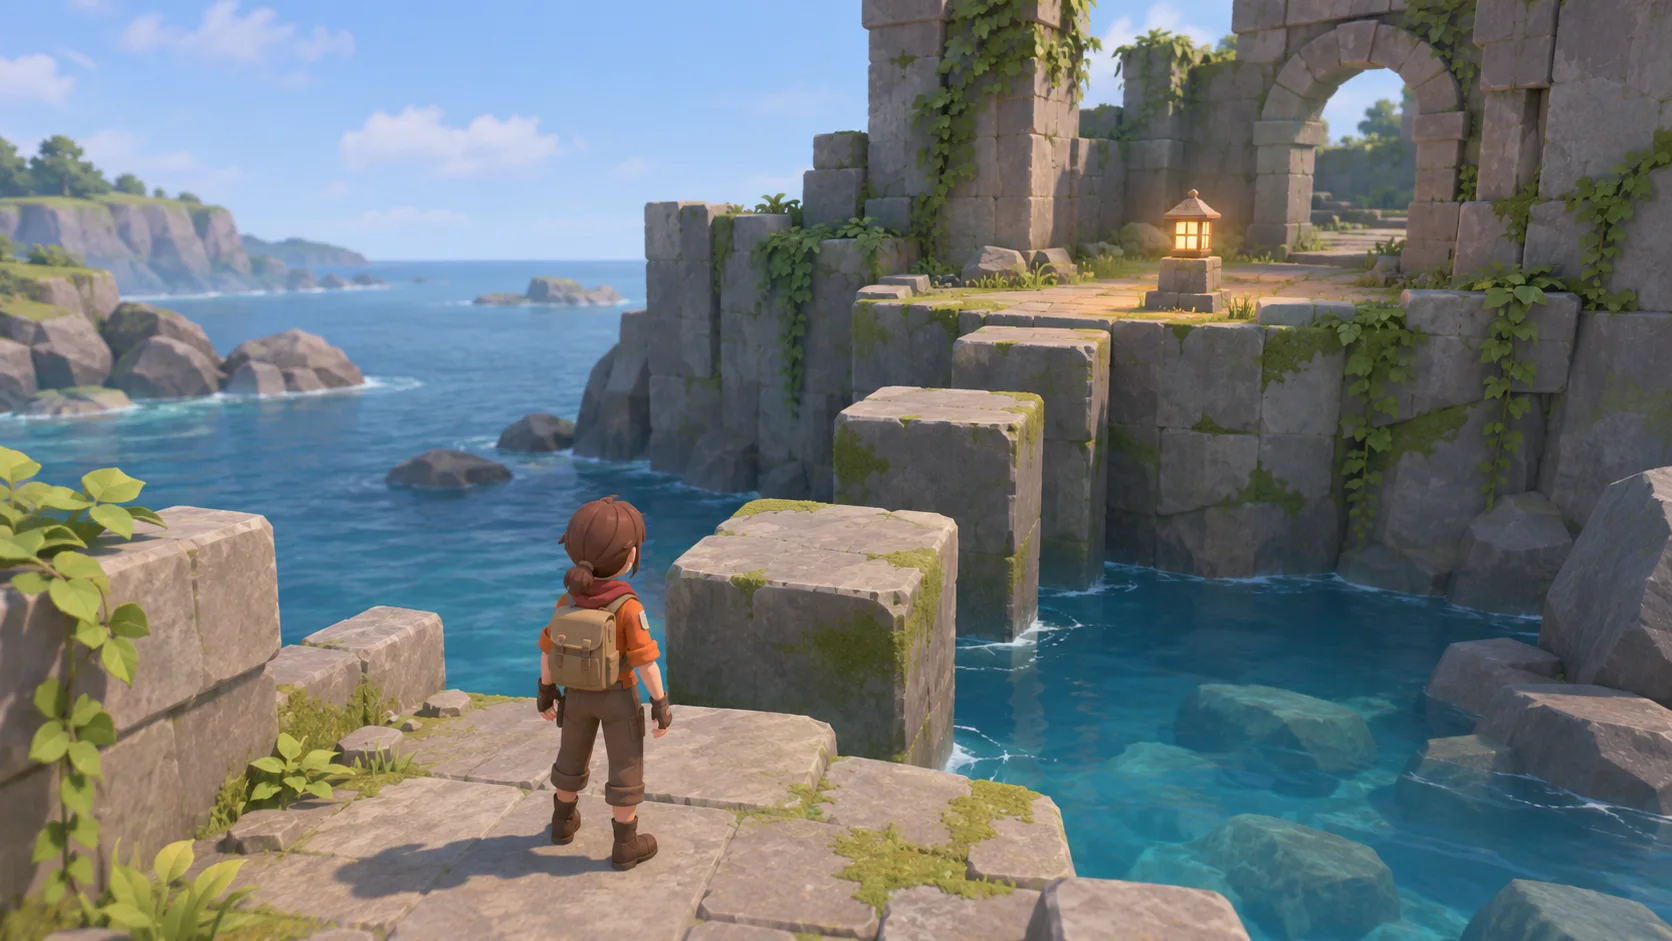
AI 3D Game Generator ↗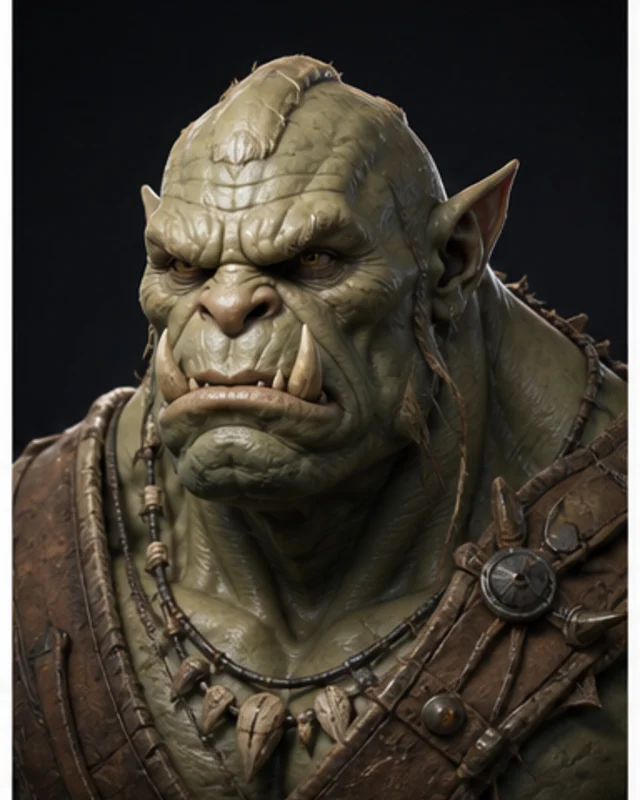
Use AI 3D Print Preparation as an exploration brief, then confirm that the current workflow supports the edits and handoff the project needs.
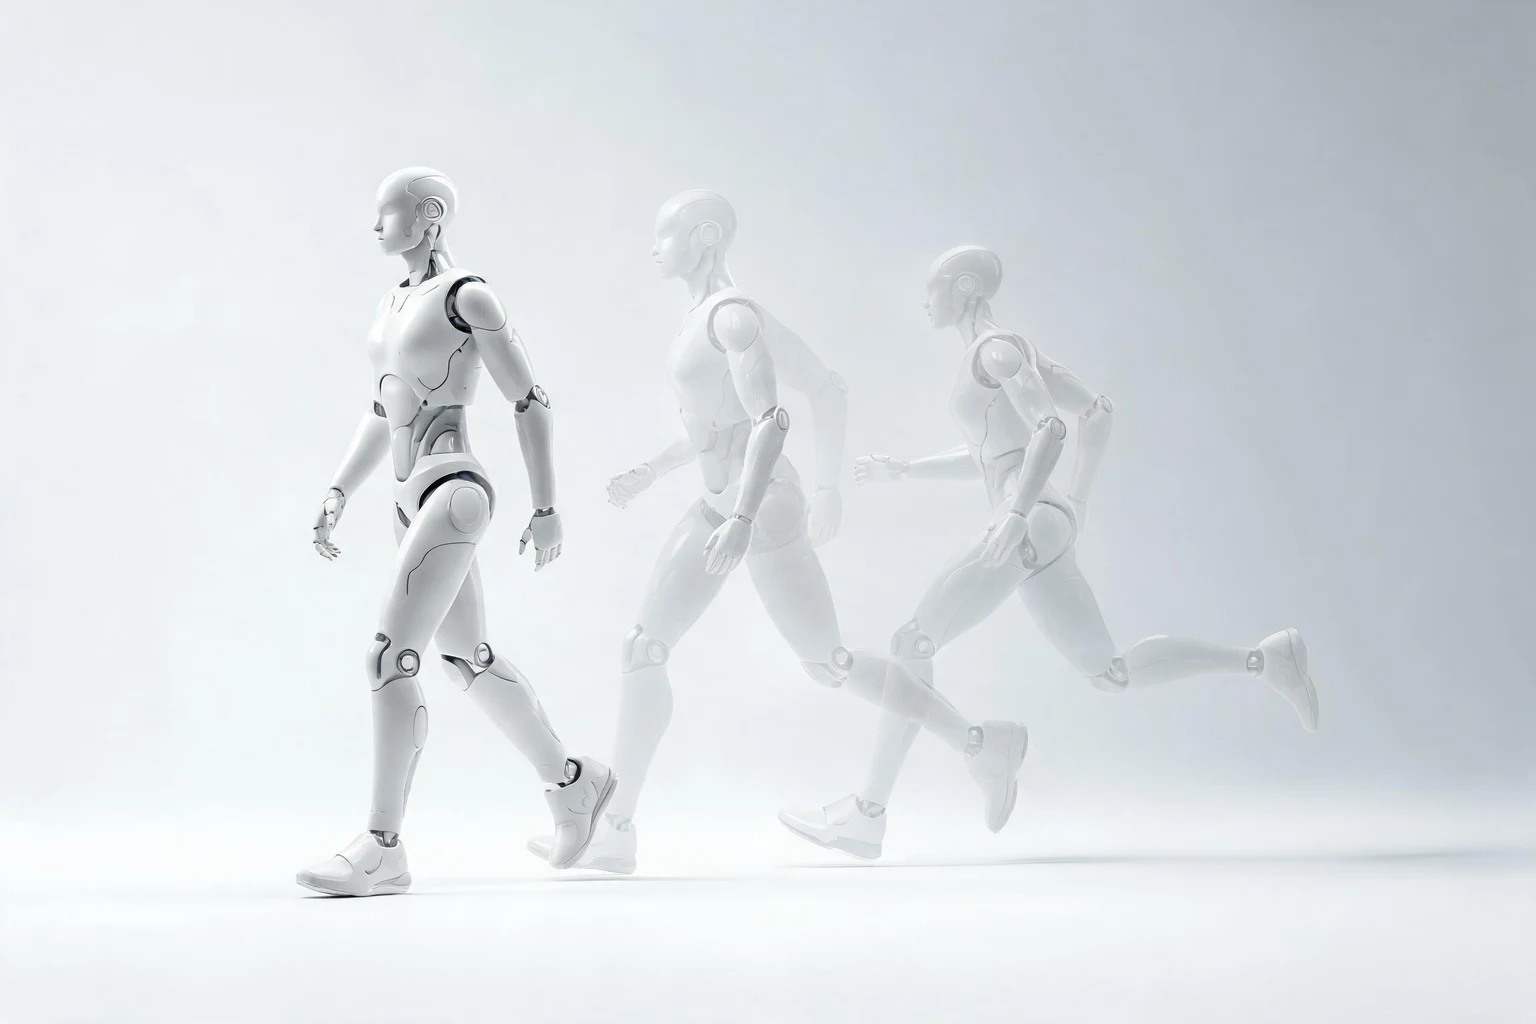
AI 3D Animation Maker for Game-Ready Motion ↗Reviews
FAQ
Use 3D Print Models as a focused project brief: state the intended outcome, audience, and one constraint. Review the result against those details and decide what needs a follow-up pass.
The prompt and workflow context continue into SEELE Workspace; final print validation happens in appropriate production tools.
Yes. For 3D Print Models, name the audience, one action, and a visible outcome. Use shape and silhouette as a starting point, then add one constraint before expanding the brief.
Before a first AI 3D Print Preparation project, define the task, intended audience, one visible outcome, and a constraint. Use Shape and silhouette as a direction that fits the brief.
To get started with AI 3D Print Preparation, use Describe the job as the first step. Set one goal, audience, and constraint; test a small version, then change one thing at a time.
For AI 3D Print Preparation, name the intended user, one action, and a visible outcome. Use Shape and silhouette as a starting direction and add one requirement from its example prompt.
Ask someone who matches the intended player or viewer for AI 3D Print Preparation to test its main action. Note where the brief is unclear, then revise once before adding features.
For AI 3D Print Preparation, try Shape and silhouette first. Define the action, outcome, and one constraint, then compare another direction only if the first misses the brief.
Check the AI 3D Print Preparation result against the brief, intended behavior, and first workflow step. Record one mismatch and test that change before expanding scope.
Scope a first AI 3D Print Preparation prototype to Shape and silhouette, one user action, and one visible outcome. Defer secondary features until that path works.
Compare Shape and silhouette and Material and color for AI 3D Print Preparation using the same user action and visible outcome. Choose the direction that fits the brief with fewer assumptions.
After reviewing AI 3D Print Preparation, record one gap between the brief and result. Make one focused change, then test the same action against the original outcome.
Match a linked tool's input and output to one need in the AI 3D Print Preparation brief. If it does not support that step, skip it and keep the test in the main project.