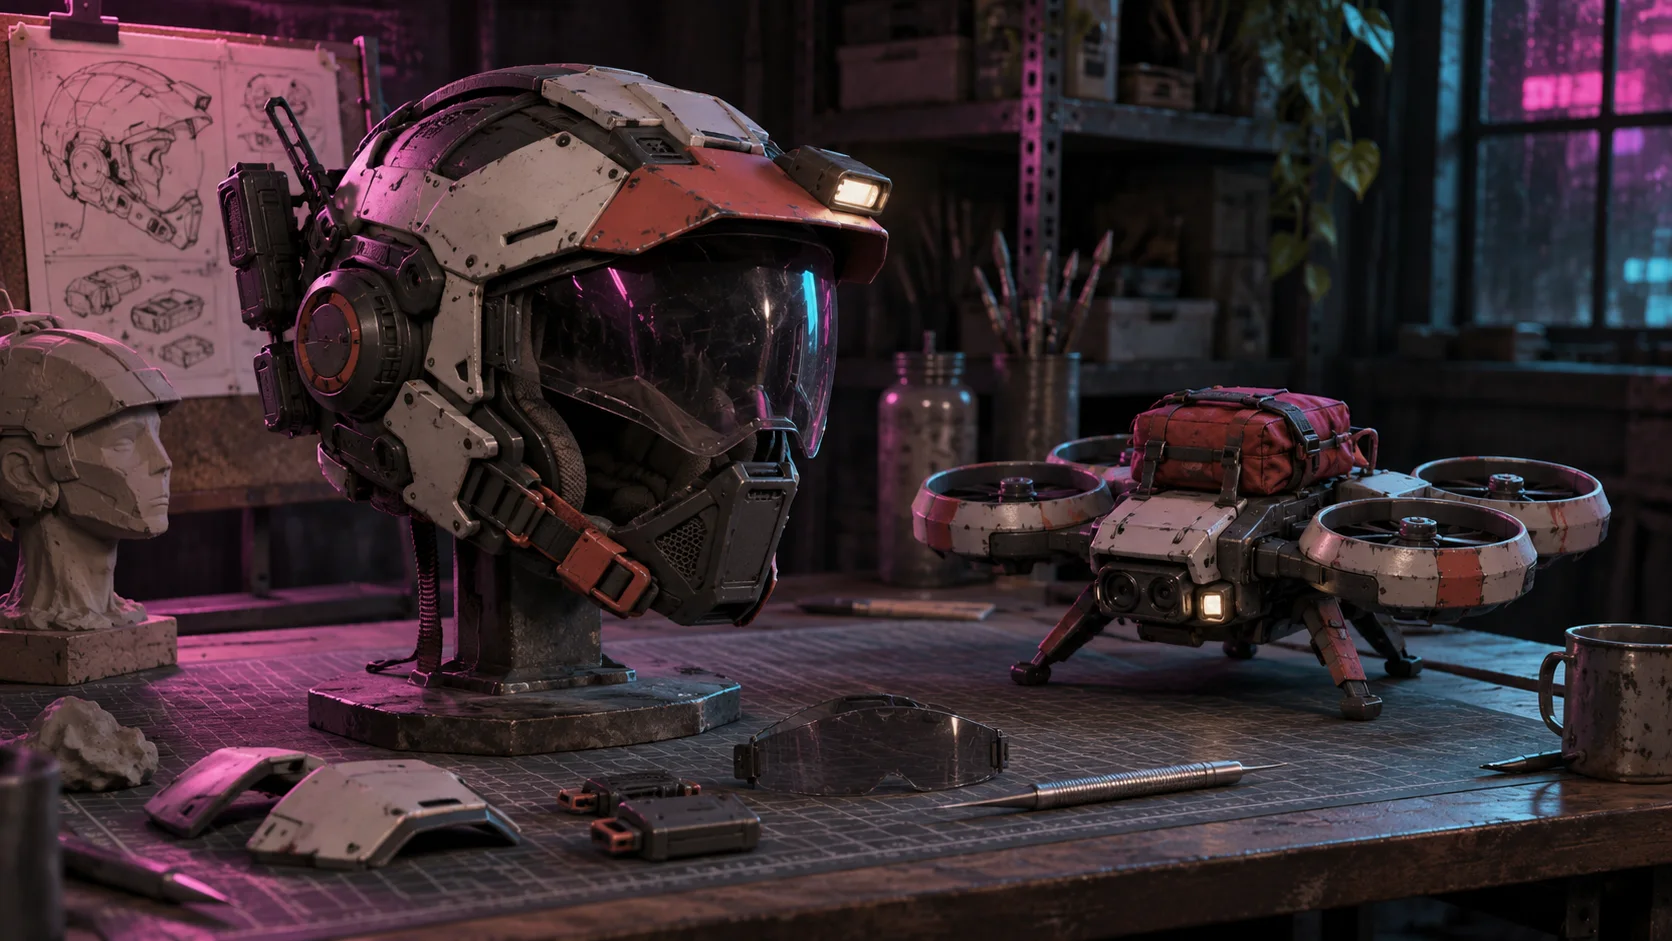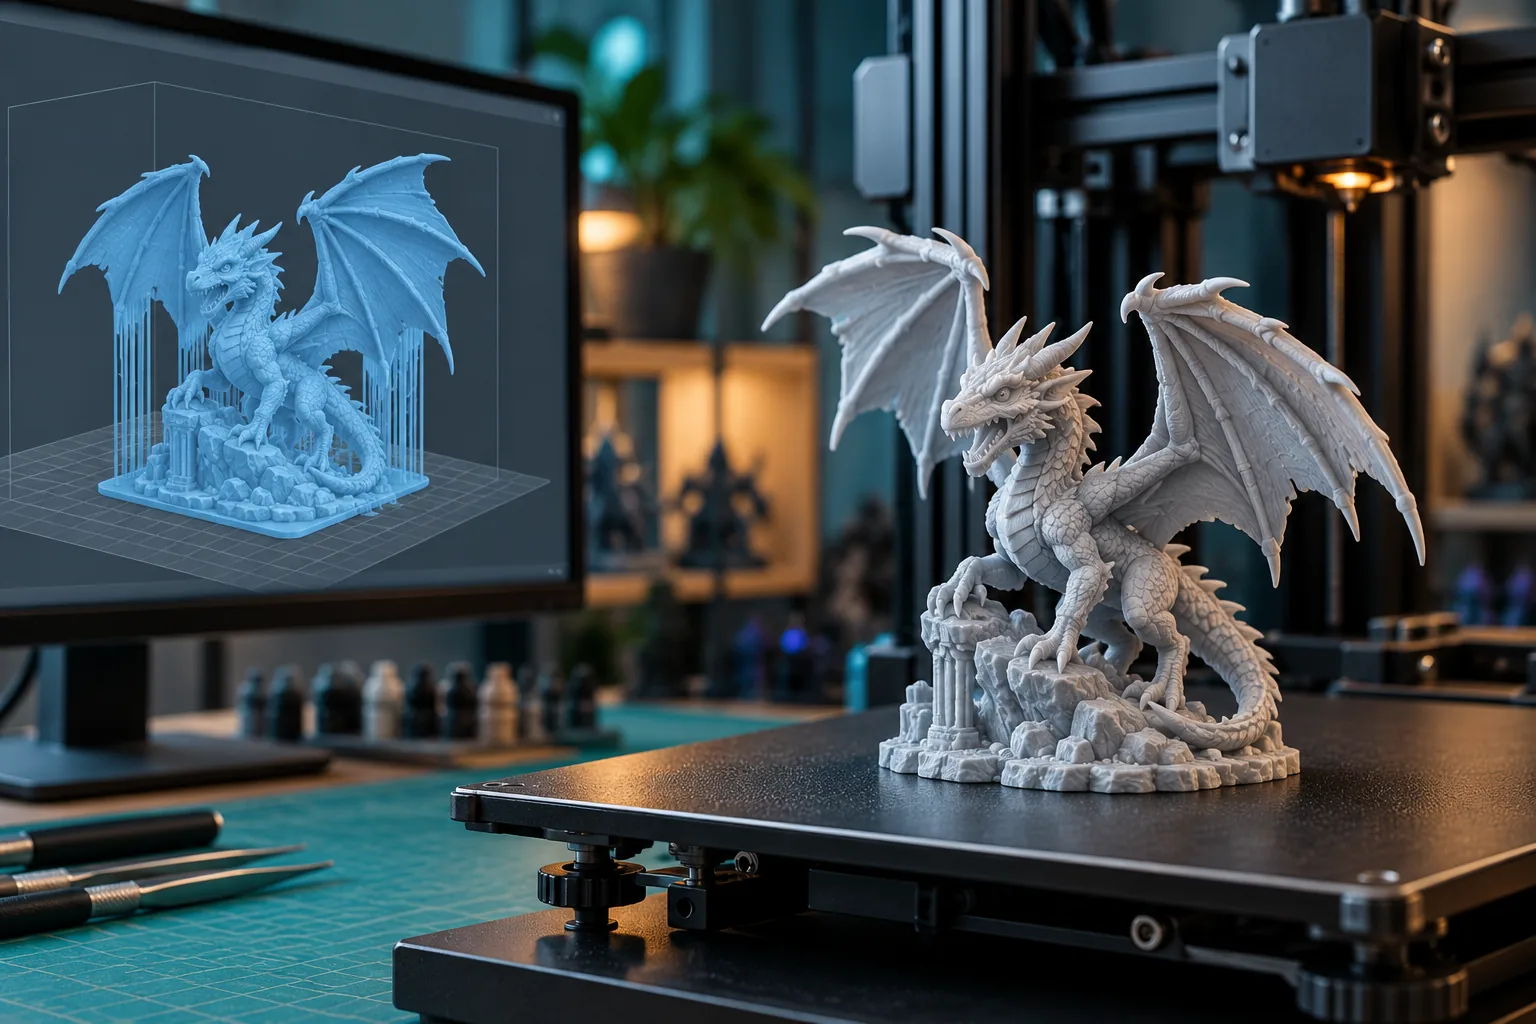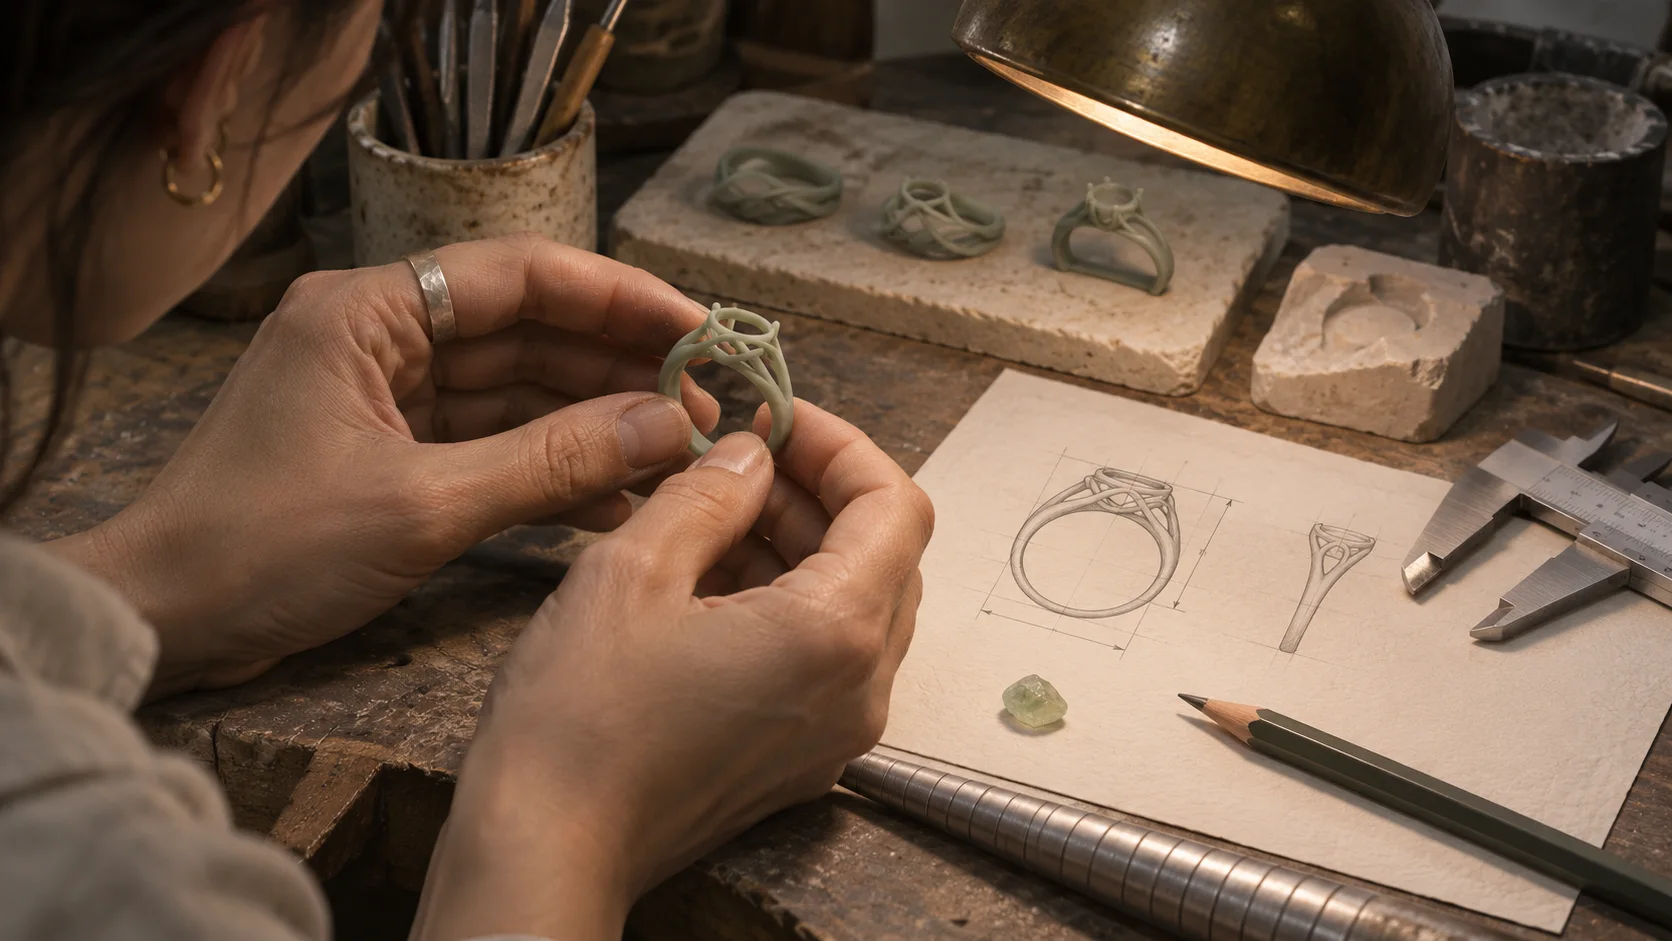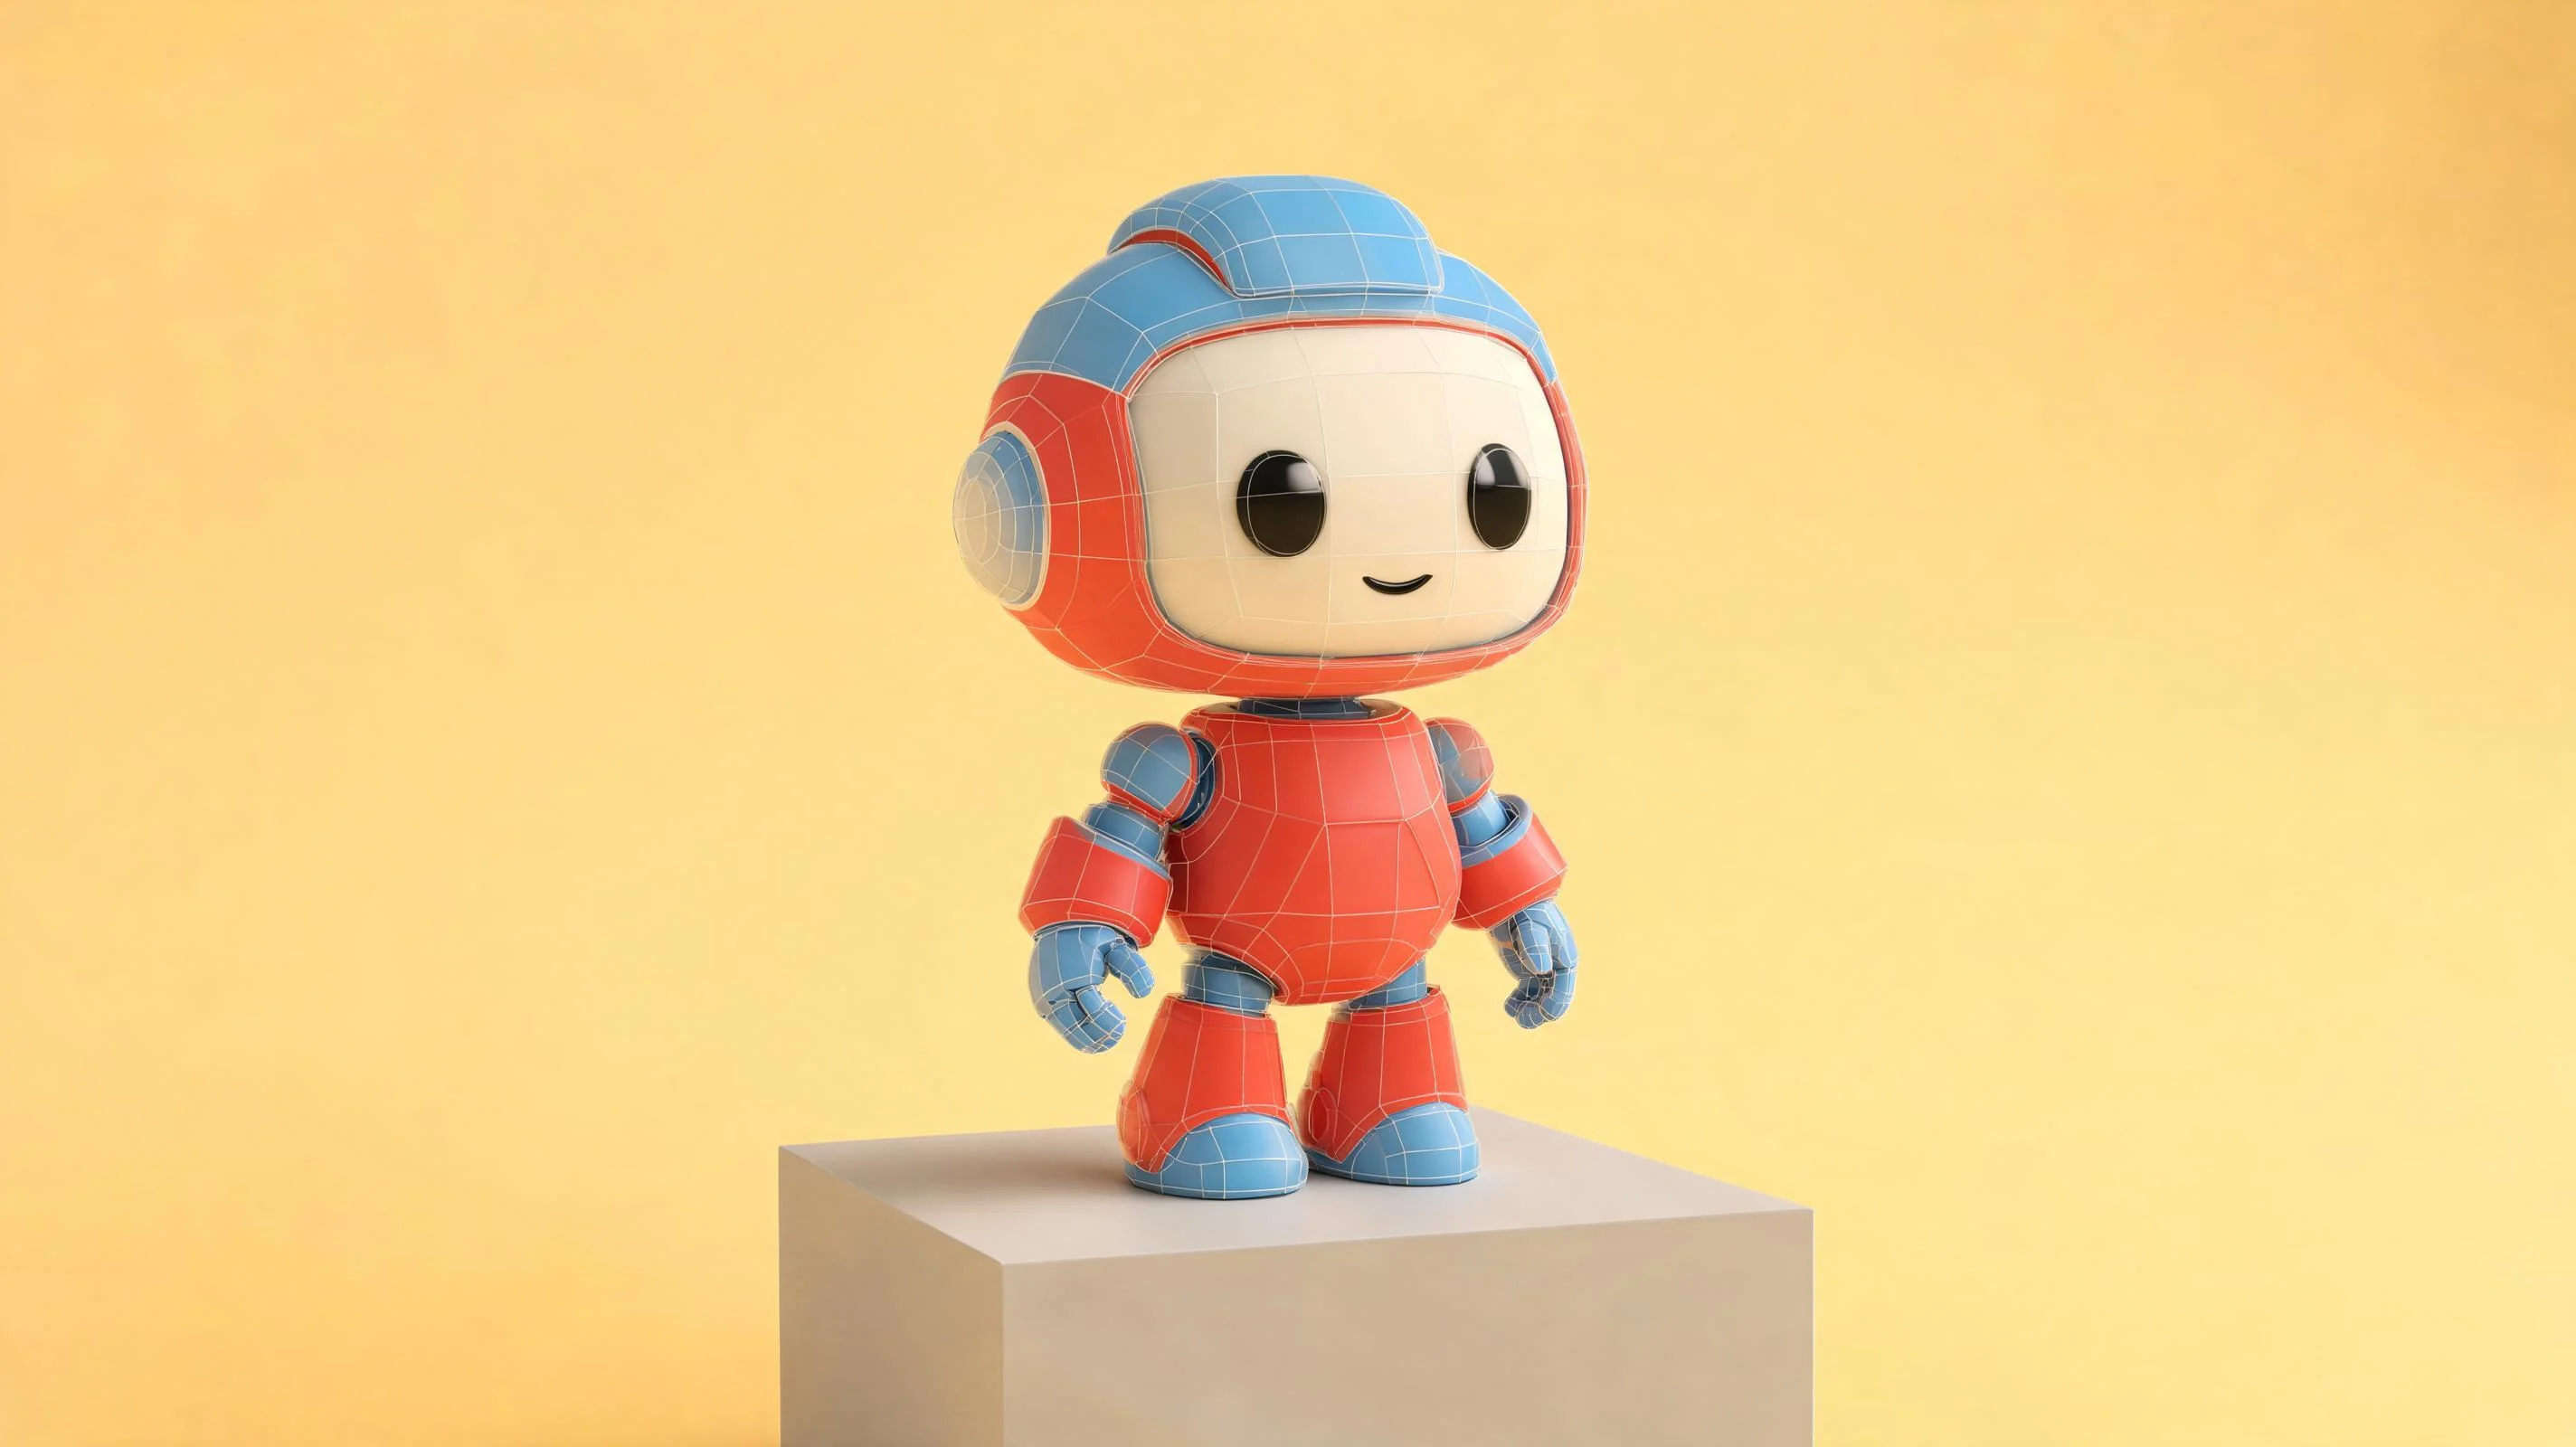

Set proportions before adding detail
Choose the object’s footprint and height so its role is clear.

Set the dimensions, edge treatment, and role before adding detail. Describe the cube-shaped object, its dimensions, bevels, pivot, and material direction. Use the brief to compare a simple prop, tile, die, or modular block, then verify measurements and export requirements in your 3D workflow.
Partners and teams

















How it works
Start with a quest idea, build it in SEELE, and play it through from start to finish.

A miller asks for help. The player heads into the forest, finds a crystal, and brings it back for a reward.
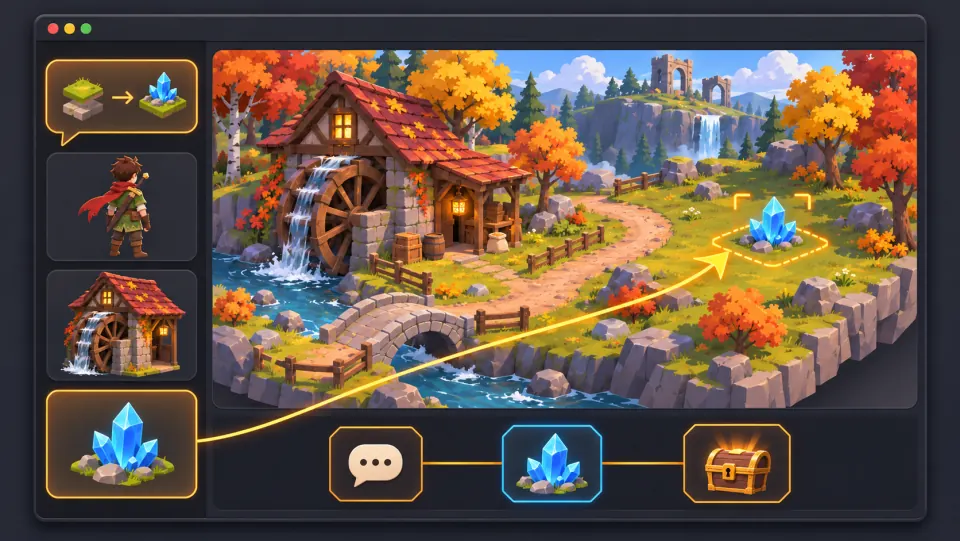
Ask seeleAgent to create the village and forest, add the miller and the crystal, and set up the dialogue, pickup, and reward.

Take the quest, press E to pick up the crystal, and bring it back to the miller to claim your reward.
Make a game for freePick a starting point
Plan a block, tile, die, or rotating prop with a clear review criterion.
State proportions and edge treatment so the object reads clearly before materials.
Plan a beveled cube prop for a small game scene. Set a 1:1:1 base proportion, use a modest bevel on every edge, and show front, side, and top views. Include a ruler or dimension labels in the brief, but mark measurements for verification in the modeling tool. Keep the material neutral so the silhouette is easy to judge.
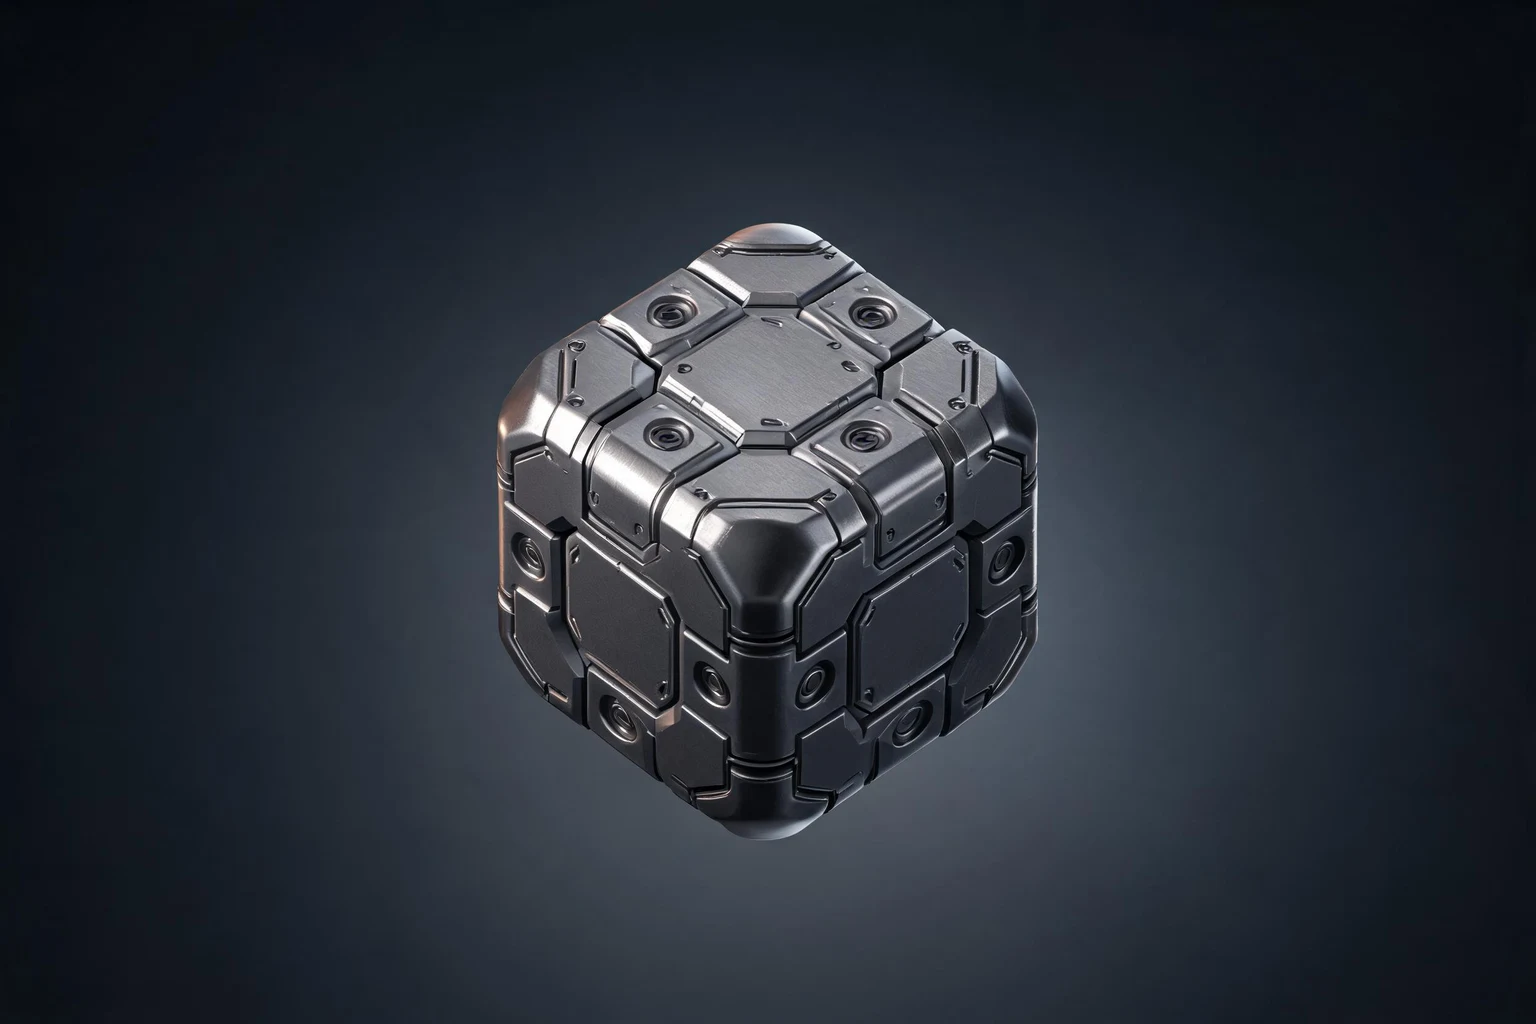 Choose the dimensions before the surface detail ↗
Why SEELE
Choose the object’s footprint and height so its role is clear.

Consistent edge treatment helps the cube read in a close view and at a distance.

Show neighboring pieces together to spot gaps, overlaps, or boundary details.

A top, side, and front view can reveal missing or inconsistent details.

Name the rotation point and check how the object meets the floor or another surface.

Use labels as references and confirm scale, geometry, and export in the actual workflow.
Made with SEELE
These games are playable. Pick one and give it a try.
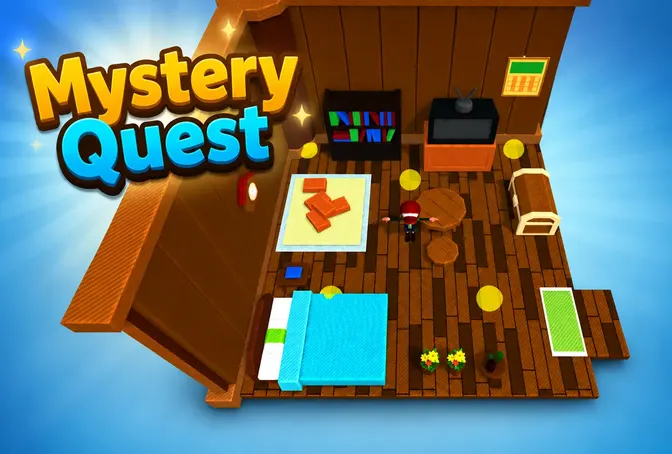 AdventureAdventure GamePlay the example ↗
 ShooterWarcom: Neon BreachPlay the example ↗
 ActionOld Gods RunPlay the example ↗
 CasualCaution! Egg on the Car RoofPlay the example ↗
 RunnerNeon Night Rush: Barrier DashPlay the example ↗
 PuzzleMuseum ExhibitionPlay the example ↗
 SimulationMilky Way Idle 3DPlay the example ↗
 CasualSnowfall & Starry GiftsPlay the example ↗
 RPGCrownfall-The-Three-Realms-CoverPlay the example ↗
 SimulationFLYING CARPlay the example ↗
Who it’s for
A focused brief helps artists and technical teams resolve shape and scale before adding detail.
Set a cube prop’s proportions and edge treatment before detailed modeling.
AI Cyberpunk 3D Model Generator for Original Asset Kits ↗
Check tile footprints, seams, pivots, and intended scale in context.
AI 3D Cat Model Generator from Your Creative prompt ↗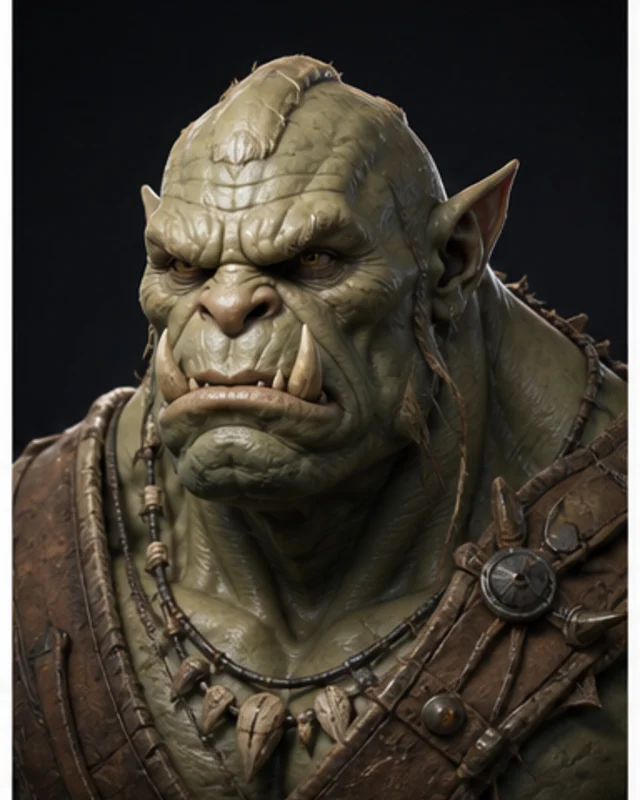
Describe how a block, token, or die should read and behave in a scene.
AI 3D Print Preparation ↗Compare
Separate a visual concept from the measured mesh and project checks it still needs.
| Feature | A cube model brief with review checks | A shape description with open decisions |
|---|---|---|
| Shape | Proportions and bevels are defined before materials | Surface detail hides an unclear silhouette |
| Modular fit | Neighboring pieces are checked for seams | A tile is reviewed in isolation |
| Face layout | All faces and markings are compared together | Only the hero-facing side is specified |
| Pivot | The rotation point matches the intended motion | The pivot is left implicit |
| Production | Dimensions and export are verified in the target tool | A concept render is treated as a finished mesh |
Reviews
Explore related 3D modeling pages for the next asset workflow step.
FAQ
It can help describe a cube-shaped prop, tile, die, or modular block, including proportions, edges, and intended use. Verify geometry and dimensions in your 3D workflow.
Name its role, proportions, edge treatment, faces, pivot, and where it will appear. Include only the details needed to review the first version.
Describe the footprint and seams, then review several copies joined together. Confirm grid size and snapping in the target project.
Compare neighboring pieces edge to edge and inspect for gaps, overlap, or details crossing the boundaries. Verify the final dimensions in the modeling tool.
Treat it as a design reference. Check scale, mesh, materials, collision, and performance in the game project before using it.
Yes. State which edges should be beveled and how the treatment should read. Inspect the result from multiple angles and confirm exact geometry in the 3D tool.
A concept image does not establish print readiness. Verify the mesh, dimensions, wall thickness, and printer requirements in suitable software.
List the face markings, their placement, corner treatment, and visual contrast. Review all sides together and verify physical tolerances separately.
The pivot affects how an object rotates or attaches to a scene. State the intended pivot and test the motion in the target 3D workflow.
You can include target measurements in the brief, but confirm them in the 3D application. A text or visual result should not be treated as a measured model.
Available outputs depend on the current Workspace workflow. Check the formats offered and test the file in the software that will use it.
Describe a material direction or compare a few finishes while holding the shape and lighting steady. Confirm how materials are represented in the final workflow.
Use a clear silhouette, restrained surface detail, and views that show the important faces. Check the object at its intended camera distance.
Check scale, geometry, pivot, materials, rights, engine compatibility, and the project’s performance needs.
Describe its faces, edges, pivot, and where you plan to use it.
Plan a 3D cube model →